In Part X, we talked about building the VEBA OVA from source code. In this post, I will explain the change I made that required me to rebuild the appliance.
It was a relatively simple change – although it’s best practice to keep SSH turned off, I deploy a LOT of VEBA appliances. I’m always doing some kind of testing to do my part to contribute this open source project. I usually have to turn on SSH to do what I need to do with the appliance, so I wanted a way to have SSH automatically enabled.
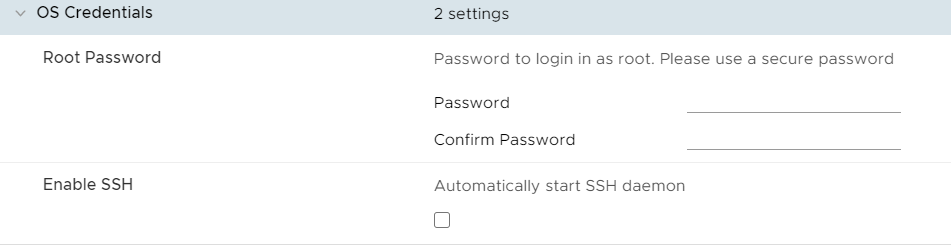
This is a screenshot from the v0.4 appliance that has my change included – just a simple “Enable SSH” checkbox.
If you would like to check out the pull request, you can find it here. There were five files that needed to be changed. I am pasting screenshots from the PR on Github, the PR shows you all changes made to the code.
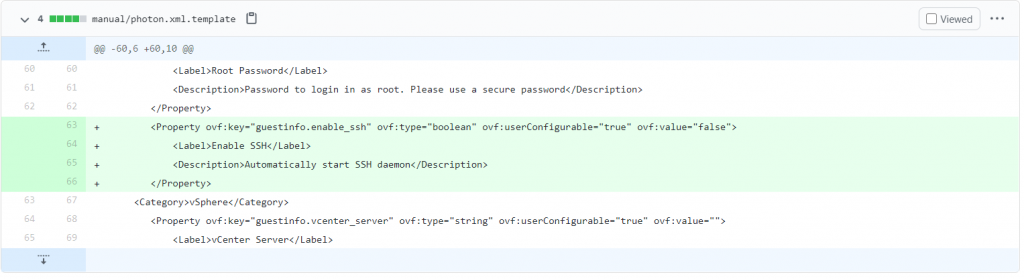
manual/photon.xml.template. This file defines all available properties in the OVA. I have named my property ‘enable_ssh’.
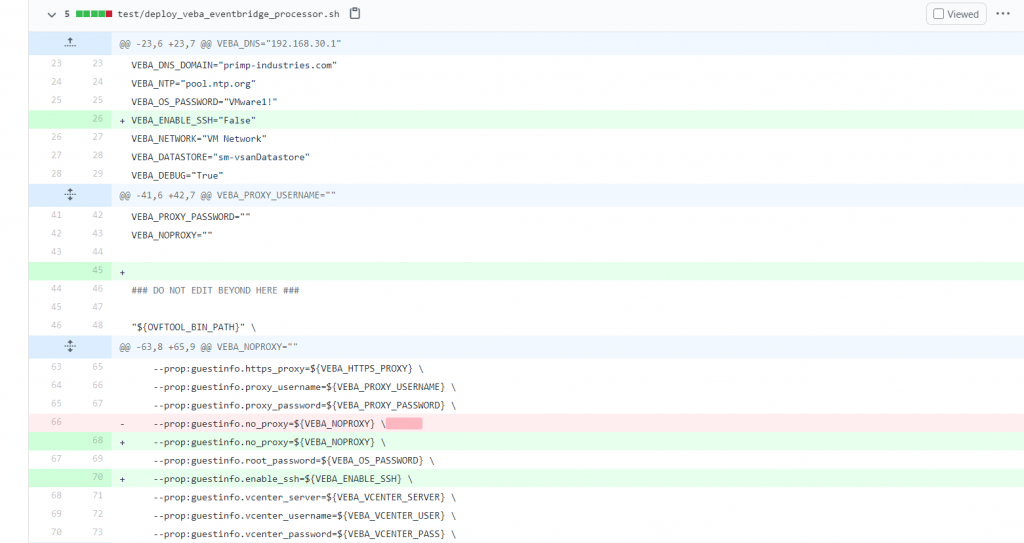
test/deploy_veba_eventbridge_processor.sh
test/deploy_veba_openfaas_processor.sh
– These fiiles are used for automated deployments of the appliance in either EventBridge or OpenFaaS mode. You can see the VEBA_NOPROXY line in the EventBridge file where I deleted some inadvertent spacing that I introduced in a prior PR. The change for the SSH feature included adding the default value of False to enable SSH, then adding a line of code to push the value into the OVF for deployment.
files/setup.sh – This file extracts the values input by the user into the OVA and places them into variables for use during the rest of the appliance setup scripts. I
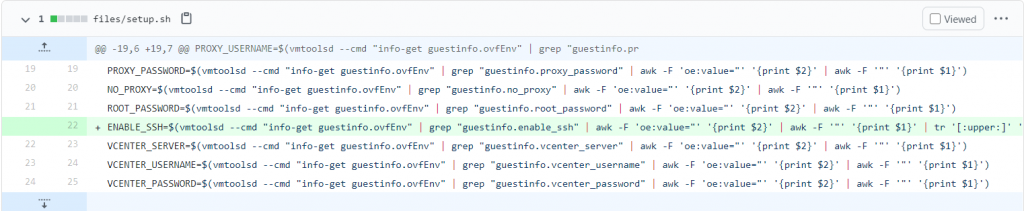
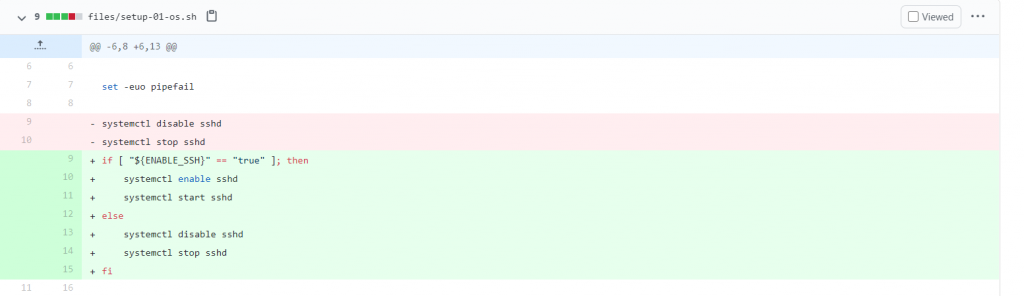
files/setup-01-os.sh – There are 9 different shell scripts in the files folder that perform various configuration tasks when the appliance is deployed.
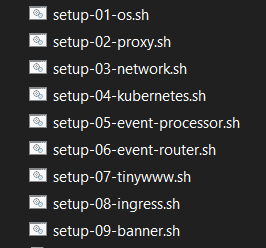
In the OS setup file, I removed the default code that stopped and disabled SSHD. Instead, I perform an ifcheck on the ENABLE_SSH variable and start it if the box is checked.
After I made all of the code changes, I then built the appliance as shown in Part X to test. Once everything worked, I filed the PR to get my changes incorporated into the product. Special thanks to William Lam for teaching me how this process works.
That’s all for this post. In Part VII, we will learn about advanced function troubleshooting.
VMware Event Broker Appliance – Part XII – Advanced Function Troubleshooting | Patrick Kremer
[…] Part XI, we discussed changing configuration options in the OVA UI. In this post, we will discuss […]