In Part I of this series, we explored how to deploy the VEBA appliance. In Part II, we look at setting up a Windows workstation with the prereqs for interacting with VEBA using the Knative event processor
I first installed Visual Studio Code, a free open source code editor with wide community adoption. The installation is a simple next-next-finish. VS Code is not a requirement – any editor can be used.
We need 3 tools to deploy Knative functions to VEBA
I am not a Mac person, but you can avoid the manual installation of software by using Homebrew. The Mac commands should be:
brew install git
brew install docker
brew install kubernetes-cli
On Windows, if you want to avoid manual installations, install Chocolatey. The Windows install commands are:
choco install git
choco install docker-desktop
choco install kubernetes-cli
Screenshots of manual installation are below.
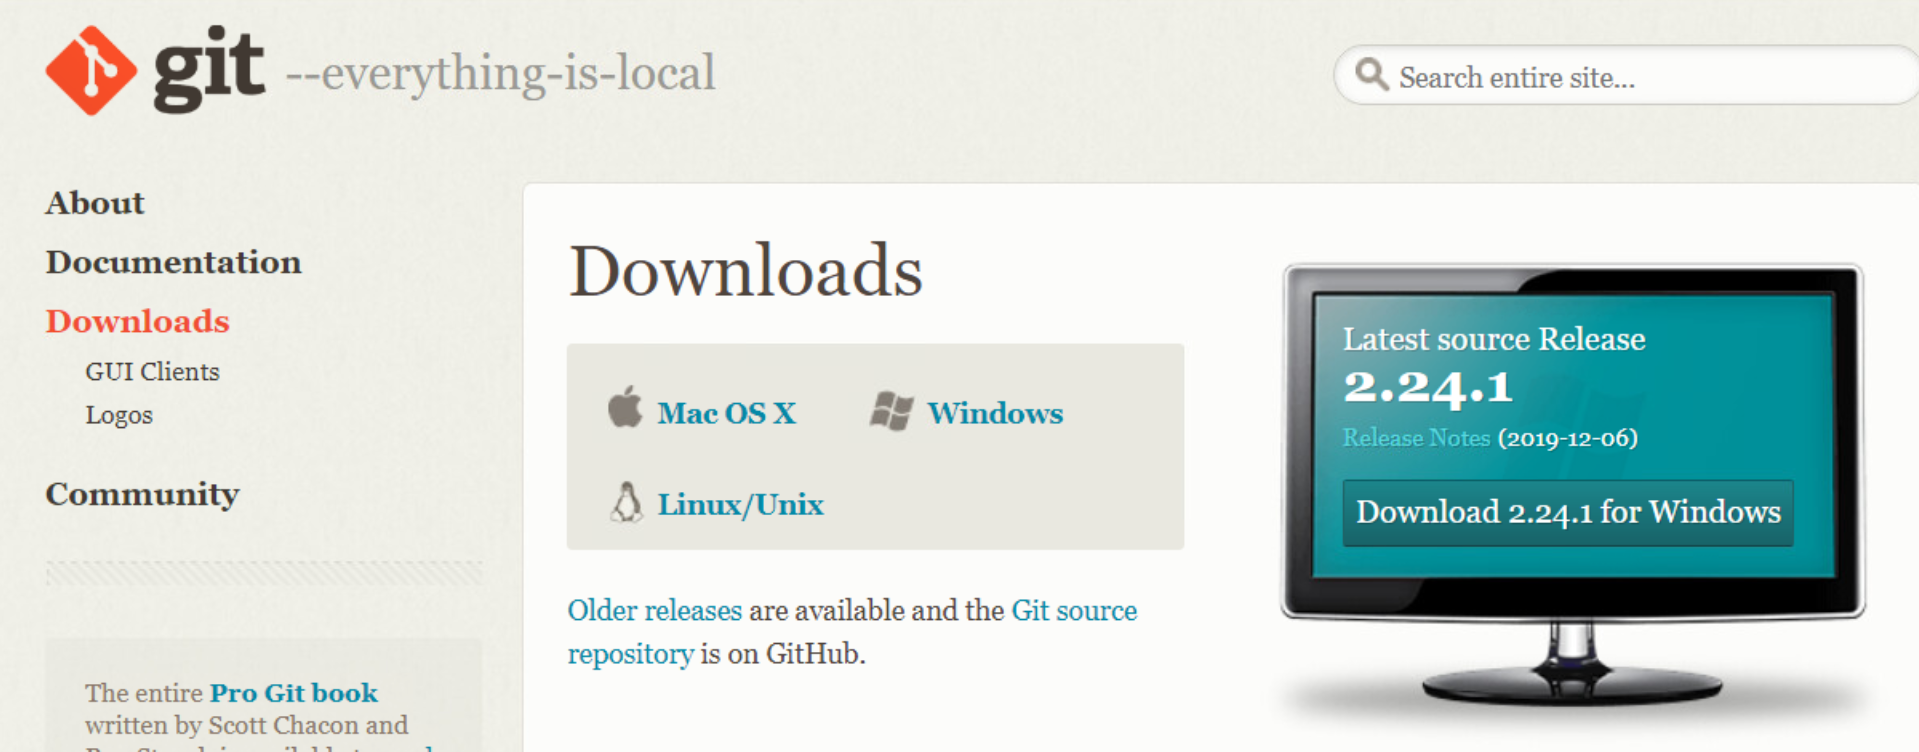
Git
Sstart with the git download page.
I leave the defaults here
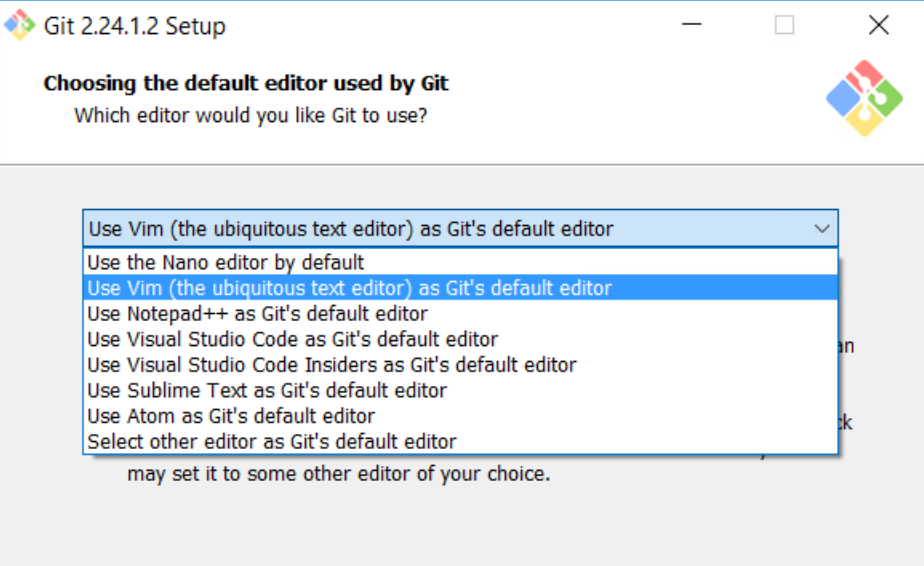
I know the basics of getting around vi, but spend a lot more time in Notepad++, so I switch to it here.
This seems to be an OK option – I’m not sure what people typically use. Through the sample code deployment I was only calling git from the Git Bash anyway, so I guess it doesn’t make a difference.
I don’t think I have a need to use Windows CAs so I kept OpenSSL.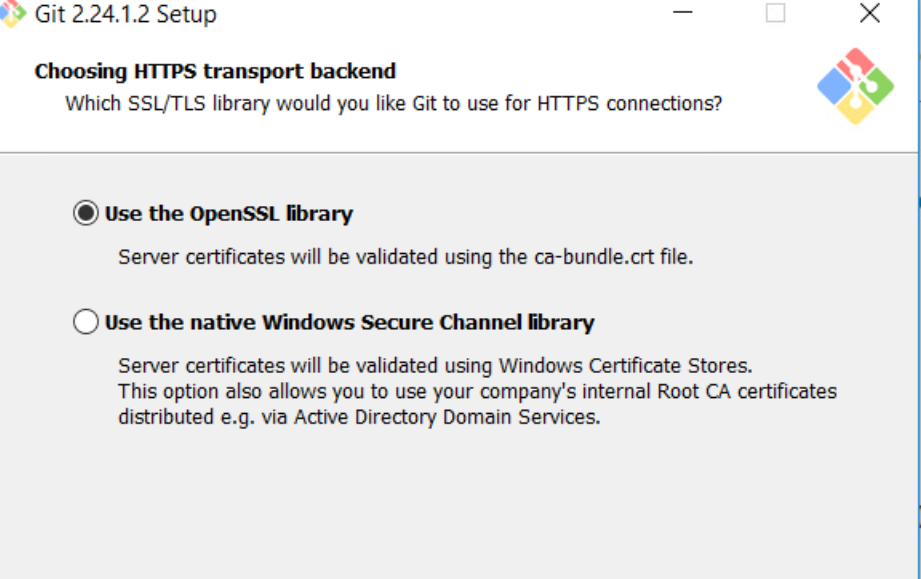
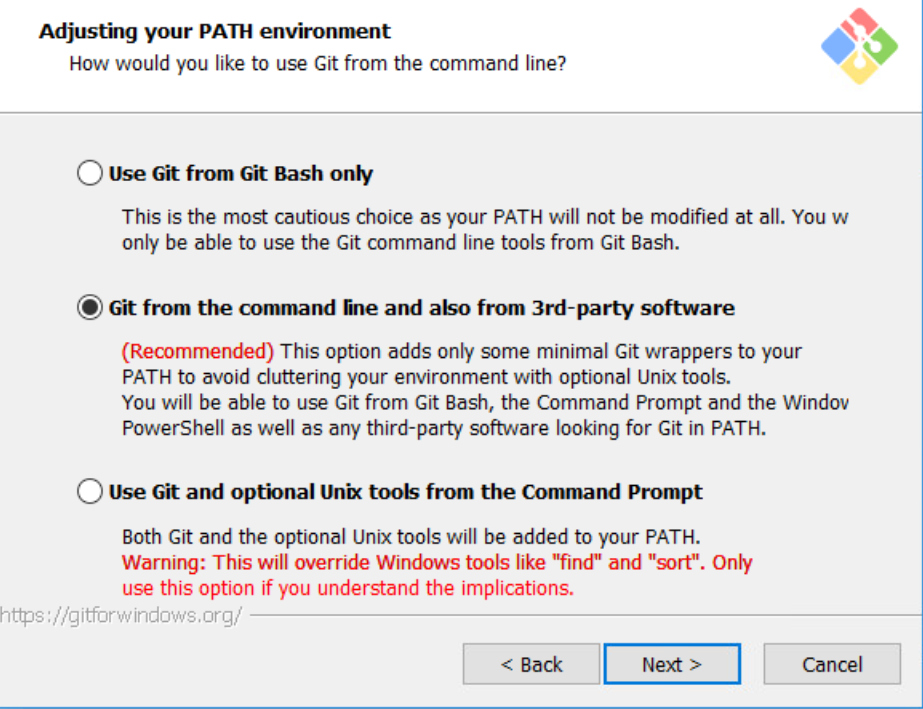
I leave this default since it was the recommended Windows setting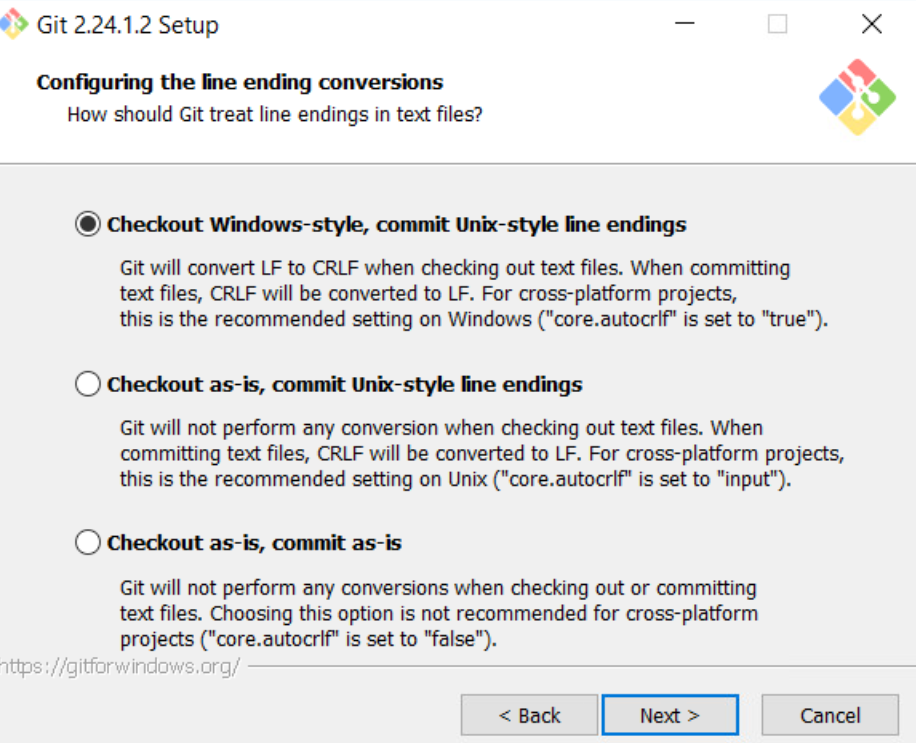
I don’t like the Windows default console windows, I figured MinTTY couldn’t be any worse – I select it.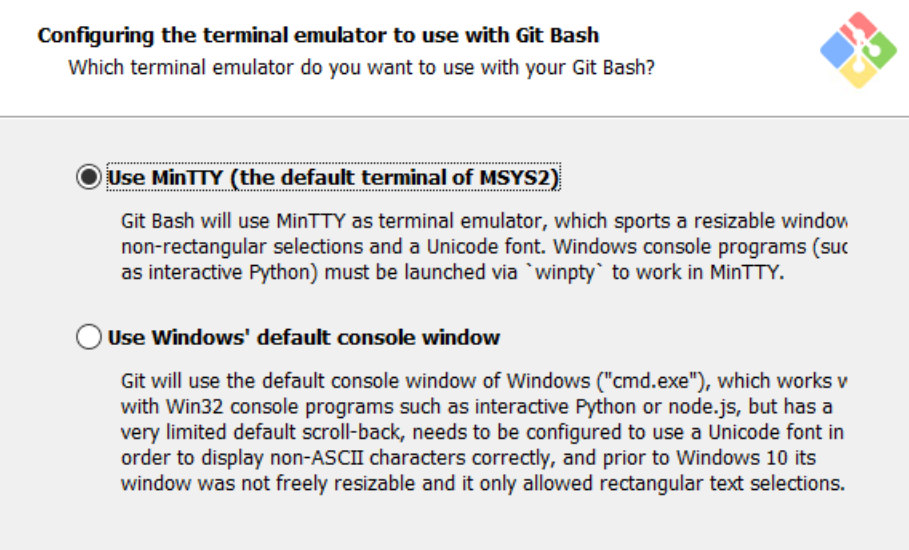
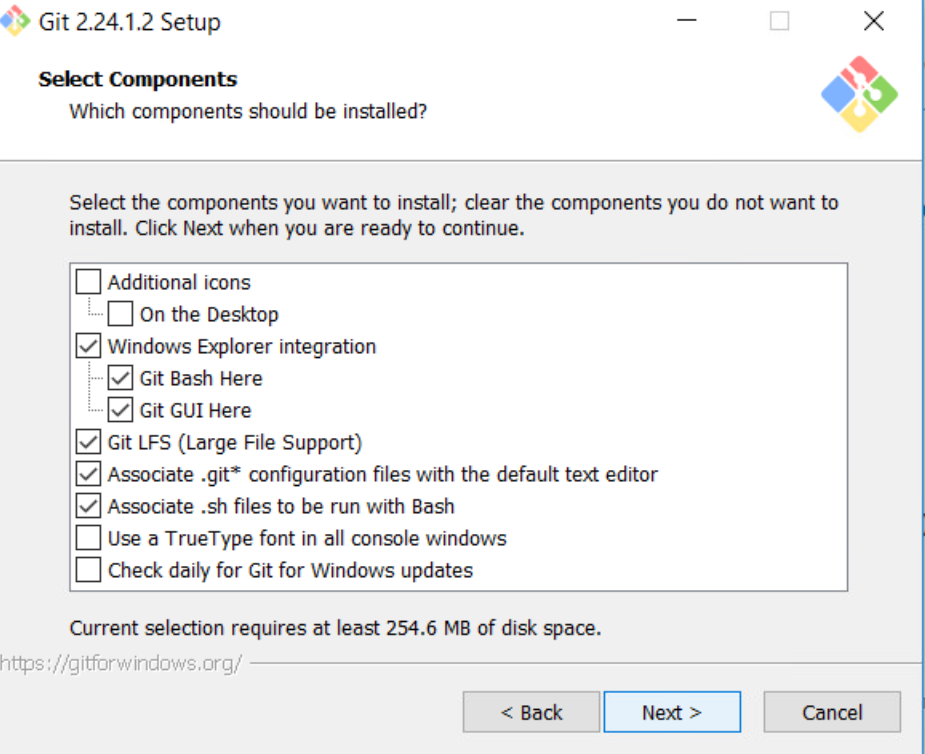
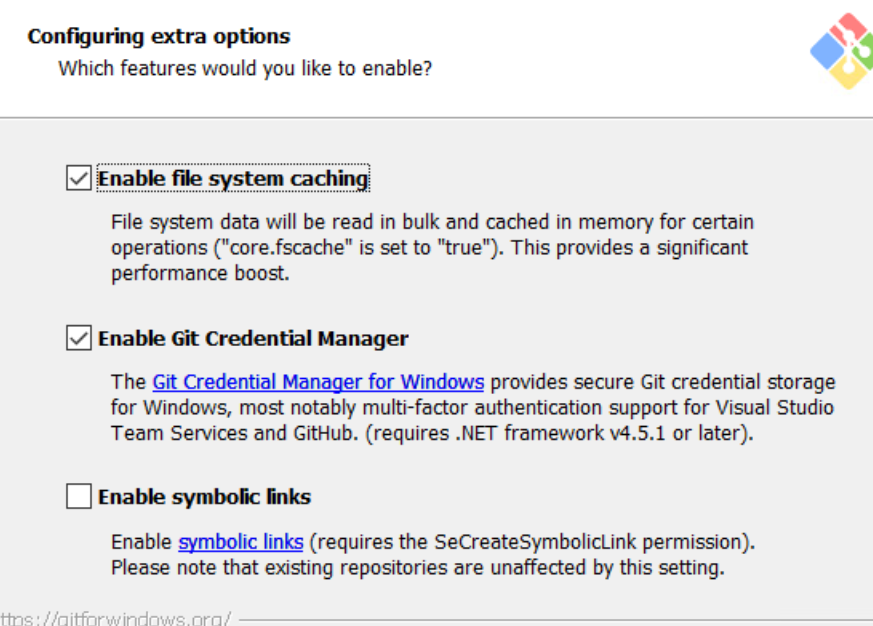
I leave all these default.
Docker
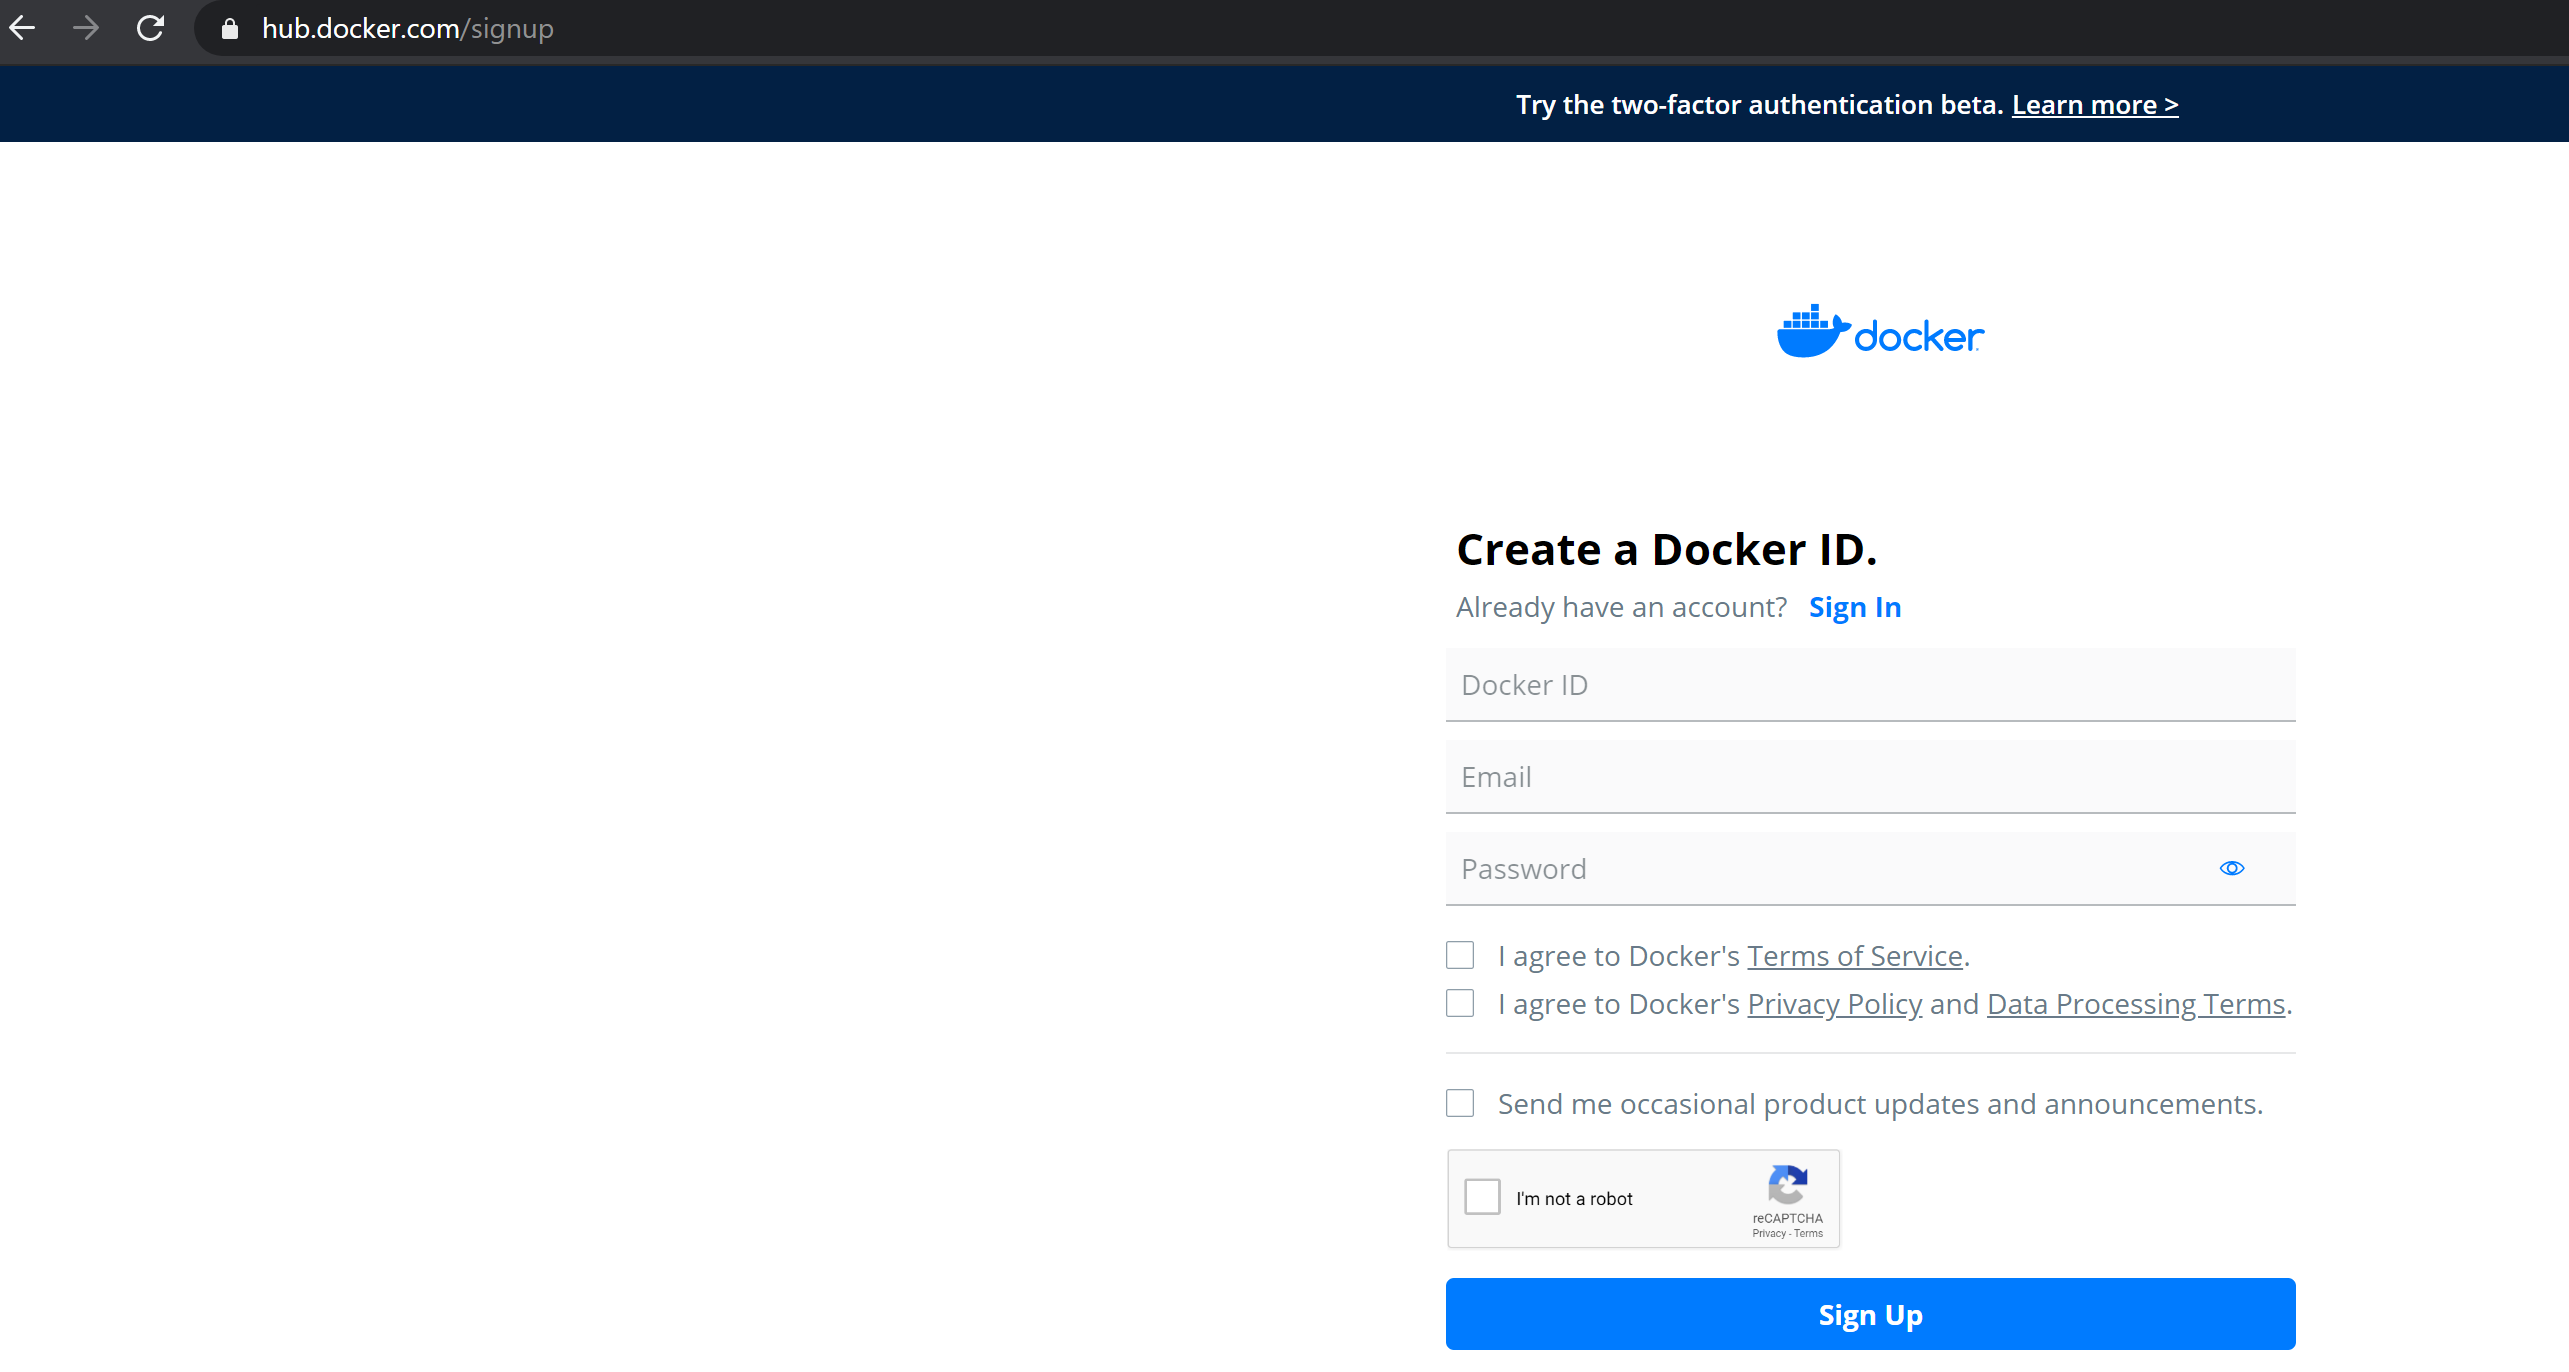
First we sign up for a Docker account
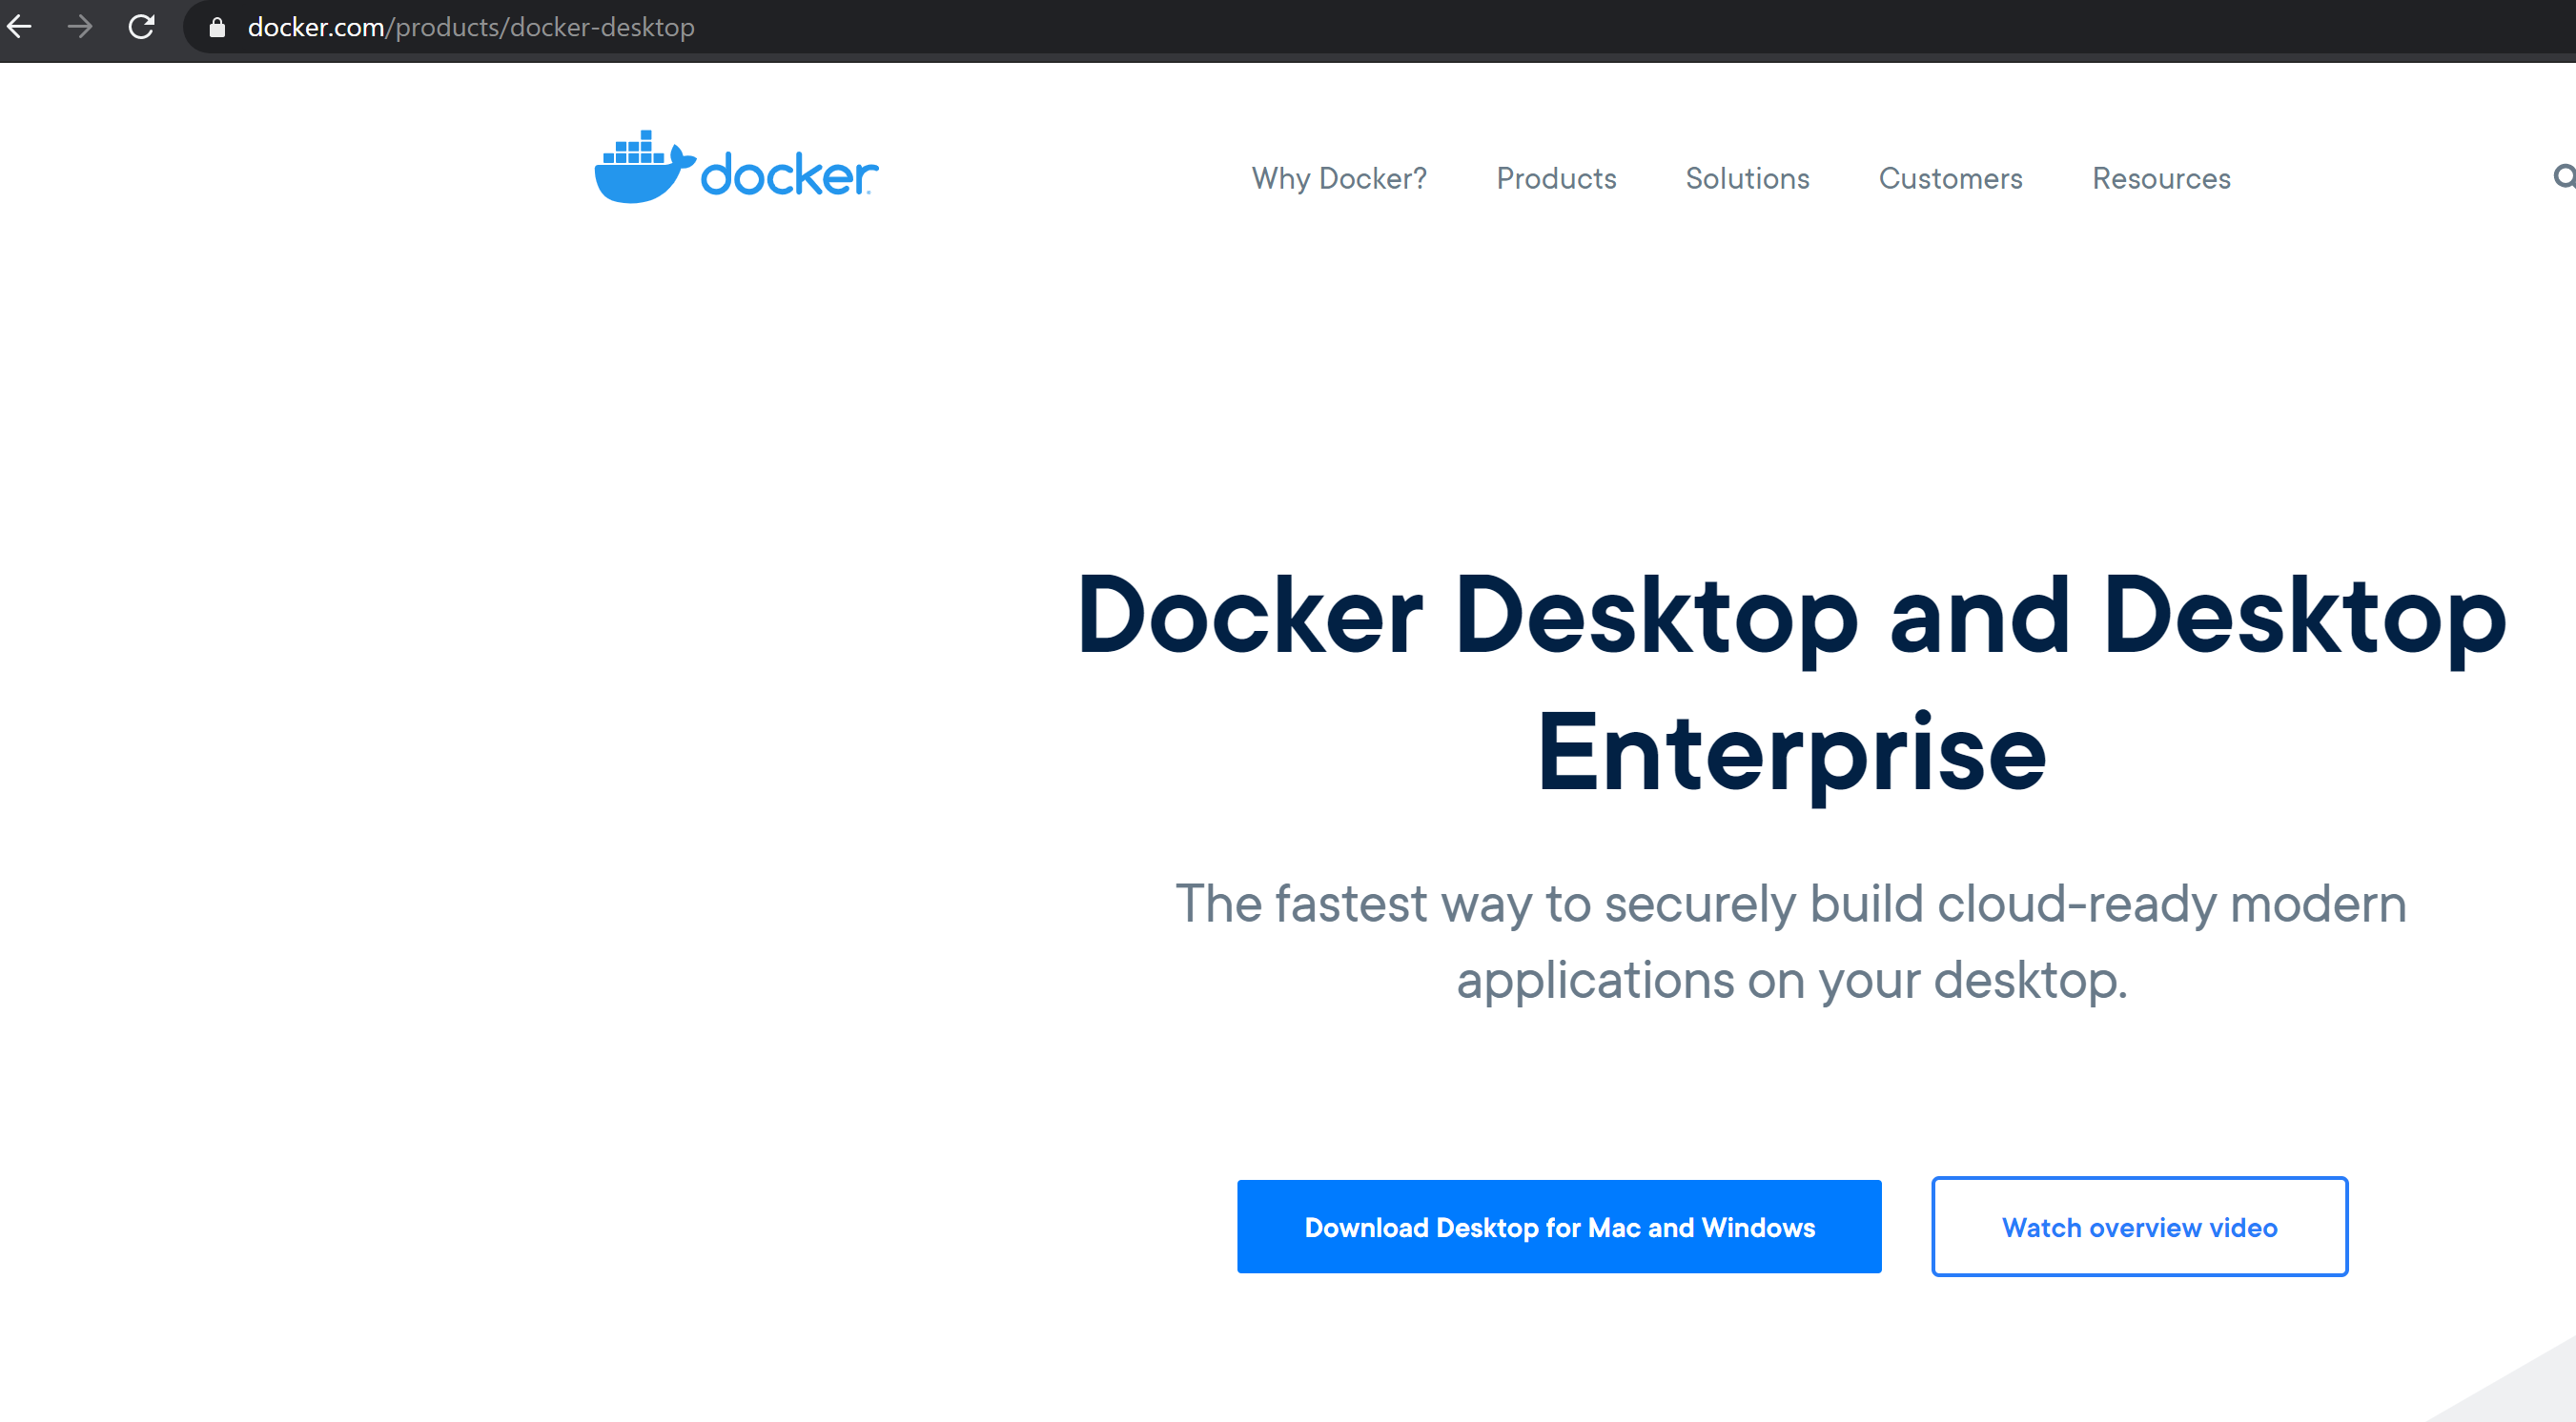
Now we download and install Docker Desktop. The installation is simple, you can find the official installation documentation here.
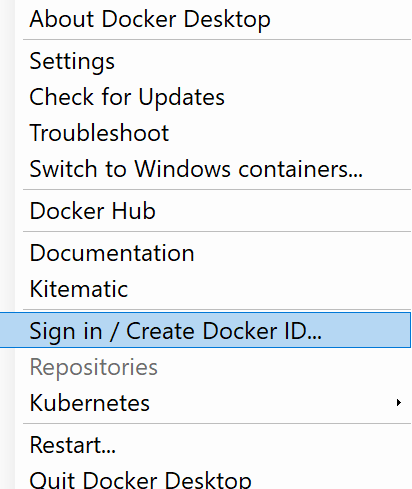
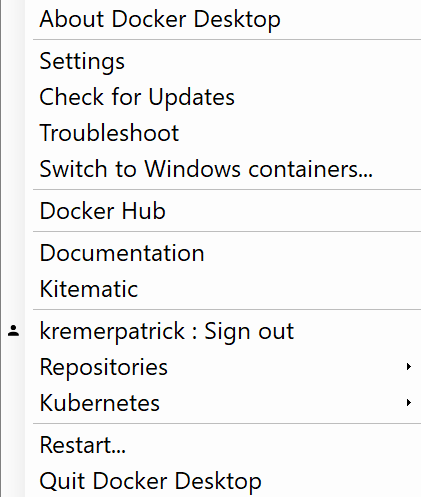
After installation there’s a little whale icon in my system tray

I right-click and log in with the account I just created
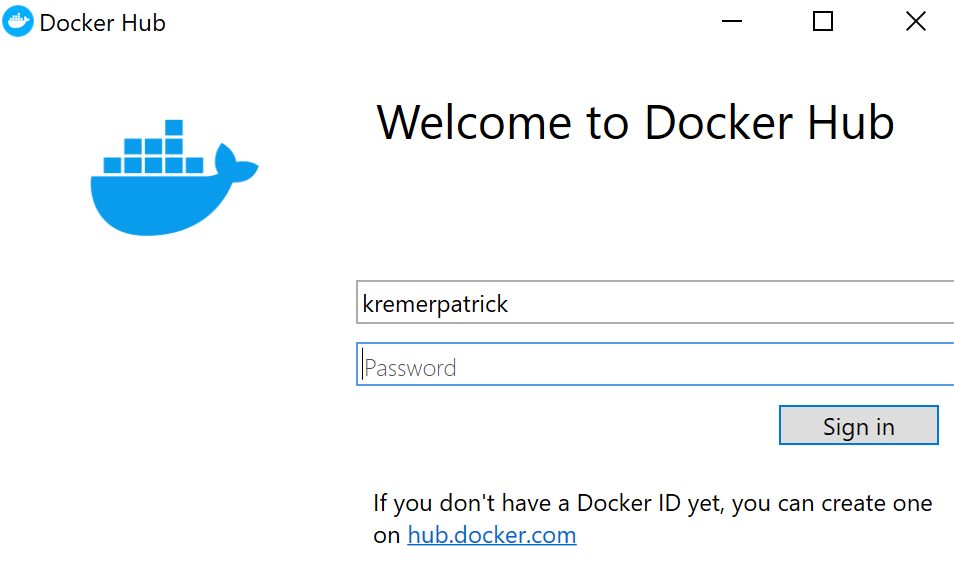
Now when I right-click the whale, it shows that I’m signed in.
Kubectl
You can get Kubectl from here. Download it to your machine, ensure the path to the location where you put the binary is in your PATH.
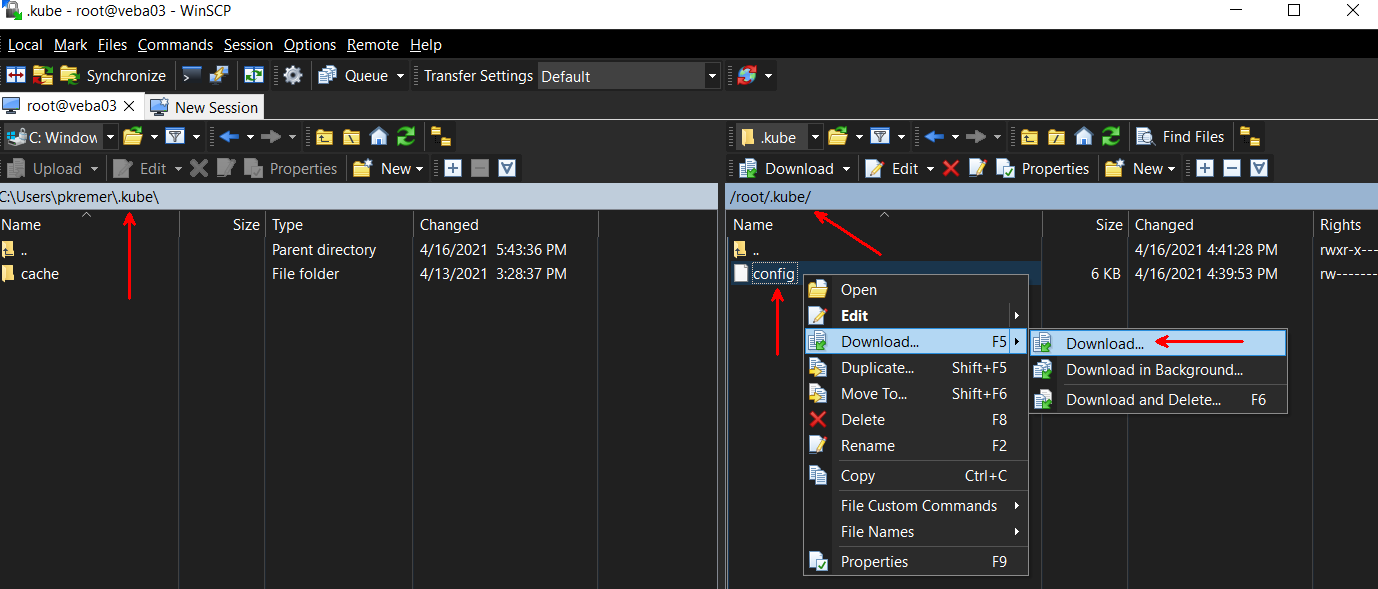
Now we need to copy the Kubernetes config file to our laptop so we can administer it remotely. If you did not enable sshd when you deployed the appliance, connect to the console through vCenter and issue the command:
systemctl start sshdI use WinSCP to copy files from the appliance over SSH.
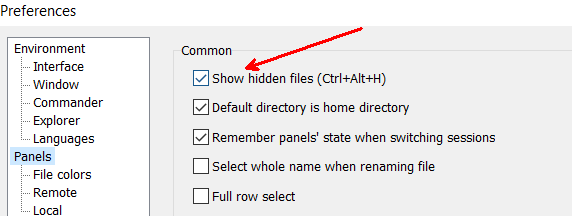
NOTE: Make sure to enable hidden files and folders in Options>Preferences>Panels
Create a folder on your local system called .kube – that’s kube with a period in front of it – in your user directory. On Windows, I create .kube in my home folder $env:USERPROFILE. On Linux/Mac, you would create $HOME/.kube
Change to /root/.kube on the VEBA appliance. Copy ‘config’ from VEBA to your local system.
On Linux/Mac, you would use the built-in SCP command
pkremer@pkremer-z01:~/.kube$ scp root@10.216.146.11:/root/.kube/config /home/pkremer/.kube
The authenticity of host '10.216.146.11 (10.216.146.11)' can't be established.
ECDSA key fingerprint is SHA256:I1qRx+Gf4iJb7mBKWHizl0JAMz0KhwezOrOZlFSYTg4.
Are you sure you want to continue connecting (yes/no/[fingerprint])? yes
Warning: Permanently added '10.216.146.11' (ECDSA) to the list of known hosts.
Password:
config
You should now be able to run kubectl commands against the VEBA appliance from your remote machine.
kubectl get pods -A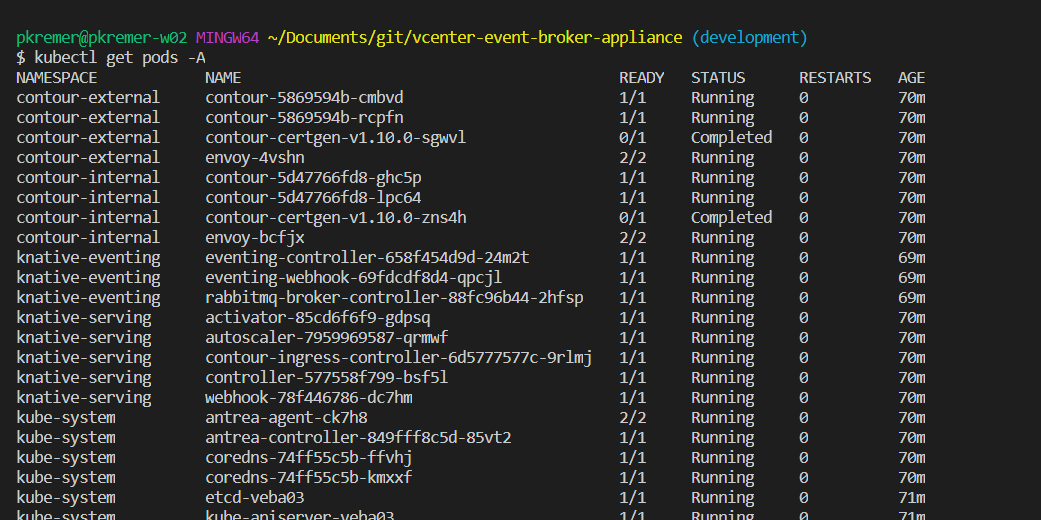
Don’t forget to disable sshd
systemctl stop sshdWe have now installed all of the prereqs for running our first sample function. In Part III, we will look deploy our first Knative function.
VMware Event Broker Appliance – Part VIII – Building a new PowerCLI Function - Preparation -
[…] the instructions in Sample Code Prereqs to install the necessary tools on your […]
Event-Based Automation with vRealize Network Insight & VEBA - Lostdomain
[…] the events from the vRNI databus. After deploying VEBA, configure your local environment to work with Kubernetes on VEBA. Also, make sure there’s a wildcard DNS record present. Then head to GitHub and clone […]
Bill A
This is great! Thank you!
Javier
thanks a lot
VMware Event Broker Appliance – Part V - Working with Multiple Kubernetes Clusters (Knative) -
[…] Part II, we demonstrated how to copy the .kube/config file from the VEBA appliance to your local […]
VMware Event Broker Appliance – Part III - Deploying the Echo Function (Knative) -
[…] Part II of this series, we looked at setting up a Windows workstation with the prereqs for interacting with […]
VMware Event Broker Appliance - Part I - Deployment (Knative) -
[…] all for this post. In Part II, we look at preqreqs to deploy […]