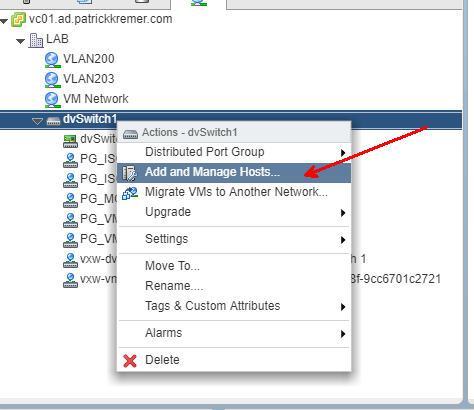
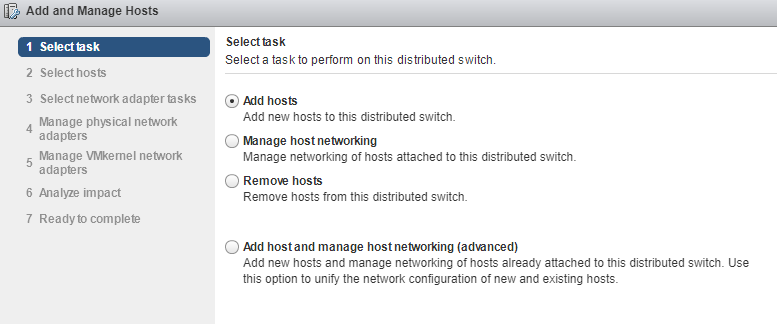
I was rebuilding my lab and decided to capture the process of moving machines from the standard switch to the distributed virtual switch
In these screenshots, I’ve already created the new distributed switch and added portgroups.
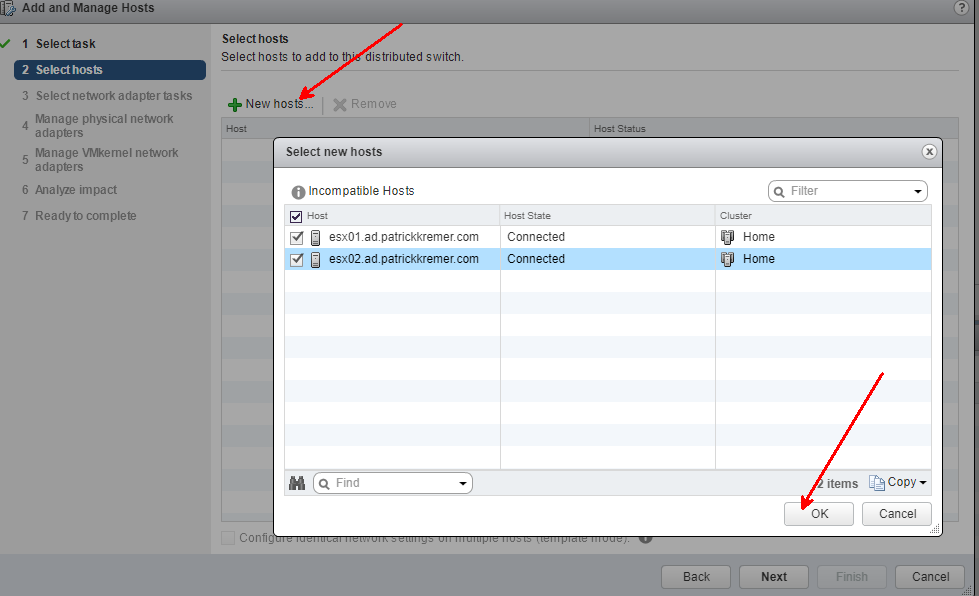
Adding my 2 lab hosts to the distributed switch
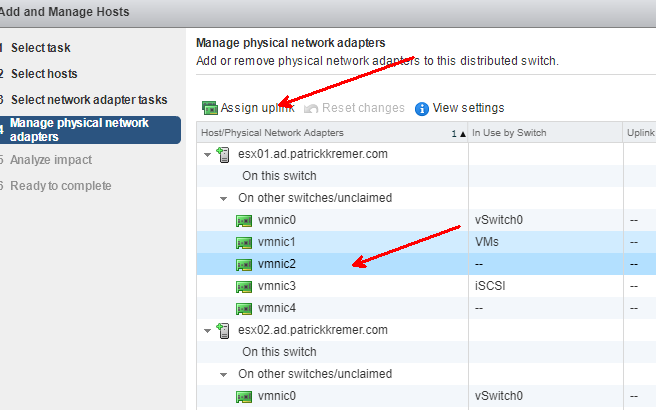
Now we need a physical uplink.

In my lab, vmnic1 and vmnic2 are carrying virtual machine traffic. Prior to this step, I disconnected vmnic2 from the standard switch. This is the part that has the most risk in that if you have a bunch of VLANs, it’s possible that vmnic1 doesn’t have all of them trunked. This is where you can cause an outage, so it’s important to check the physical switch configuration for all VLANs to ensure they’re all trunked.
I assign vmnic2 to Uplink 2 for no reason other than to keep the “2”s together. After the migration is done, you’d come back in here and assign vmnic1 to an uplink – I would assign it to Uplink 1 for consistency’s sake., but the name of the uplink doesn’t actually matter.
Repeat the process for host #2.
You get a summary of the changes before the changes are made
This screen will detect if you’re about to make a disastrous change
My VM traffic is VLAN 203
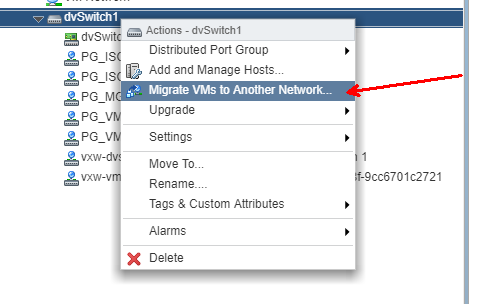
Now to migrate VMs to the distributed switch, I right click and click Migrate MVs to another network
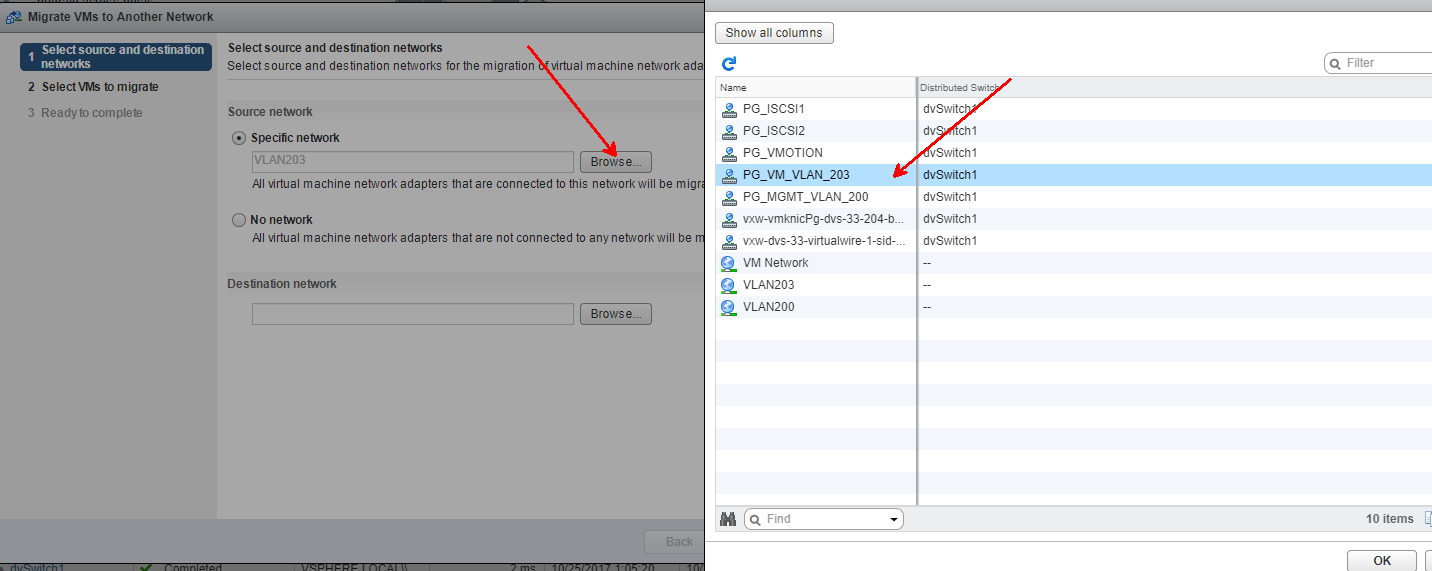
My source network is the standard switch VLAN203 network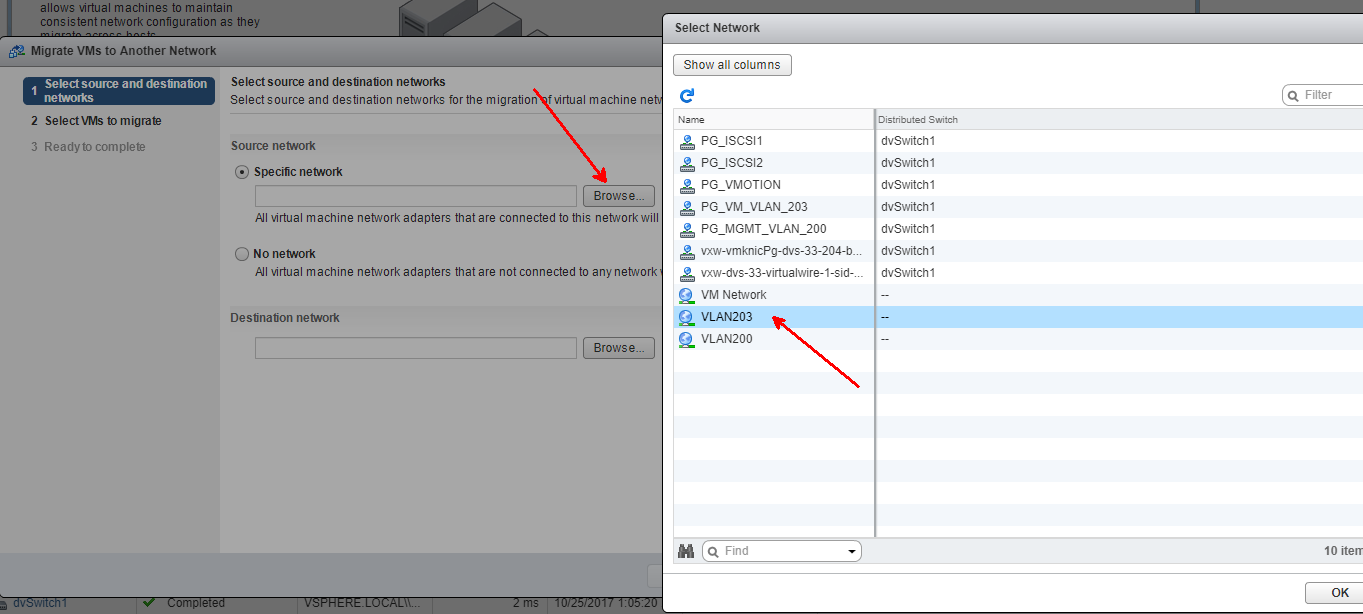
Destination is the DVS portgroup, still VLAN203
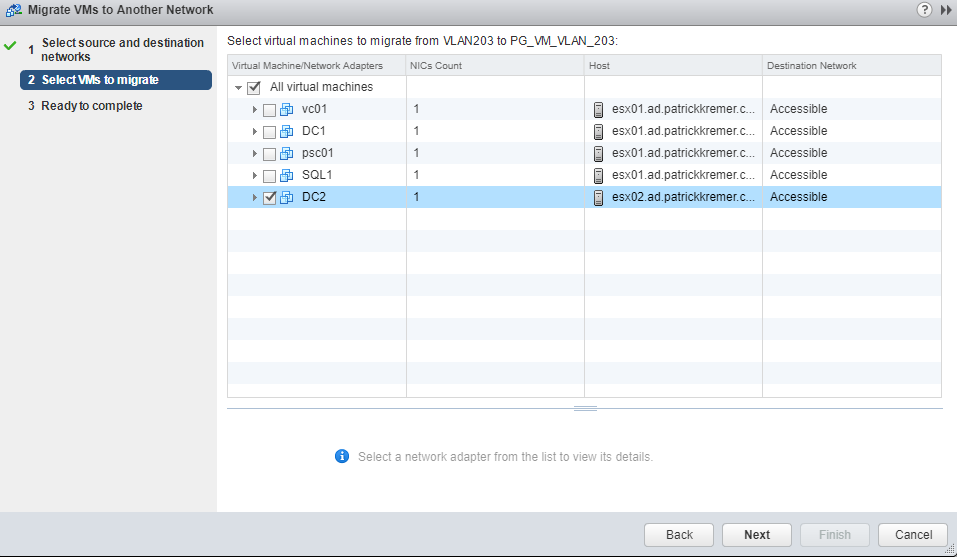
Here’s where it’s awesome. You could migrate every single VM on VLAN203 to the distributed switch by just selecting all here. I play it safe to start by only migrating one. You obviously would probably not want to start with a domain controller, but I like to live dangerously 🙂
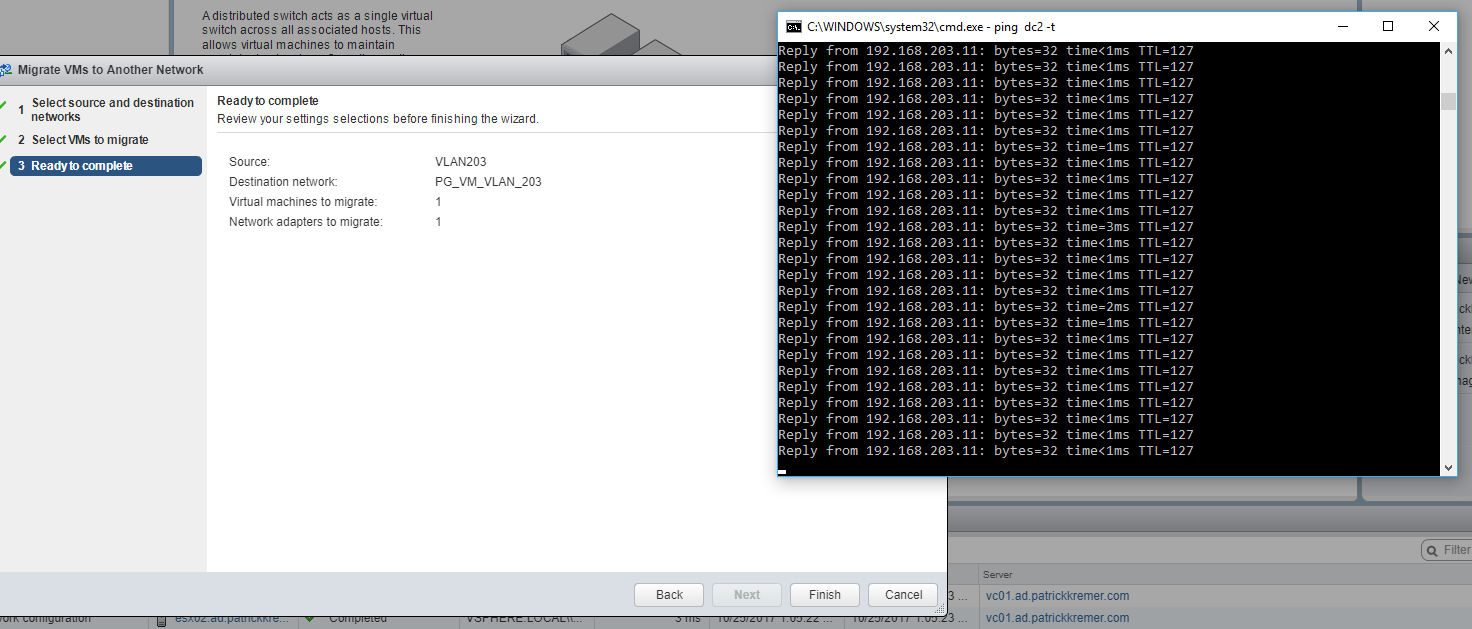
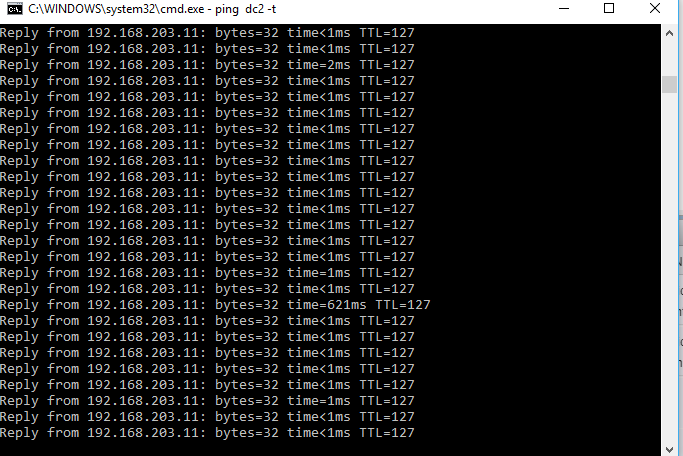
Continous ping to the domain controller
I get a little blip but don’t drop a ping
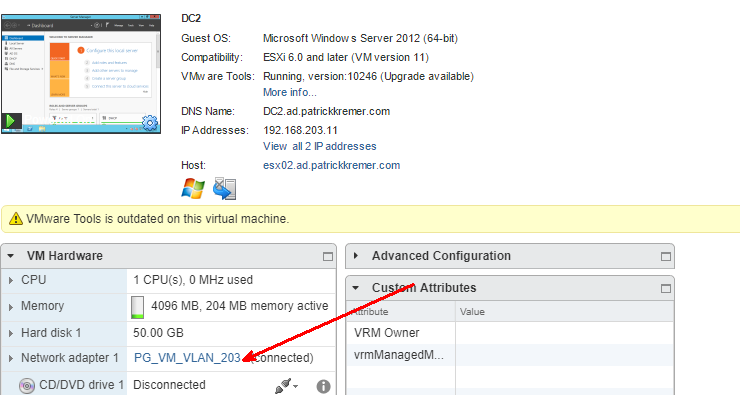
VM is migrated. I can now migrate all of the VMs on VLAN203, then remove vmnic1 from the standard switch, then come back and add vmnic1 so I have redundant uplinks.

