Introduction
I became aware of the VMware Event Broker Appliance Fling (VEBA) Fling in December, 2019. The VEBA Fling is open source code released by VMware which allows customers to easily create event-driven automation based on vCenter Server Events. You can think of it as a way to run scripts based on alarm events – but you’re not limited to only the alarm events exposed in the vCenter GUI. Instead, you have the ability to respond to ANY event in vCenter.
Did you know that an event fires when a user account is created? Or when an alarm is created or reconfigured? How about when a distributed virtual switch gets upgraded or when DRS migrates a VM? There are more than 1,000 events that fire in vCenter; you can trap the events and execute code in response using VEBA. Want to send an email and directly notify PagerDuty via API call for an event? It’s possible with VEBA. VEBA frees you from the constraints of the alarms GUI, both in terms of events that you can monitor as well as actions you can take.
VEBA is a client of the vSphere API, just like PowerCLI. VEBA connects to vCenter to listen for events. There is no configuration stored in the vCenter itself, and you can (and should!) use a read-only account to connect VEBA to your vCenter. It’s possible for more than one VEBA to listen to the same single vCenter the same way multiple users can interact via PowerCLI with the same vCenter.
For more details, make sure to check out the VMworld session replay “If This Then That” for vSphere- The Power of Event-Driven Automation (CODE1379UR)
Installing VEBA with Knative
The product documentation can be found on the VEBA website.
First we download the OVF appliance from https://flings.vmware.com/vcenter-event-broker-appliance and deploy it to our cluster
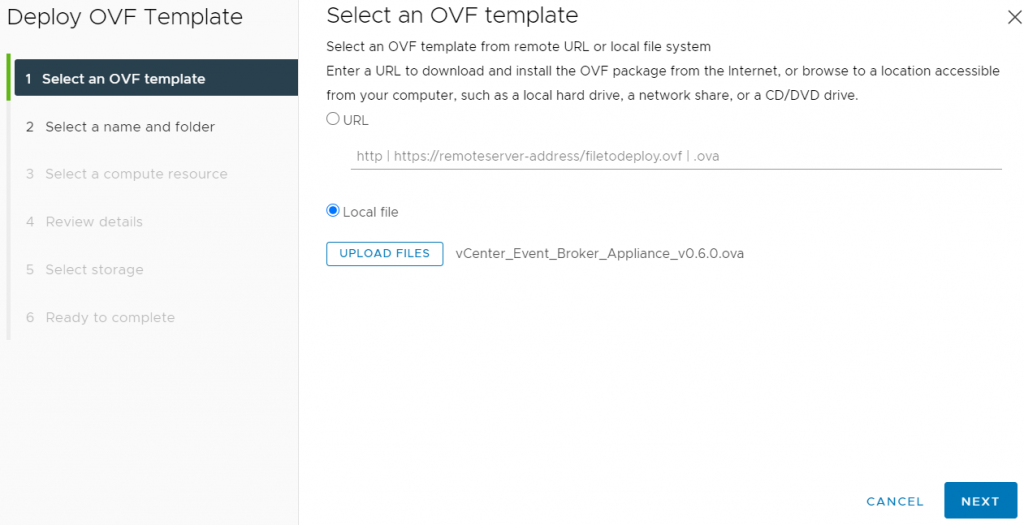
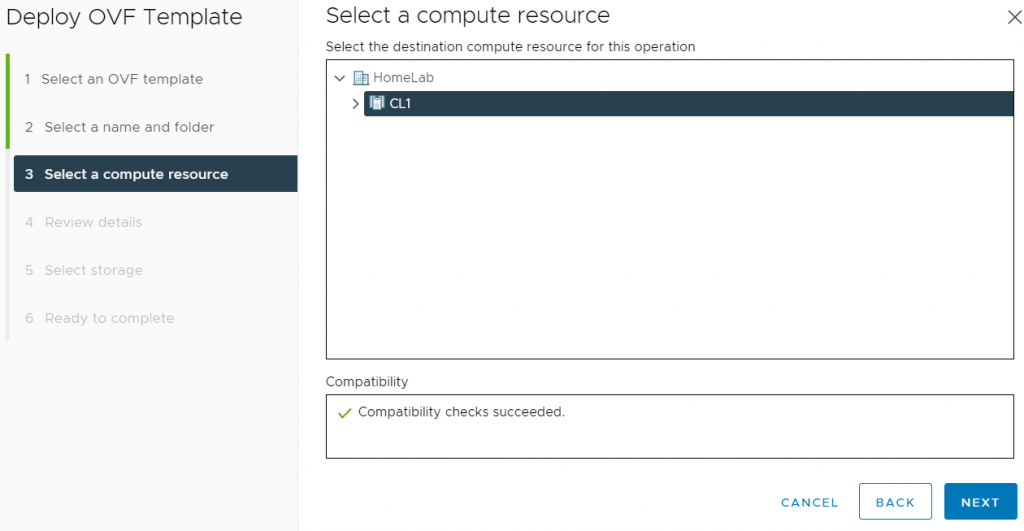
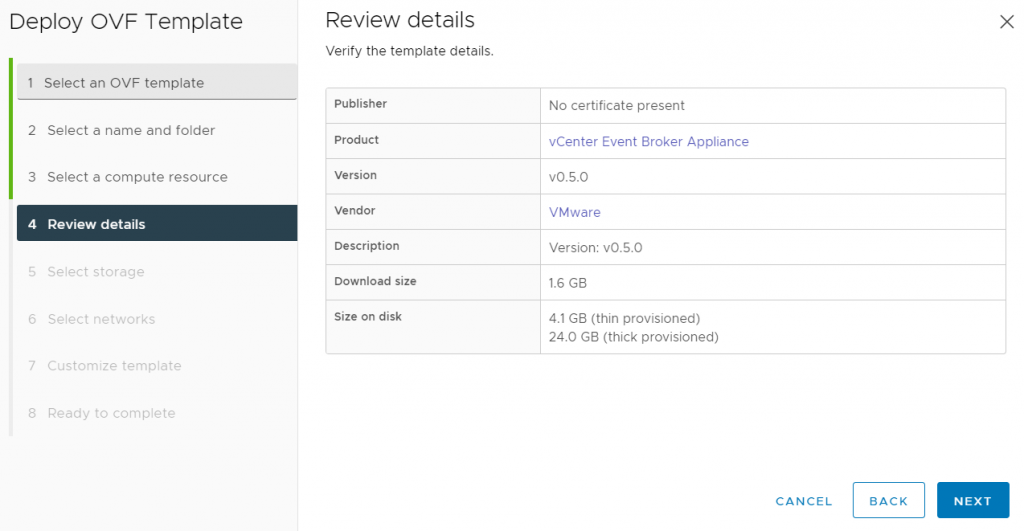
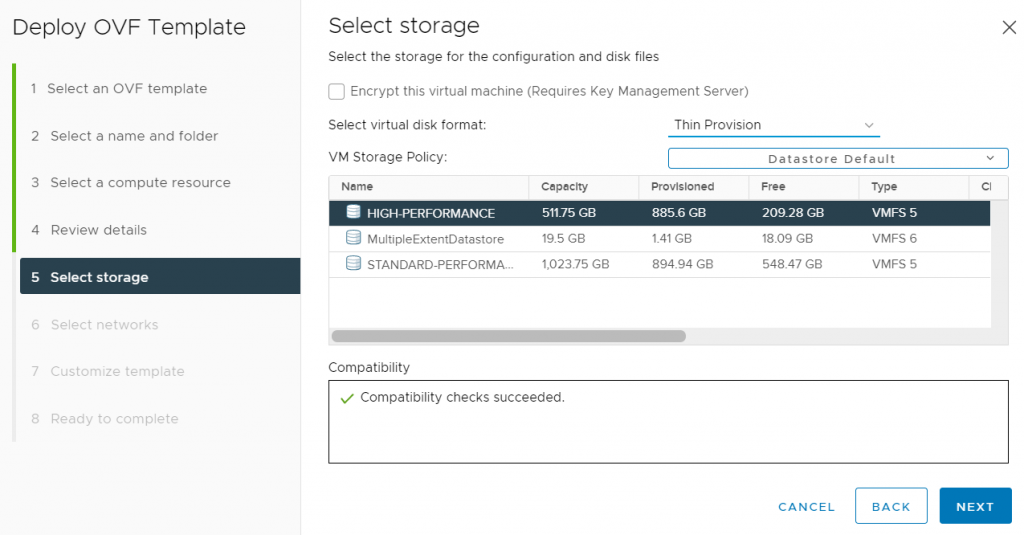
I am deploying a prerelease version of v0.6, so the version number still shows 0.5
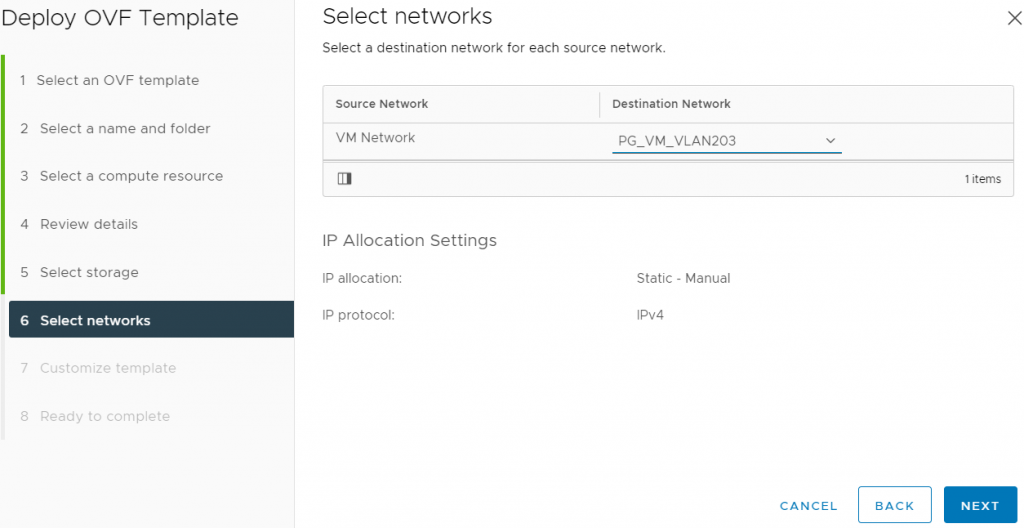


I don’t have a proxy server so I leave all of the settings blank

This is the root password to log into the appliance. You generally need it only for troubleshooting. If you want the SSH daemon to auto-start, check the box. It is more secure to leave it unchecked.

These settings are all straightforward. Definitely disable TLS verification if you’re running in a homelab. One gotcha are passwords – you can move forward with blank passwords – if you use a blank vCenter password, the appliance won’t be able to connect to vCenter to receive events. It is best practice to use a read-only account – we don’t need any additional permissions to read the vCenter logs

These settings are for the new 0.6 feature – a vCenter user interface plugin! Using the plugin is not a requirement, but it’s a great way to easily deploy functions. The account you specify here needs permissions to register a plugin with vCenter:
- Register and Update Extension – Install Plugin
- Manage Plugins – Update Plugin

Definitely disable TLS verification in your homelab – and maybe you like to run Prod a little dangerously too?

Here we pick Knative, and then skip to the Knative section

Knative comes installed in the VEBA appliance – you do not need to specify any of these settings unless you want to use your own Knative instance.

Finally, we have networking settings, you won’t need to change any of these unless you have a conflict with the ranges.

The appliance boots up and configures itself.


Finished! This is what the console should look like if the deployment succeeds.
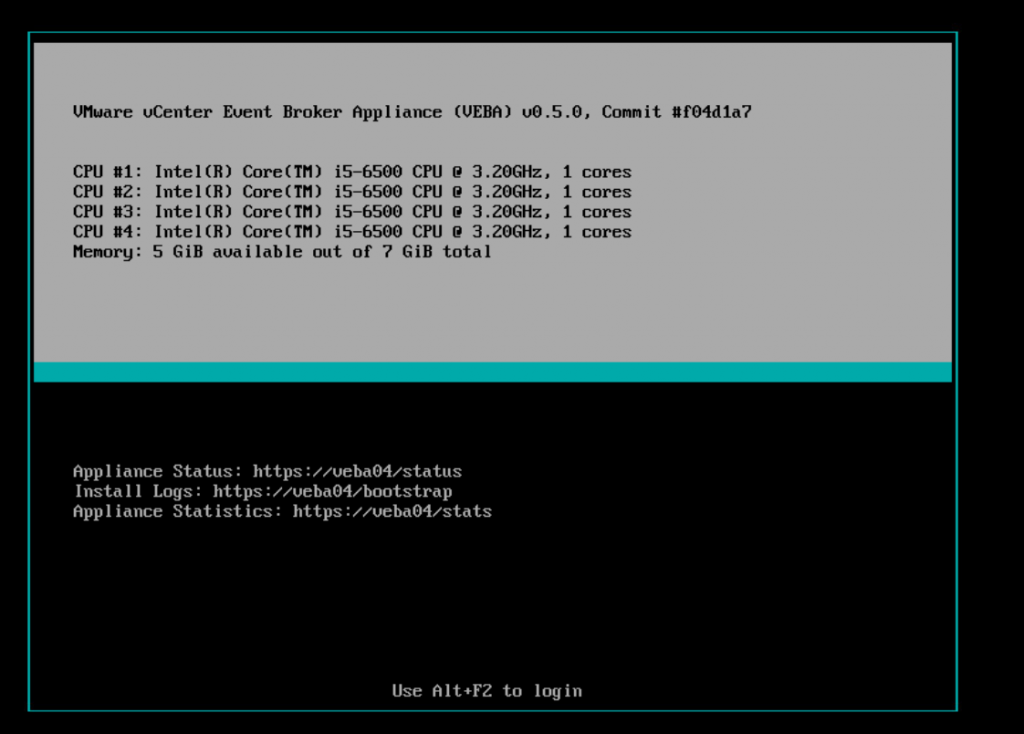
If you want to look around on the appliance, you can either log directly onto the console as root or SSH if you’ve enabled the SSH daemon. It is best practice to leave SSH disabled, the recommended method for administering Kubernetes on this appliance is via remote kubectl. We cover installation and setup of kubectl in Part II.
View all the running pods with
kubectl get pods -Aroot@veba04 [ ~ ]# kubectl get pods -A
NAMESPACE NAME READY STATUS RESTARTS AGE
contour-external contour-5869594b-4mtnh 1/1 Running 0 7m21s
contour-external contour-5869594b-tk8tg 1/1 Running 0 7m21s
contour-external contour-certgen-v1.10.0-pl8qz 0/1 Completed 0 7m21s
contour-external envoy-s4ngd 2/2 Running 0 7m21s
contour-internal contour-5d47766fd8-5ggc8 1/1 Running 0 7m20s
contour-internal contour-5d47766fd8-95wws 1/1 Running 0 7m20s
contour-internal contour-certgen-v1.10.0-dv6hn 0/1 Completed 0 7m21s
contour-internal envoy-mxm5p 2/2 Running 0 7m20s
knative-eventing eventing-controller-658f454d9d-x7ps2 1/1 Running 0 6m42s
knative-eventing eventing-webhook-69fdcdf8d4-9tsj4 1/1 Running 0 6m42s
knative-eventing rabbitmq-broker-controller-88fc96b44-gww84 1/1 Running 0 6m31s
knative-serving activator-85cd6f6f9-4452r 1/1 Running 0 7m46s
knative-serving autoscaler-7959969587-lvd9d 1/1 Running 0 7m45s
knative-serving contour-ingress-controller-6d5777577c-sscjm 1/1 Running 0 7m19s
knative-serving controller-577558f799-h8rcb 1/1 Running 0 7m45s
knative-serving webhook-78f446786-km7qw 1/1 Running 0 7m45s
kube-system antrea-agent-t7hgq 2/2 Running 0 7m46s
kube-system antrea-controller-849fff8c5d-flp9n 1/1 Running 0 7m46s
kube-system coredns-74ff55c5b-4w6x8 1/1 Running 0 7m46s
kube-system coredns-74ff55c5b-bgm9b 1/1 Running 0 7m46s
kube-system etcd-veba04 1/1 Running 0 7m51s
kube-system kube-apiserver-veba04 1/1 Running 0 7m51s
kube-system kube-controller-manager-veba04 1/1 Running 0 7m51s
kube-system kube-proxy-r5zmd 1/1 Running 0 7m46s
kube-system kube-scheduler-veba04 1/1 Running 0 7m51s
local-path-storage local-path-provisioner-5696dbb894-qc9kk 1/1 Running 0 7m45s
rabbitmq-system rabbitmq-cluster-operator-7bbbb8d559-frthd 1/1 Running 0 6m32s
vmware-functions default-broker-ingress-5c98bf68bc-2fhhd 1/1 Running 0 5m7s
vmware-system tinywww-dd88dc7db-rjjf2 1/1 Running 0 6m23s
vmware-system veba-rabbit-server-0 1/1 Running 0 6m24s
vmware-system veba-ui-677b77dfcf-tss5t 1/1 Running 0 6m19s
vmware-system vmware-event-router-b85dd9d87-g9cm5 1/1 Running 4 6m26sThey should all be running except for the ones that say certgen. We are most interested in the one named vmware-event-router. The extra text – ‘-b85dd9d87-g9cm5’ in this case – will be unique for every deployment.
The event router process is what connects to vCenter Server and reads all of the events. Let’s check the logs with:
kubectl logs -n vmware-system vmware-event-router-b85dd9d87-g9cm5We see that the event router has started up and is receiving events from our vCenter server.

Our set up worked, but what if yours failed?
kubectl get pods -A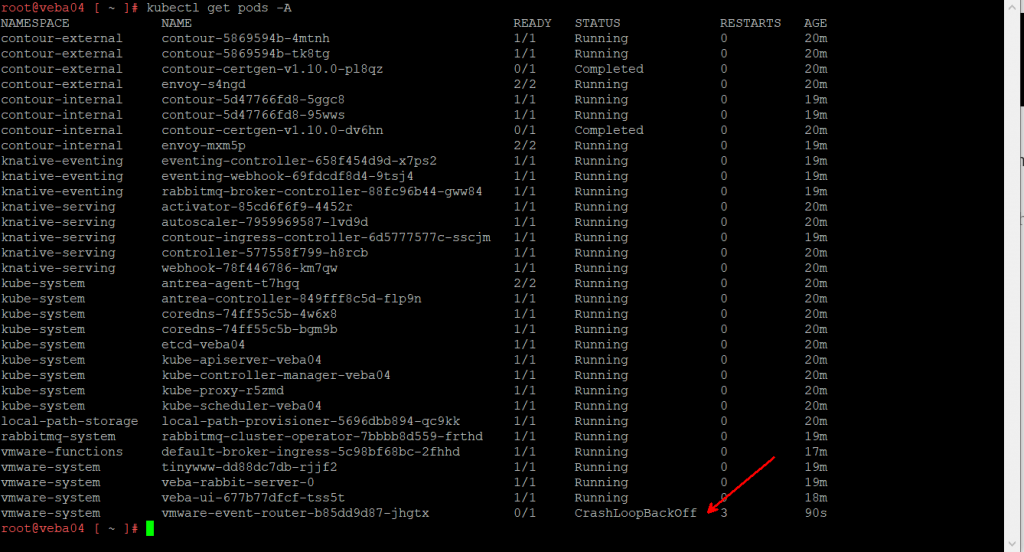
You might log in and find the event router pod in a crashed state.
Check the pod logs to see if you can figure out the problem
kubectl logs -n vmware-system vmware-event-router-b85dd9d87-jhgtx
The logs show us that we failed to log into the vCenter. Time to check the configuration file.
The event router pod configuration file is located at /root/config/event-router-config.yaml
cd /root/config
ls -al
We see the .yaml file is there. Edit the .yaml file with vi
vi event-router-config.yaml
Our error message makes it obvious that we have a bad username or password. I intentionally put in a bad password to cause this error. But you might have made a mistake in the vCenter URL, or you may have forgotten to disable SSL checks in your homelab. Make the necessary change to the config file and save it.
We now need to recreate the Kubernetes secret – this is where Kubernetes securely stores credentials
kubectl -n vmware-system get secret
event-router-config is the one we need to rebuild
Delete the event-router-config secret
kubectl -n vmware-system delete secret event-router-config
Recreate the secret
kubectl -n vmware-system create secret generic event-router-config --from-file=event-router-config.yaml
Now we need to delete the crashing pod. Doing this will cause Kubernetes to recreate the pod with our new secret.
Find the broken pod
kubectl get pods -A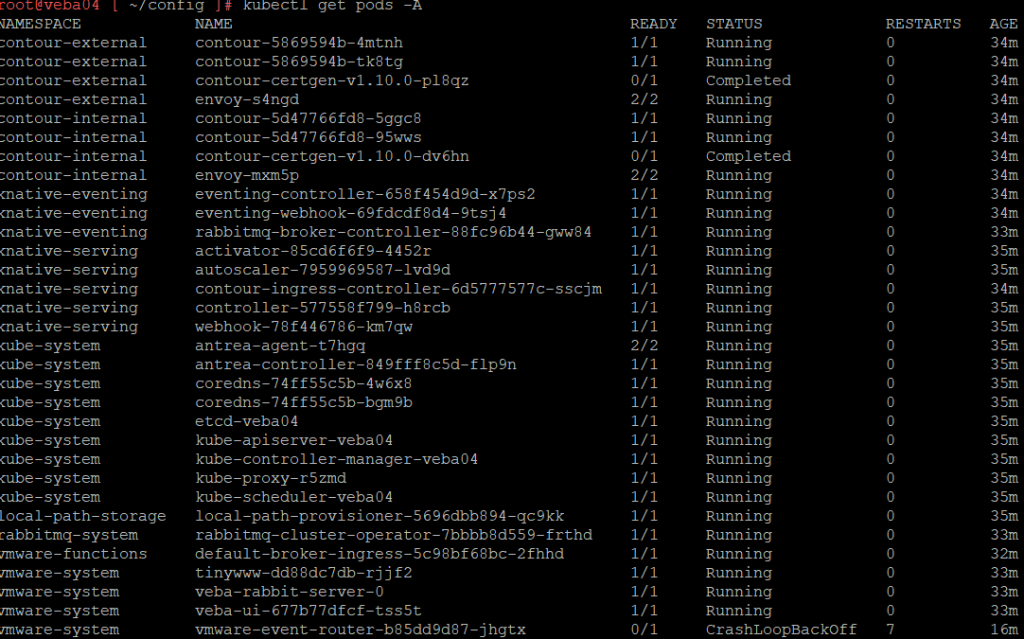
The pod is named ‘vmware-event-router-b85dd9d87-jhgtx’. Delete the pod.
kubectl -n vmware-system delete pod vmware-event-router-b85dd9d87-jhgtx
Now look for the new pod
kubectl get pods -A
This time the pod is running. Check the logs
kubectl logs -n vmware-system vmware-event-router-b85dd9d87-5tw7x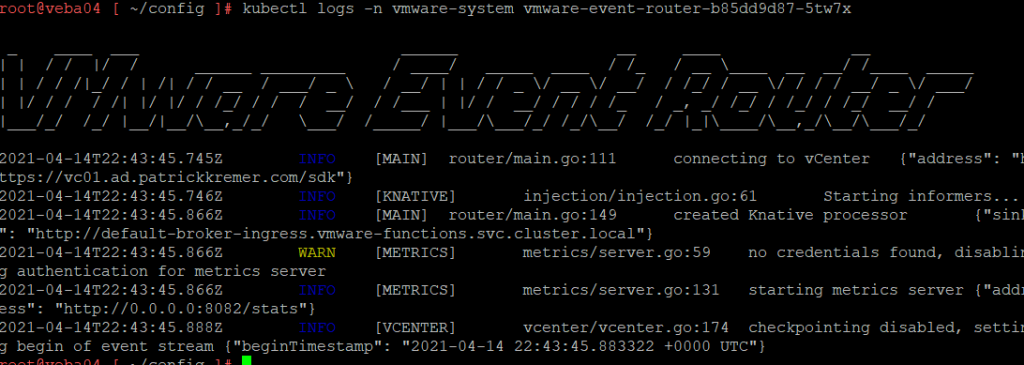
Success!
That’s all for this post. In Part II, we look at preqreqs to deploy functions.

Event-Based Automation with vRealize Network Insight & VEBA - Lostdomain
[…] This posts focuses on setting up the function that receives the events from the vRNI databus. After deploying VEBA, configure your local environment to work with Kubernetes on VEBA. Also, make sure […]