The Security Association (SA) lifetime defines how how long a VPN tunnel stays up before swapping out encryption keys. In VMC, the default lifetimes are 86,400 seconds (1 day) for Phase 1 and 3600 (1 hour) for Phase 2.
I had a customer that needed Phase 2 set to 86,400 seconds. Actually, they were using IKEv2 and there really isn’t a Phase 2 with IKEv2, but IKE is a discussion for a different day. Regardless, if you need the tunnel up for 86,400 seconds, you need to configure the setting as shown in this post. This can only be done via API call. I will show you how to do it through the VMC API explorer – you will not need any programming ability to execute the API calls using API explorer.
Log into VMC and go to Developer Center>API Explorer, pick your SDDC from the dropdown in the Environment section, then click on the NSX VMC Policy API.
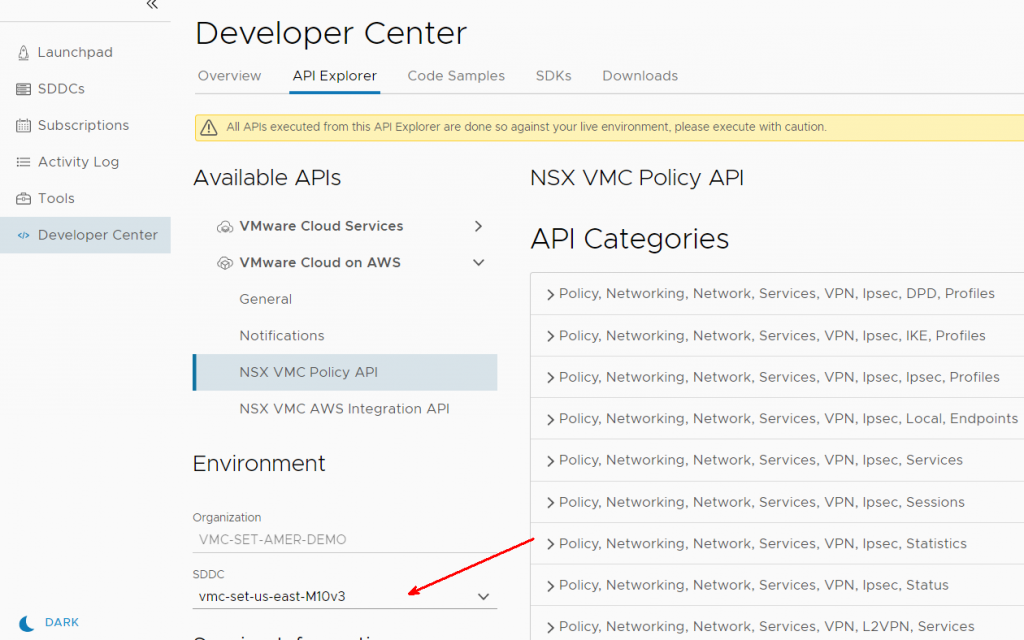
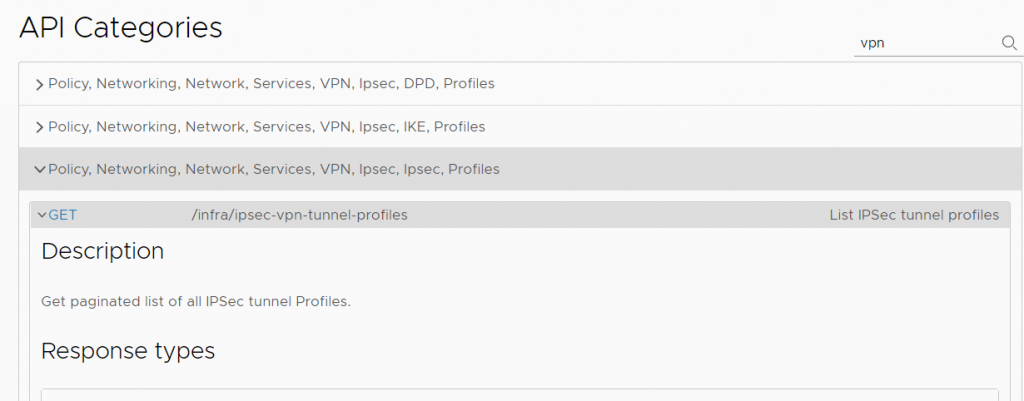
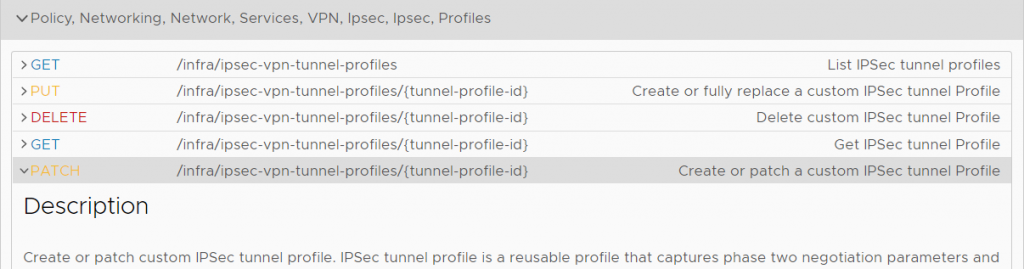
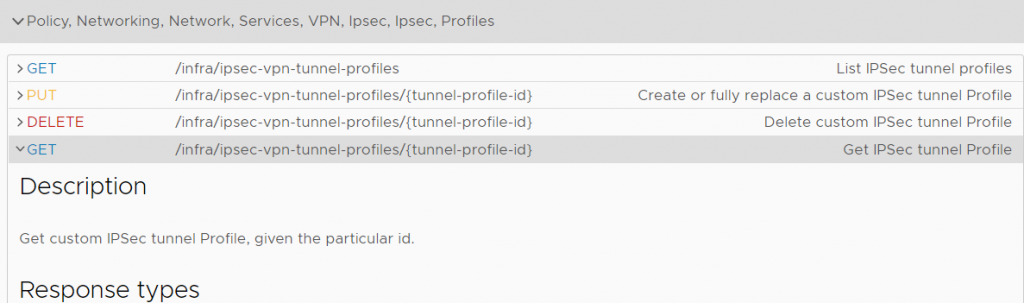
Search for VPN in the search box, then find Policy,Networking,Network,Services,VPN,Ipsec,Ipsec, Profiles.
Expand the first GET call for /infra/ipsec-vpn-tunnel-profiles
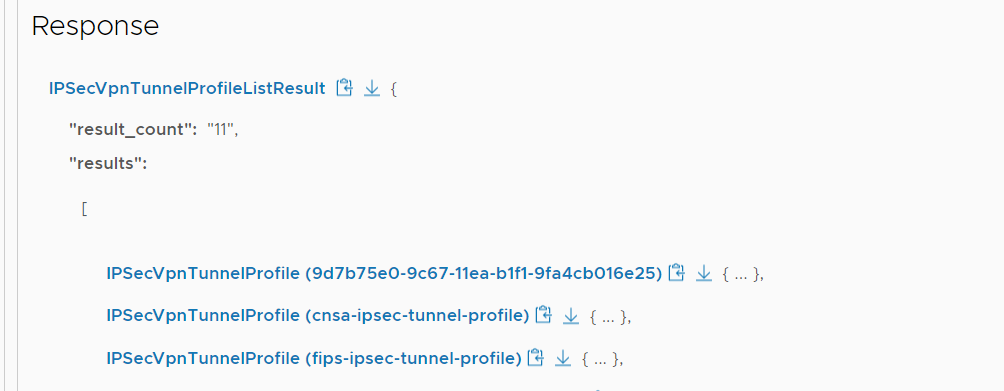
Scroll down until you see the Execute button, click the button to execute the API call. You should get a response of type IPSecVpnTunnelProfileListResult.

Click on the result list to expand the list. The number of profiles will vary by customer – in my lab, we have 11 profiles.
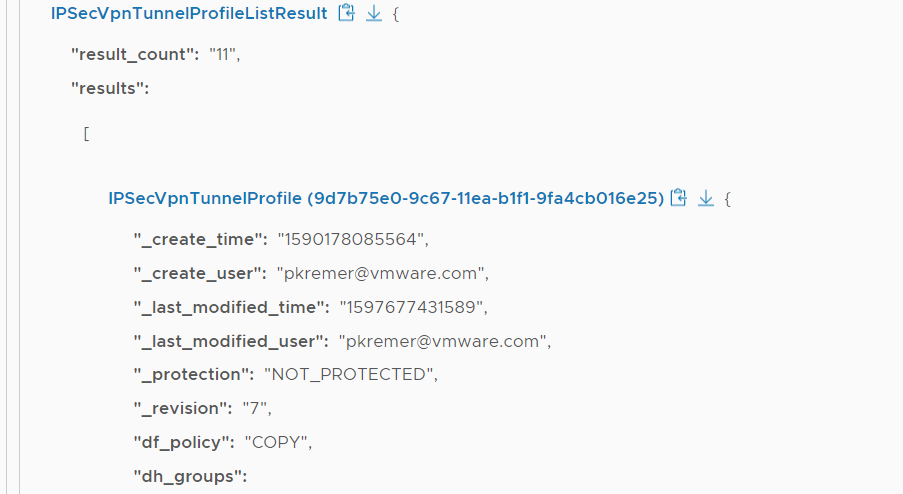
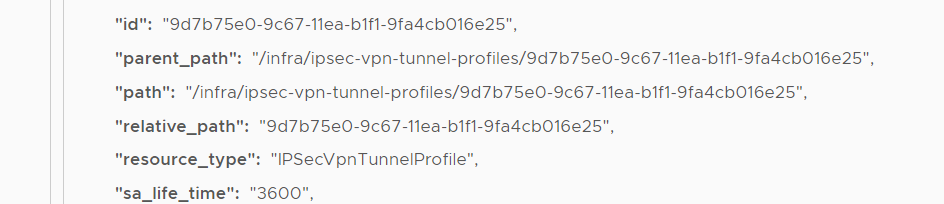
I click on the first one and see my name in it, so I can identify it as the one I created and the one I want to change. I find the key sa_life_time set to 3600 – this is the value that needs to change to 86,400
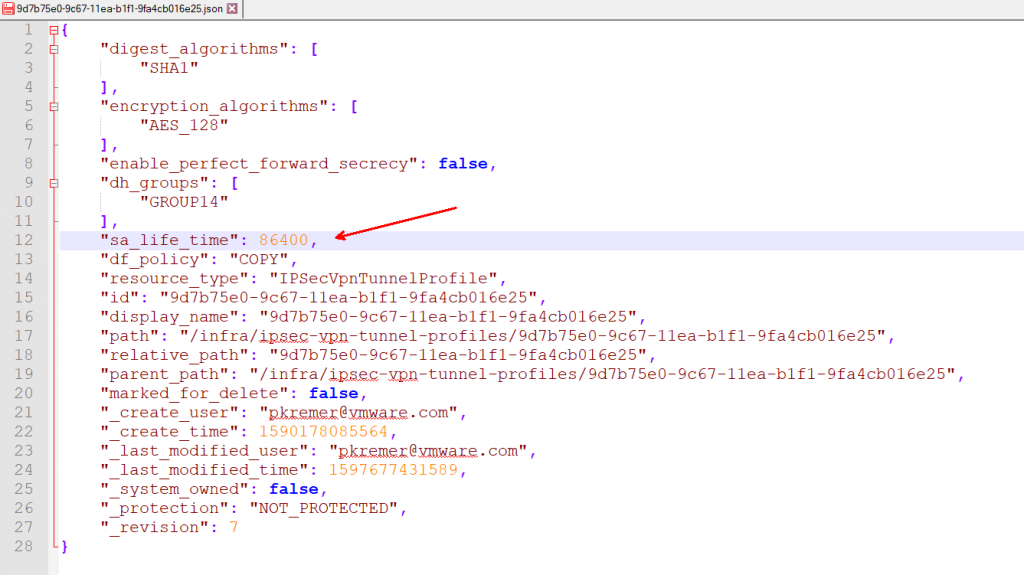
Click on the down arrow next to the tunnel profile to download the JSON for this tunnel profile. Open it in a text editor and change the value from 3600 to 86400 (no commas in the number).
Now we need to push our changes back to VMC via a PATCH API call. Find the PATCH call under the GET call and expand it.
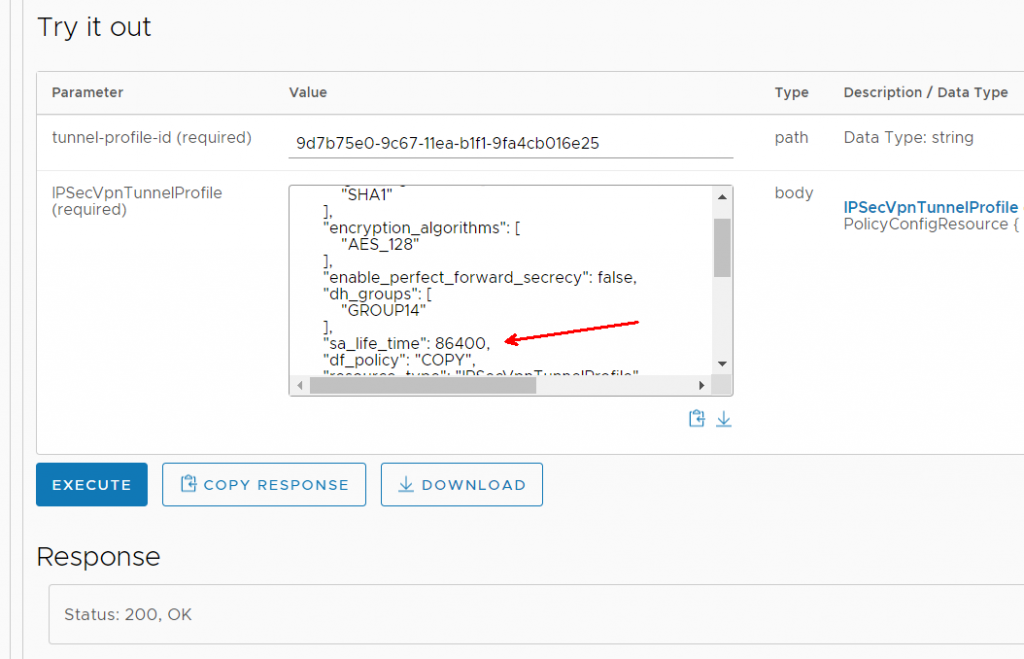
Paste the entirety of the JSON from your text editor into the TunnelProfile box. You can see that the 86400 is visible. Paste the tunnel ID into the tunnel-profile-id section – you can find the ID shown as “id” in the JSON file. Click execute. If successful, you will get a “Status 200, OK” response.
Now to verify. Find the GET request that takes a tunnel profile ID – this will return just a single tunnel profile instead of all of them.
Pass it the tunnel ID and click Execute. You should get a response with a single tunnel profile object.
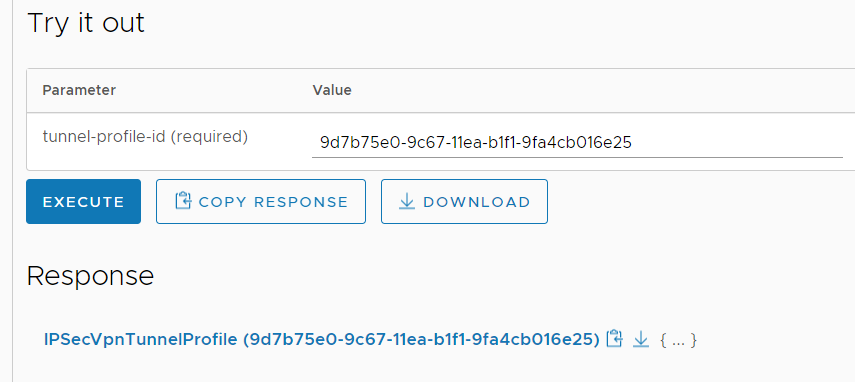
Click on the response object and you should find an sa_life_time value of 86400.
