Among the many features released in HCX 4.2 is the inclusion of OS Assisted Migrations (OSAM) with the purchase price of VMware Cloud on AWS. You can now migrated supported non-vSphere operating systems into VMC!
The first thing is to upgrade the on-prem and VMC HCX installations to 4.2. The UI makes it simple, I showed you how to upgrade the HCX bits in this post on enabling RAV.
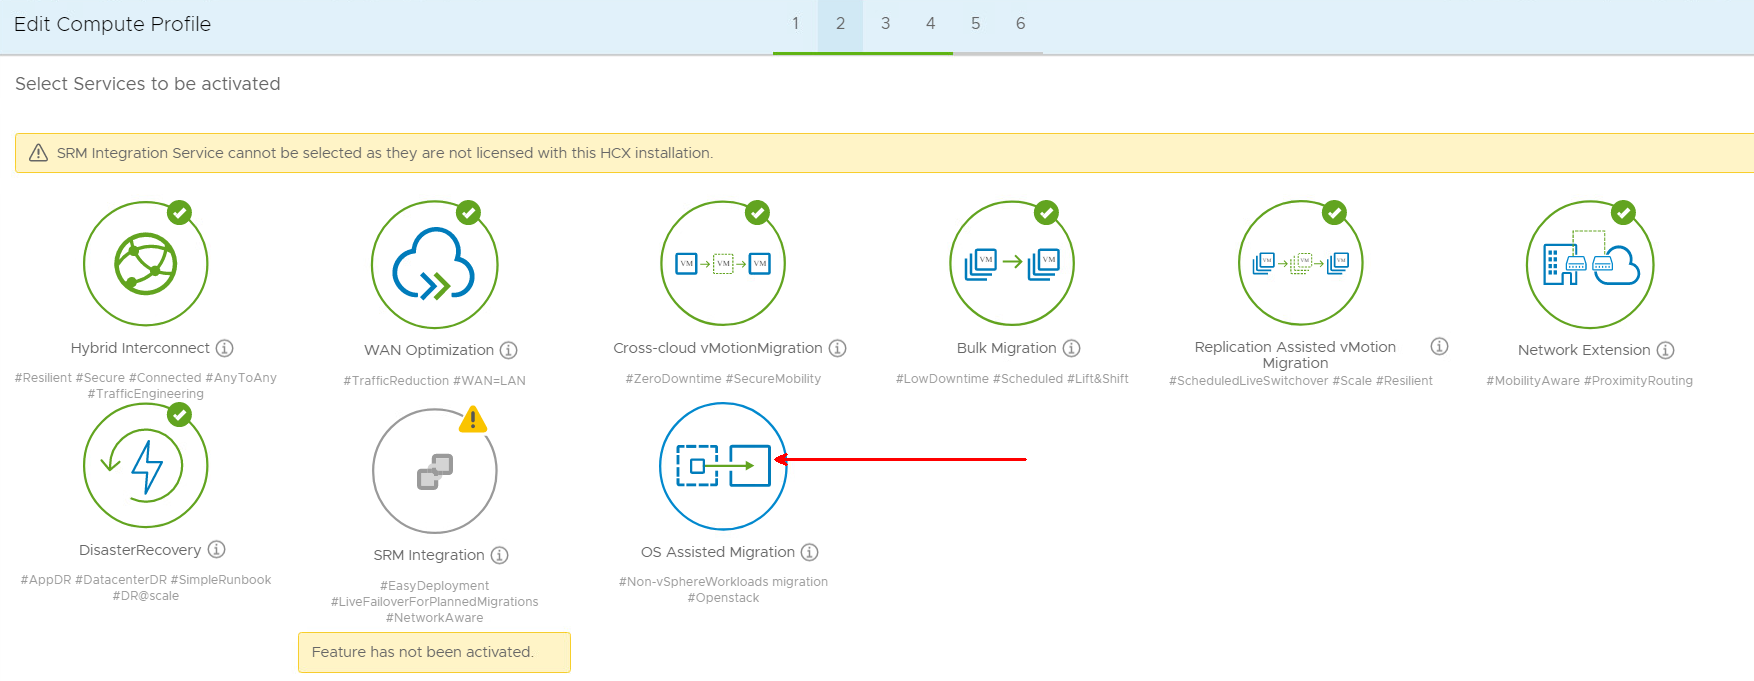
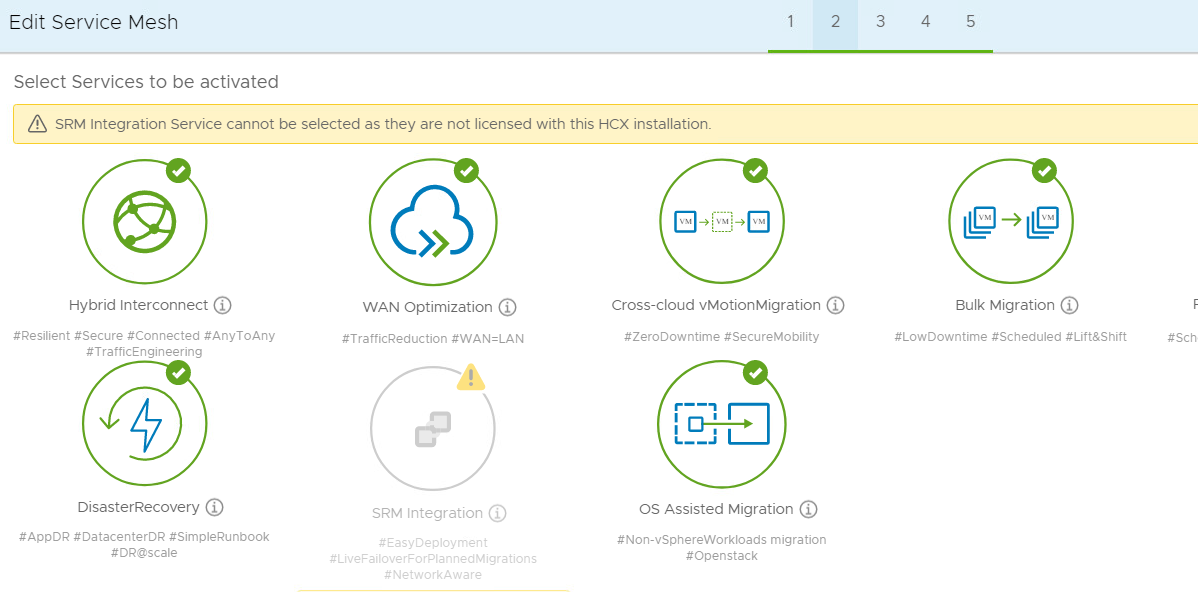
I want OSAM enabled for my existing compute profile. I edit the profile and find OSAM ready to be enabled on the Services screen.
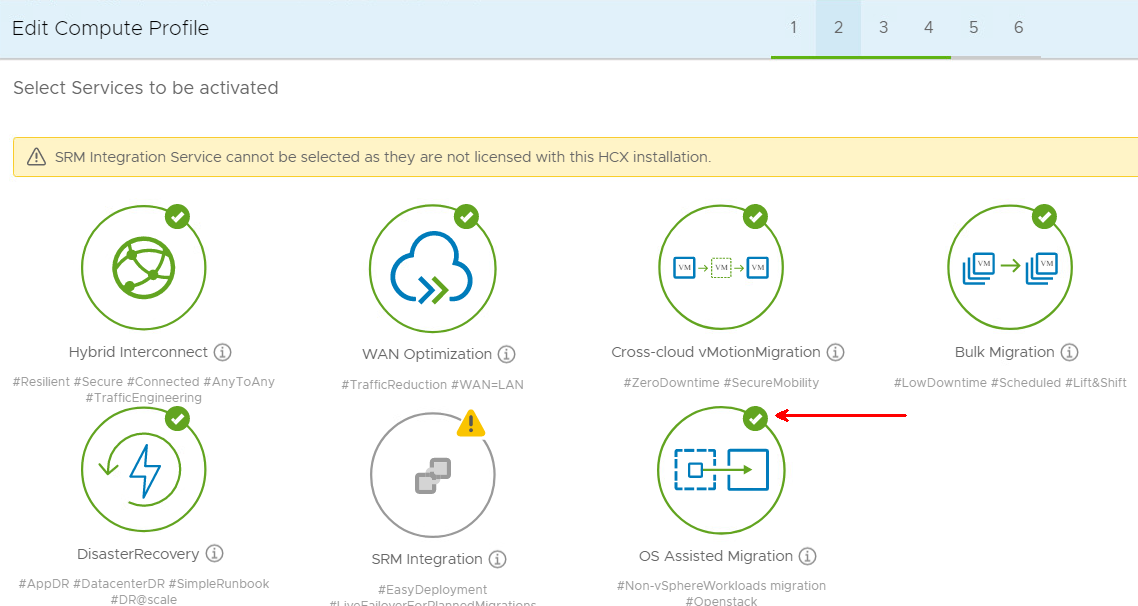
I click on the OSAM icon and the green checkmark appears.
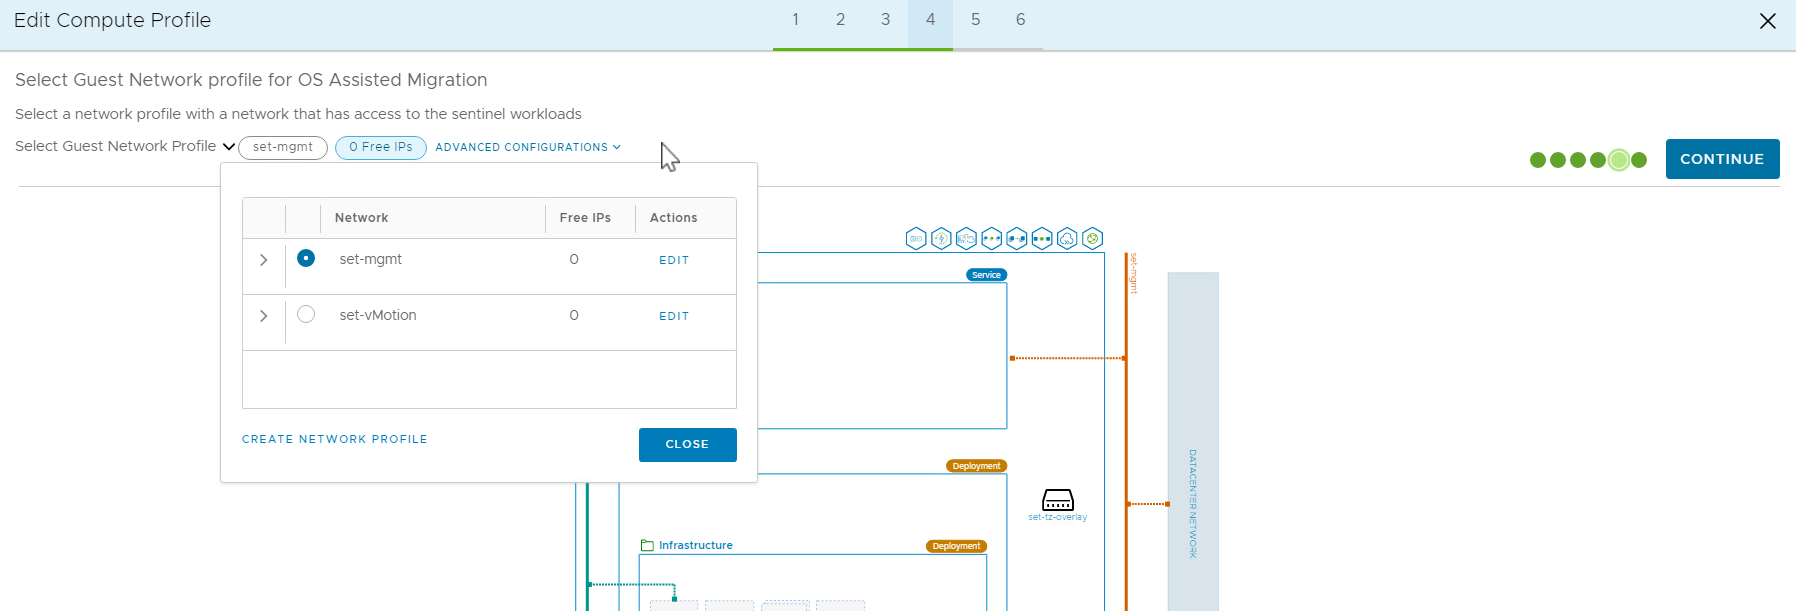
I click Continue until I am stopped at the Guest Network profile. OSAM requires a network segment with access to the non-vSphere workload – it can be L2 or L3. An appliance will be placed in this network segment and will be responsible for handling replication traffic. In my lab’s case, the management network is fine. In your case, you might need to make a new network profile to access a network segment with physical servers or to access VLANs that are only available to your KVM virtual machines.
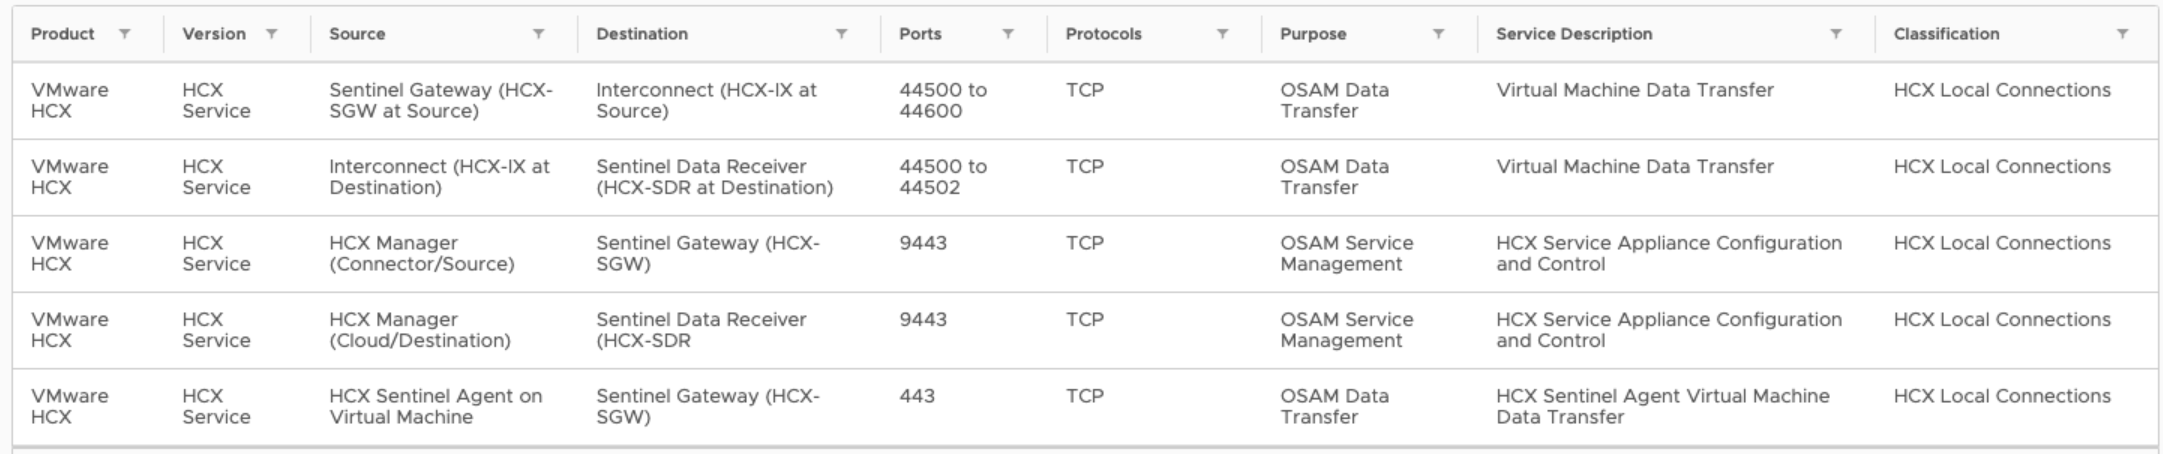
Here is a table with the OSAM firewall requirements.
I want to use the management network, but I am out of free IP addresses. An IP will need to be assigned to the SGW appliance. I click Edit next to the management network profile
I allocate a free IP and add it to the management network profile. In this screenshot the .156 and .157 IPs are already in use, I found .161 as a free IP and added it to the pool.
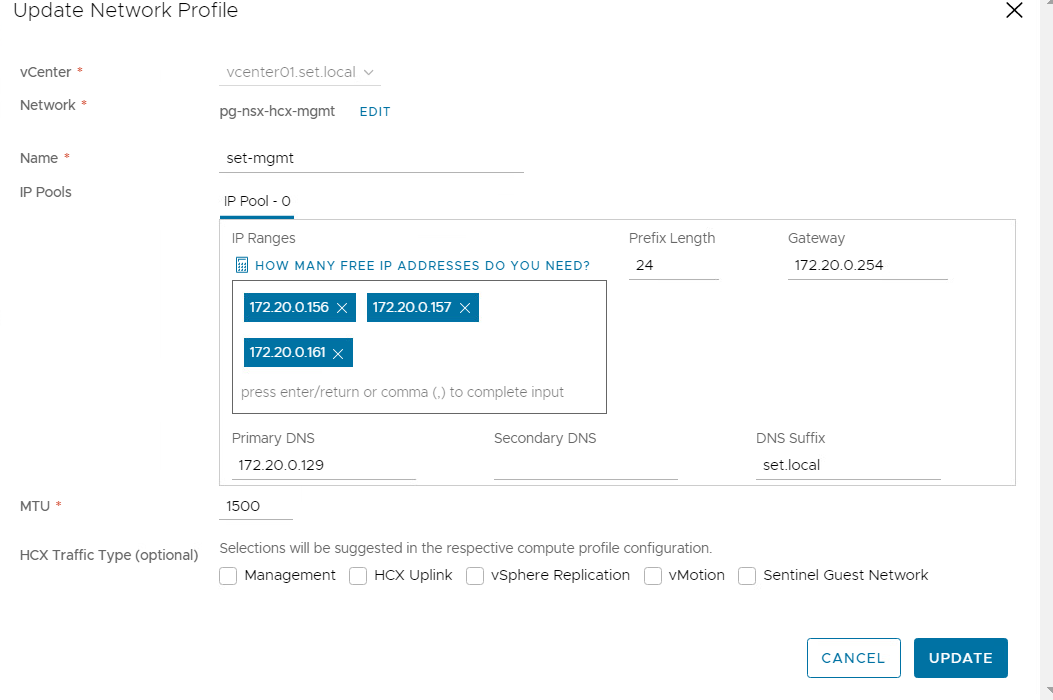
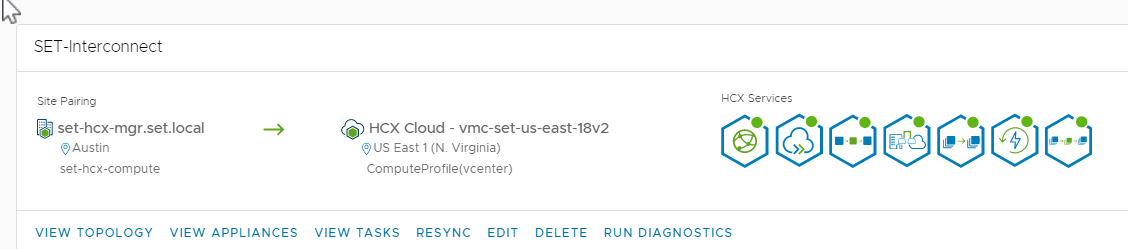
I click Update, then Continue through the rest of the wizard. Then I look at my existing service mesh. OSAM is missing. I need to enable it. I click edit on the service mesh.
I click continue until I reach the Services screen
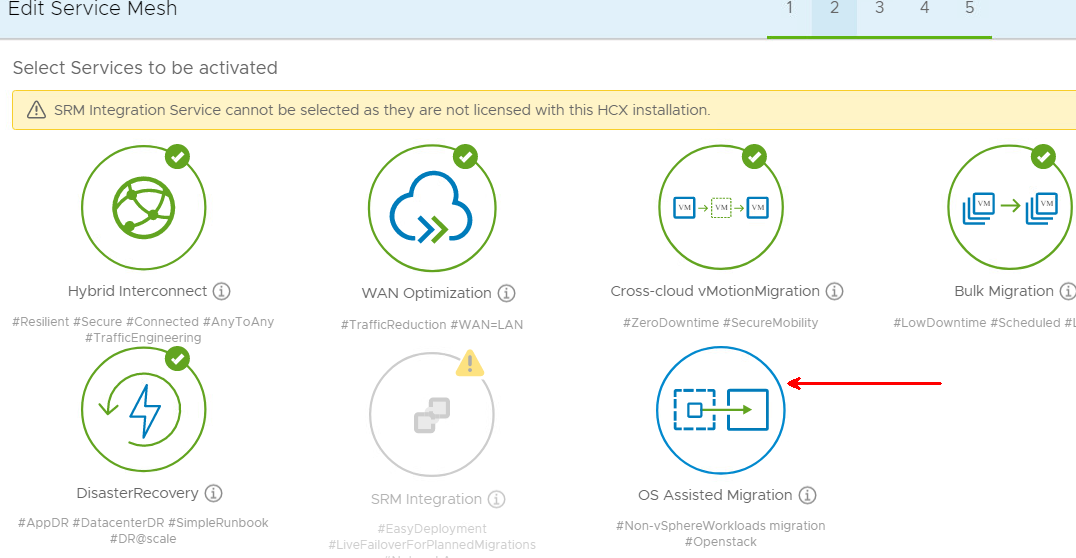
I click the OSAM icon and the green checkbox appears.
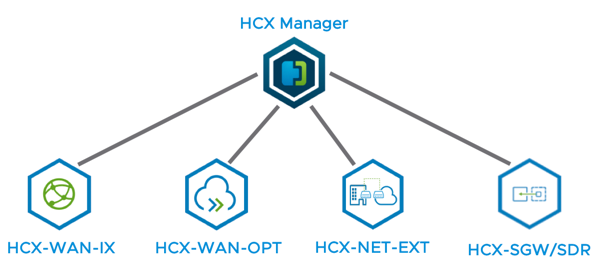
I click continue to the end of the wizard. Before clicking Finish, I see that HCX is going to install an SDR and an SGW appliance. The SGW is a Sentinel Gateway, deployed at the source and used to receive replication data from a source non-vSphere workload. The SDR is a Sentinel Data Receiver, deployed at the destination to receive the replicated data.

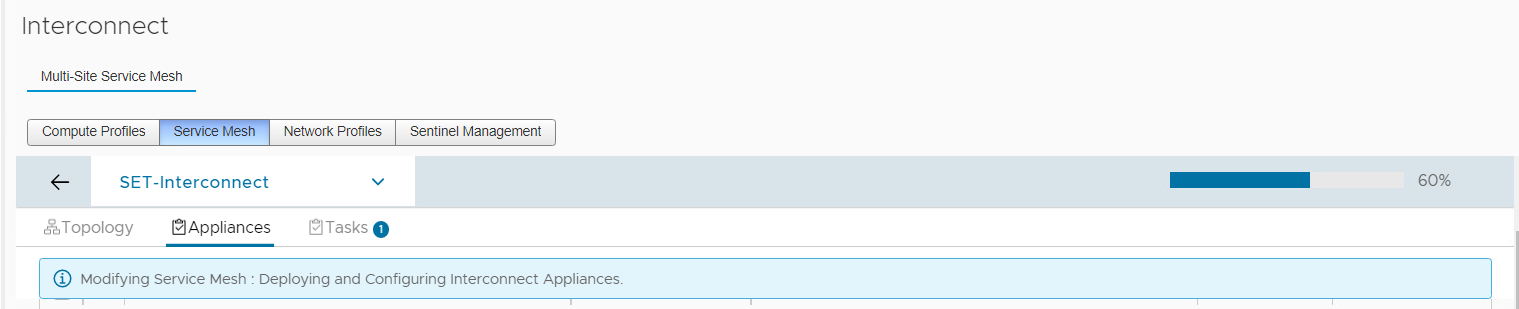
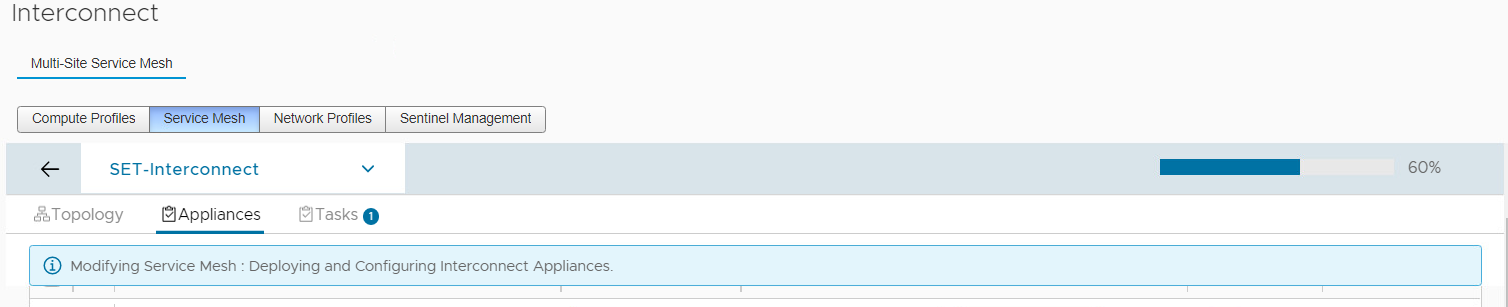
After clicking Finish it takes some time for the appliances to deploy and the mesh reconfiguration to complete.
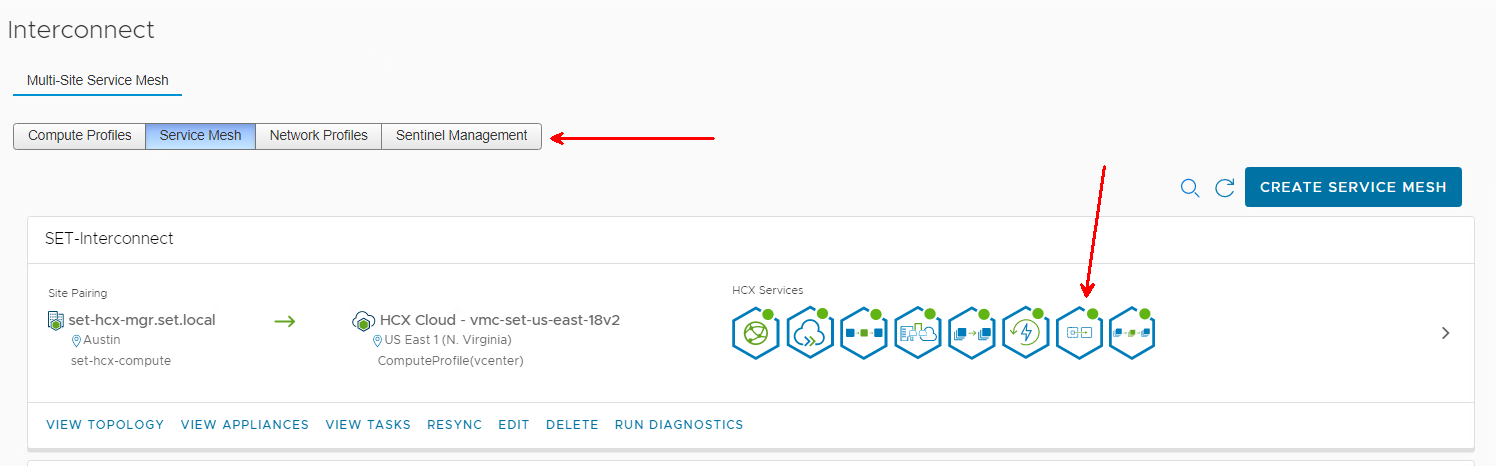
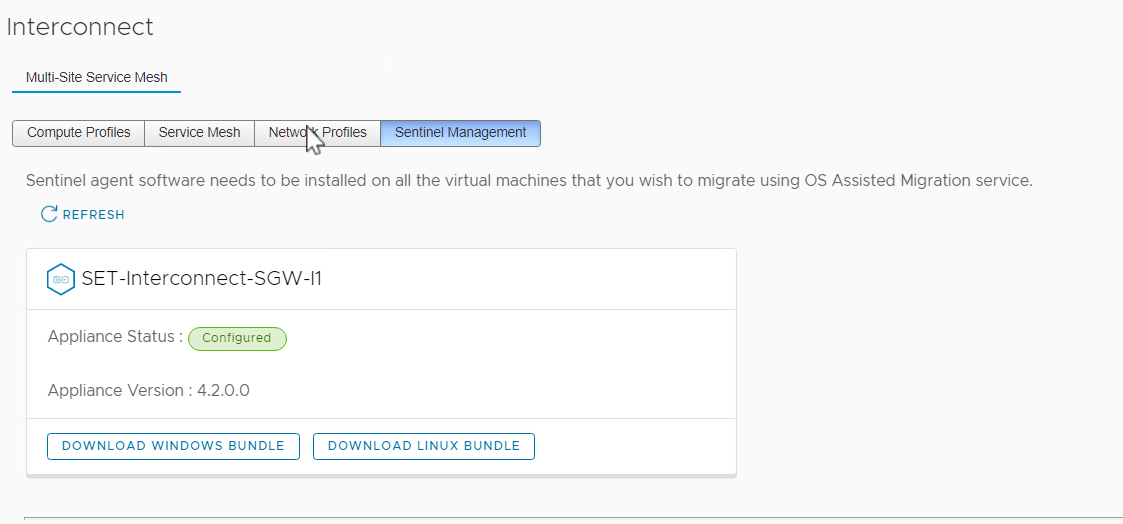
After the service mesh is reconfigured, I now see the OSAM icon as well as a new tab – Sentinel Mangement.
I can download the Windows or Linux Sentinel agent. I’m migrating from Linux, so I download the Linux bundle.
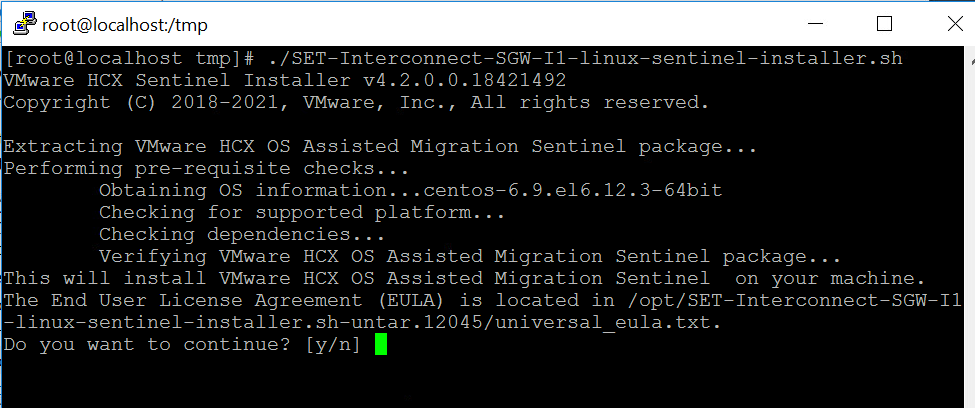
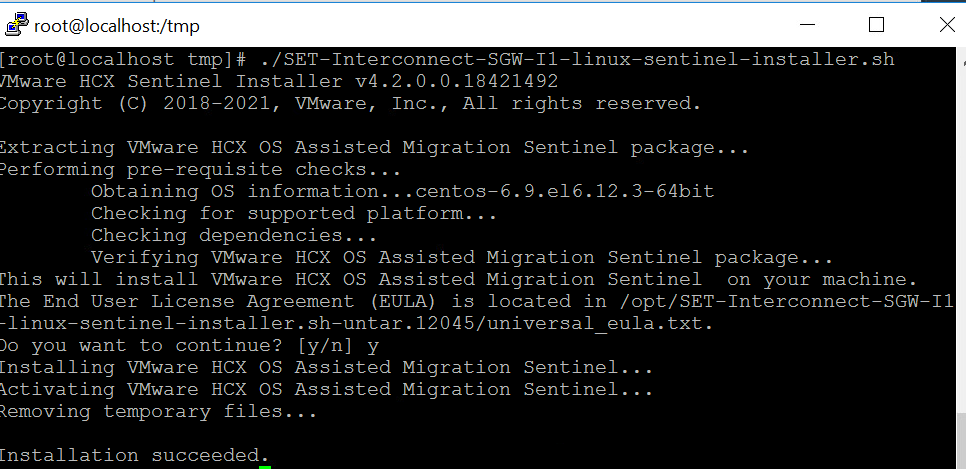
I run the Linux installer
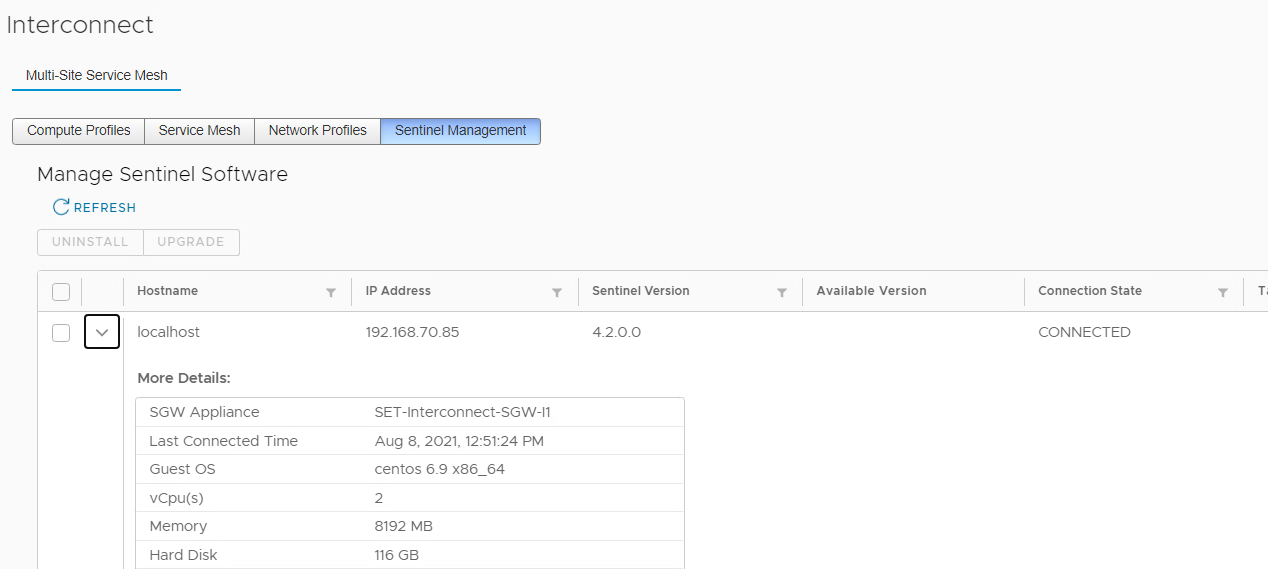
The Linux machine now shows connected under the Sentinel Management tab.
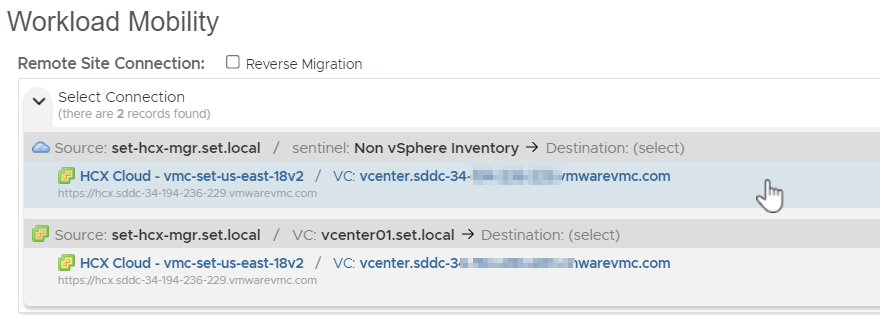
Now, when I start an HCX migration, I get two source choices – my new non-vSphere Sentinel connection, or my existing vCenter connection. I click on the non-vSphere connection.
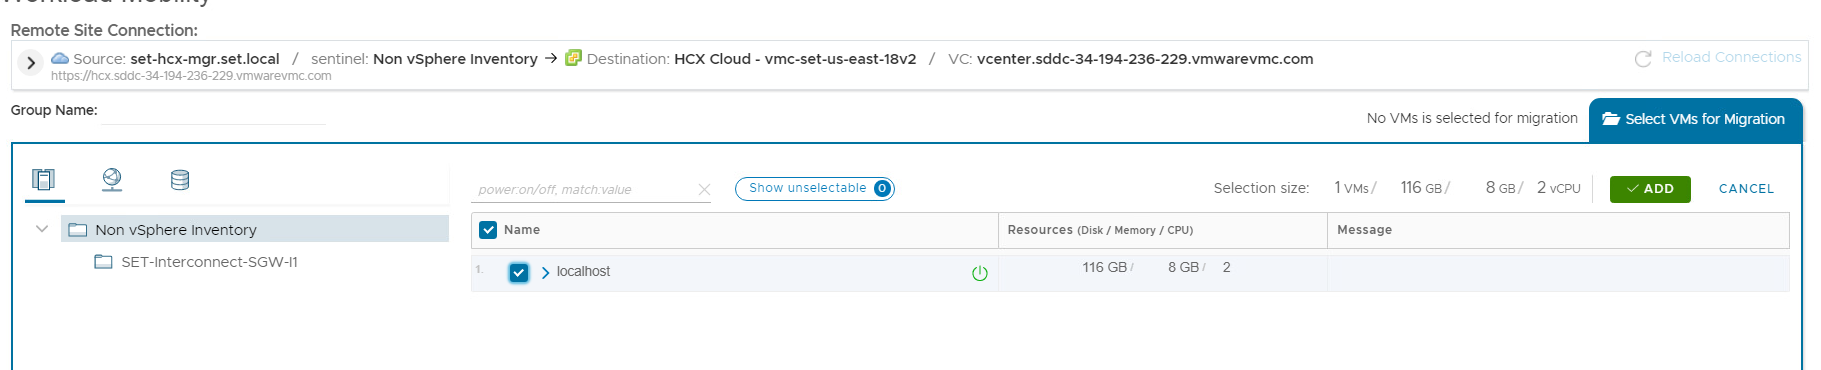
Now I can migrate VMs with the Sentinel Agent on them.
From here the migration is essentially the same as any other HCX migration. I have only OS Assisted Migration as a choice for migration type. Note that the hostname shows up as localhost – this is because I did not bother to customize the hostname in my source workload when I deployed it to write this post. The resulting VM will be named ‘localhost’ in the vCenter inventory.
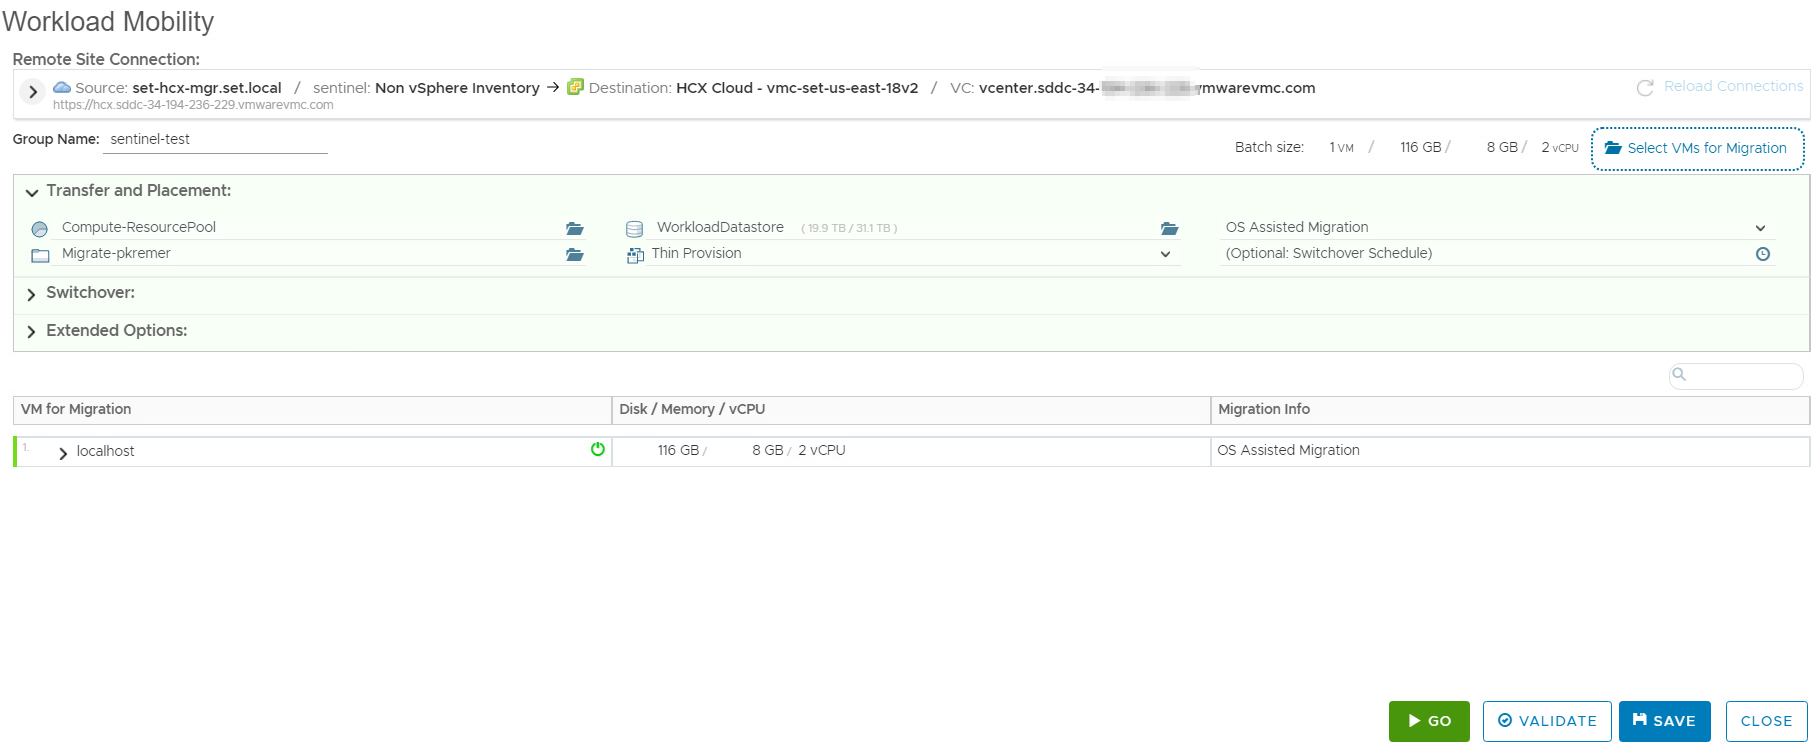
I pick a destination network for my destination VM.

Here is the OS Assisted Migration transfer starting.
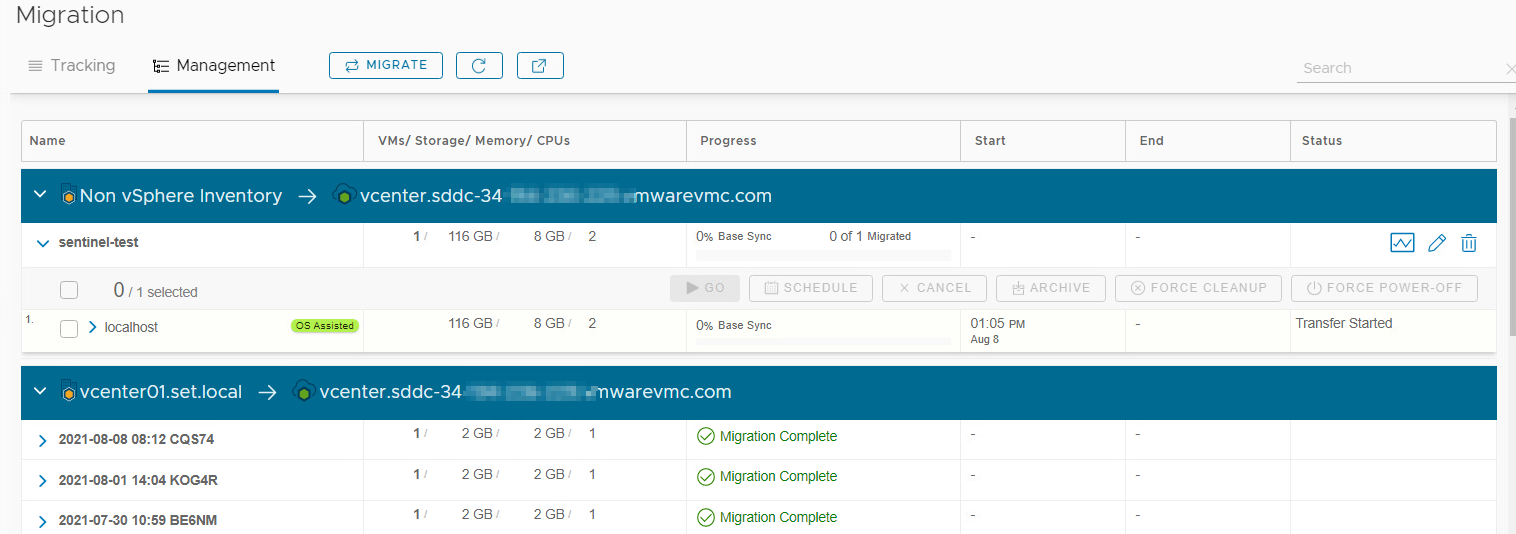
Here, sync is complete and cutover is starting.

The migration is complete!
