In HCX R145, the HCX licensing included with VMC on AWS was enriched with multiple HCX Enterprise features. For customers doing a lot of migrations, you’re going to want to enable RAV – Replication Assisted vMotion.
Prior to R145, there were two replication options into VMC – Bulk Migration and vMotion.
Bulk Migration allowed for online replication of the data, but failover required a reboot. Bulk Migration allows for the configuration of failover window – you could start HCX replication on a Monday, and configure the failover window for Friday night between 11PM-3AM. As long as replication is in-sync, the VM will fail over during the maintenance window.
vMotion in HCX is much like vMotion on-prem – you start the process and it finishes whenever it’s done replicating; you have no control over when the VM migrates. But it allows for a live vMotion as long as you have extended the network that the VM is sitting on.
Replication Assisted vMotion combines Bulk Migration with vMotion. You can start a RAV migration on Monday, and configure the failover window Friday night between 11PM-3AM. As long as replication is in-sync, the VM will do a live vMotion during the maintenance window.
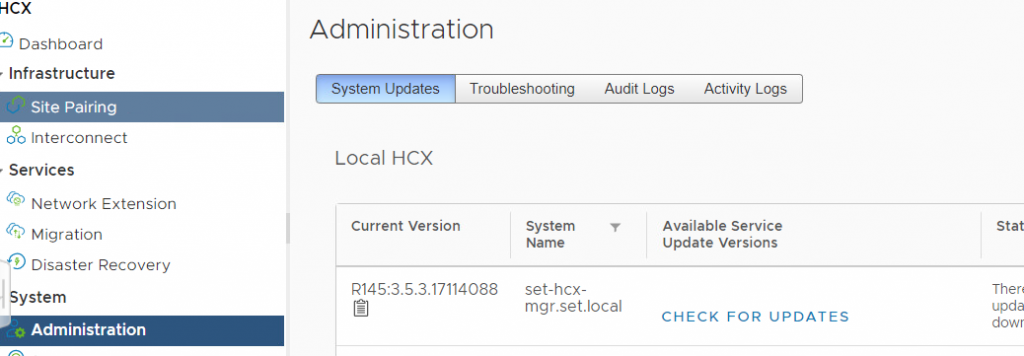
First, you must upgrade your on-prem HCX to R145 here (this on-prem HCX manager is already upgraded)
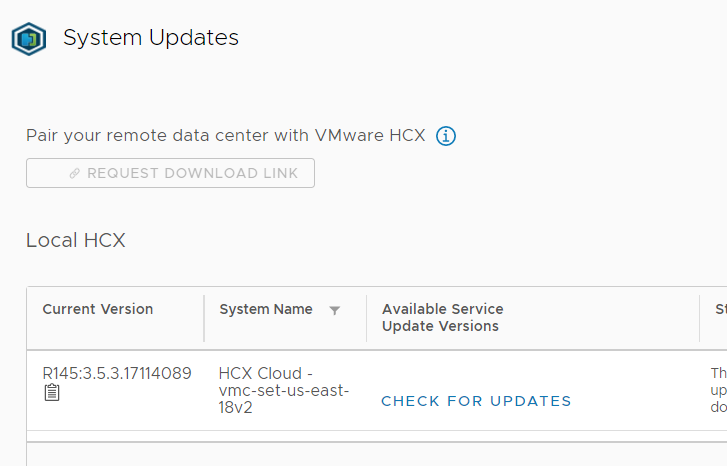
Your Remote HCX in VMC should already show R145.
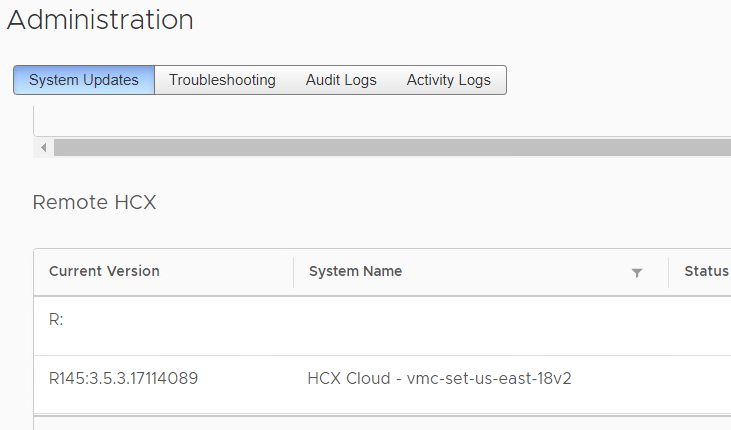
If not, you can log into the VMC instance in HCX (Cloud Services Portal, open your SDDC, Add-Ons, Open HCX), and try the Check for Updates link.
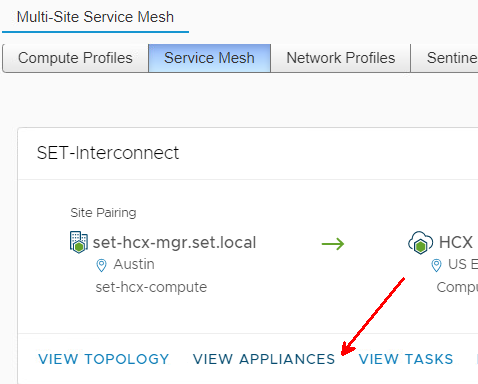
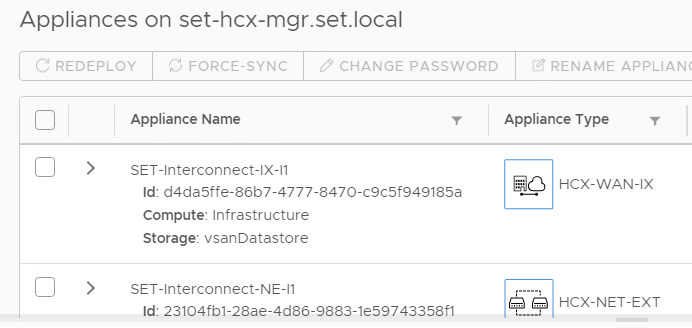
Once the HCX managers are upgraded on both sides, go to your Service Mesh on-prem and click View Appliances
These appliances are already upgraded, but any time they need an upgrade you will see them flagged. If you have stretched networks, the upgrade process will be disruptive, so plan for a maintenance window.
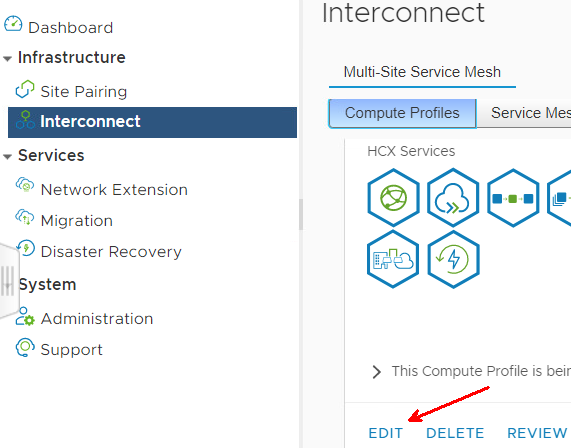
Now edit your Compute Profiles to include RAV
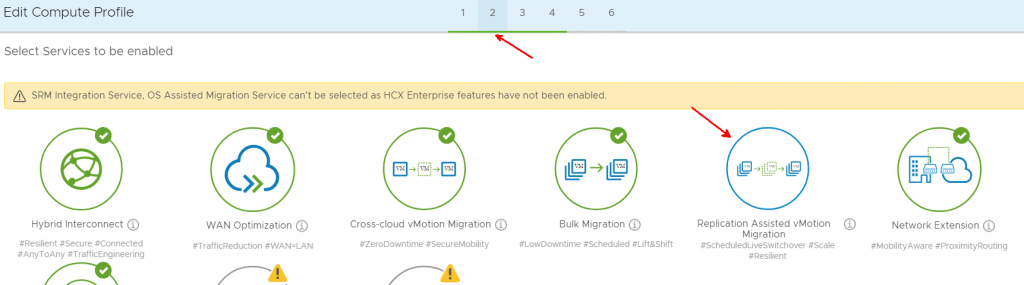
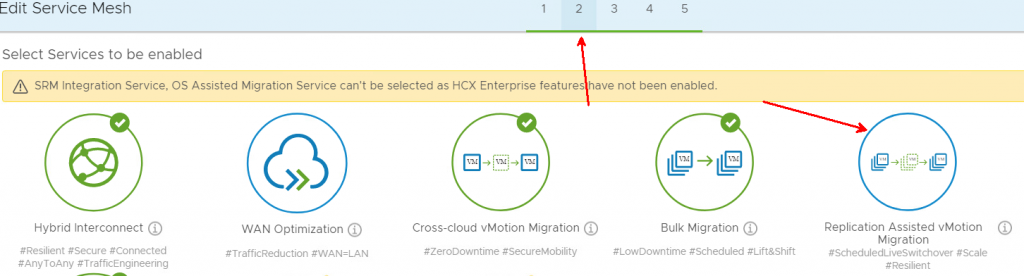
Service selection is on page 2 of the wizard, click on RAV to enable it.
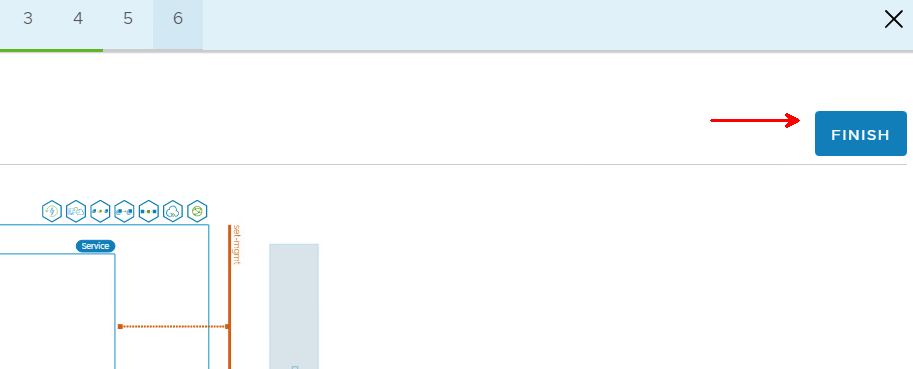
Keep clicking Continue until you get to the end of the wizard, it will show a Finish button

Click Finish
Now enable RAV in the Service Mesh

RAV is on page 2 of the wizard, click it to enable.
Click Continue

Click Continue to the end of the wizard, then click Finish.
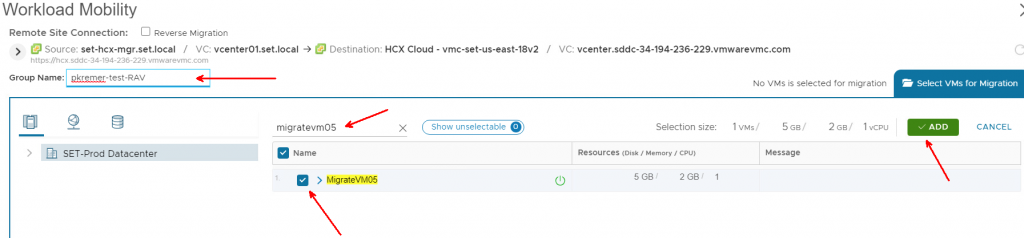
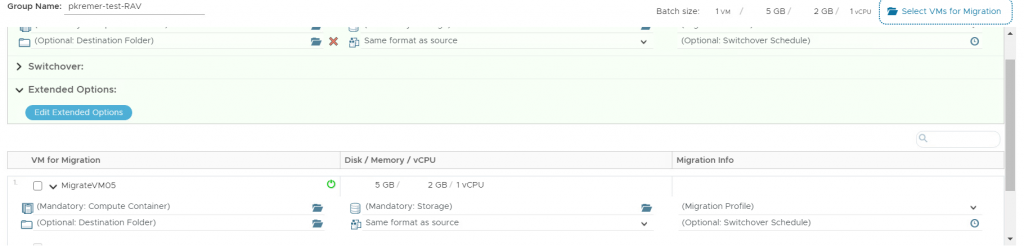
Now you can begin a migration. The R145 migration interface looks quite a bit different from previous versions. You can create and name migration groups and add multiple VMs to the group. Here I’m adding a single VM named MigrateVM05 to the group.
You can save it for later, this is extremely helpful when you are creating a large migration group.
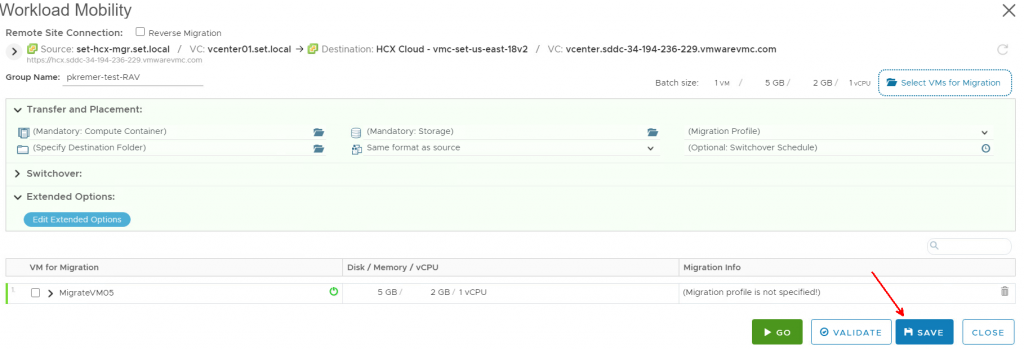
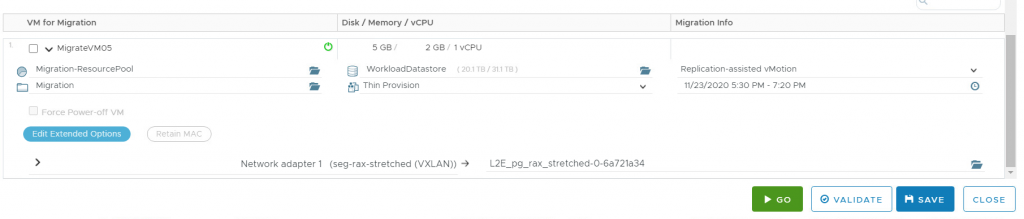
The migration shows up as a draft, which you can edit with the edit icon
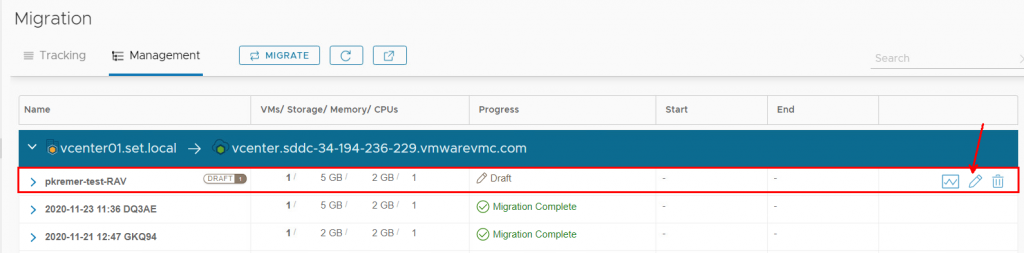
As with prior versions, you can still do a master config for all VMs on top, and still do individual configs for select VMs.
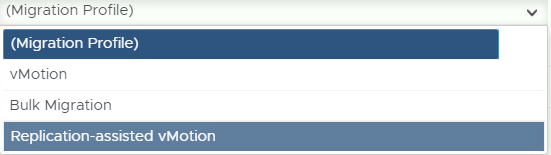
As of R145, you can pick RAV as a migration profile.
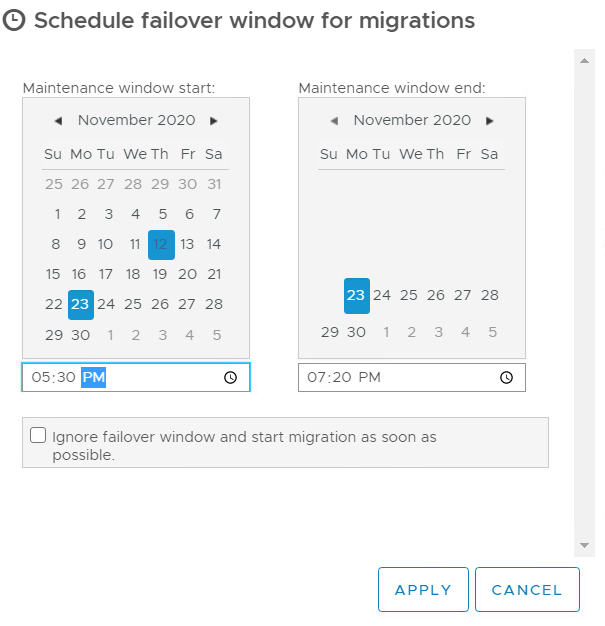
You can also set a failover window
Click Go to begin the migration
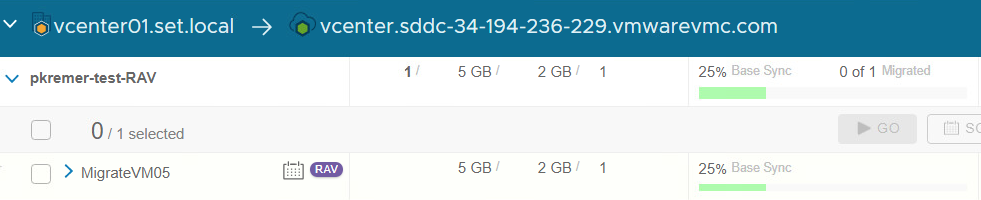
The migration starts and shows a purple RAV tag.

Let’s check uptime to prove that it actually does a vMotion and not a reboot.

The initial sync continues.
I intentionally scheduled the failover window very shortly after the beginning of the migration to show what happens if the VM is not in sync when the failover window begins. As soon as replication finishes, HCX initiates a vMotion.

You can actually see the vMotion task in the Recent Tasks pane in vCenter, just like a standard vMotion.

The vMotion finishes and shows complete in HCX manager

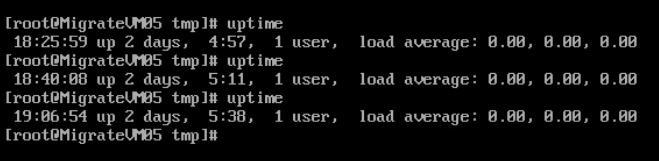
I find my VM in the VMC on AWS vCenter and run the uptime command. My original command output is still there on the console because we did a vMotion.

Now I start a migration back from VMC to on-prem. This time, I set the maintenance window far enough in advance that replication completes before the start of the maintenance window.
Once the VM syncs, it sits in ‘waiting for maintenance window’ state.

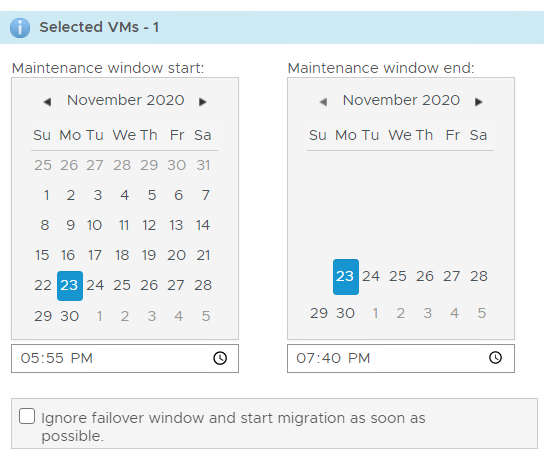
One nice feature is that you can change the maintenance window after you schedule the migration. In this case, I didn’t want to wait another 25 minutes for the window to begin – I edit the schedule.

I set the window for 2 minutes from now.
The switchover process begins immediately at the beginning of the maintenance window.

Just like the previous migration, I can see the vMotion event in vCenter

The migration is complete.

Our previous 2 uptime commands are still on the console, we run it again to show that our VM did actually vMotion.
Due to processor differences on-prem vs VMC, you might end up with a vMotion error like this:

You can solve this by using EVC mode. If you don’t want to enable EVC for your entire cluster, you can use per-VM EVC, which was introduced in vSphere 6.7.
Here’s how to enable per-VM EVC:

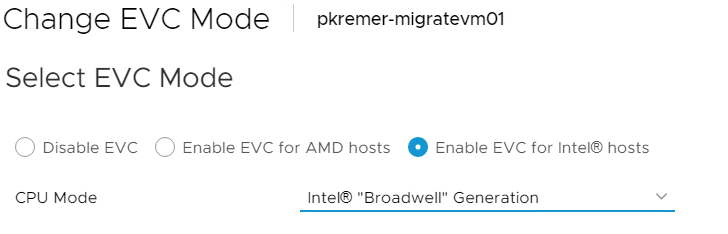

Thankfully, you don’t have to rebuild your entire migration, you can edit and retry the migration as shown:

Enjoy using RAV for your HCX migrations at no additional charge!
Using OS Assisted Migrations with VMware Cloud on AWS -
[…] The first thing is to upgrade the on-prem and VMC HCX installations to 4.2. The UI makes it simple, I showed you how to upgrade the HCX bits in this post on enabling RAV. […]
Enabling Mobility Optimized Networking in VMware Cloud on AWS – Patrick Kremer
[…] enable MON, you must first upgrade to R145. See the first part of my previous post on HCX RAV to upgrade […]