
I had a customer ask me what options we have for chargeback/showback for VMs in VMware Cloud on AWS. vRealize Operations Manager can do this for you. In this post, I will demonstrate how to use the features built into vROps to generate showback reports for your VMs.
Create vCenter Tags
vROps has many ways to select objects from vCenter. One of the most powerful is the ability to read vCenter tags. You can create tags in vCenter to group VMs for showback reporting in vROps.
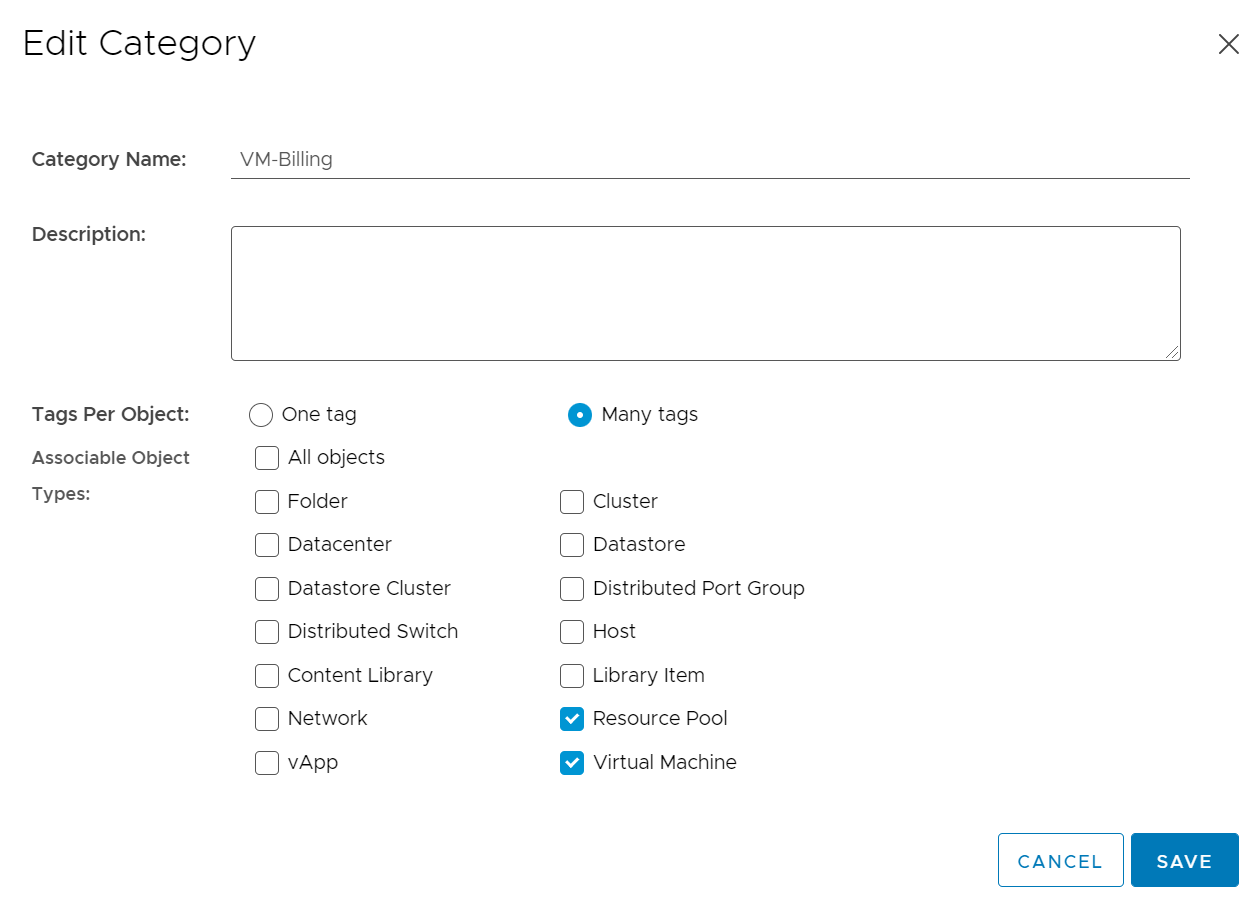
For this demonstration, I create a new billing category. I wanted to tag both VMs and Resource Pools – this allows me to easily tag all VMs in a pool with a single tag, but gives me the flexibility to tag specific VMs if I need to.
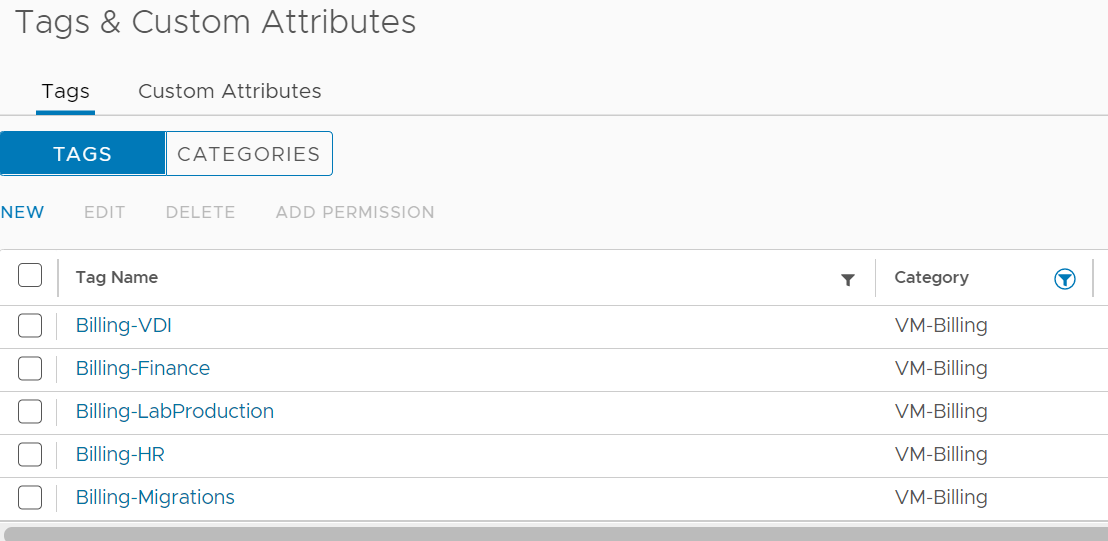
Then I created my tags. I put the Finance and HR tags in there as an example of something you might create to identify some of your lines of business. This SDDC is our customer demo lab, so I’m not actually running any Finance or HR VMs. I added 3 more tags:
- VDI – The virtual desktops we use to access the SDDC
- LabProduction – Core infra VMs necessary for the lab to run like Domain Controllers
- Migrations – VMs used to demonstrate HCX migrations
Tag vCenter Objects
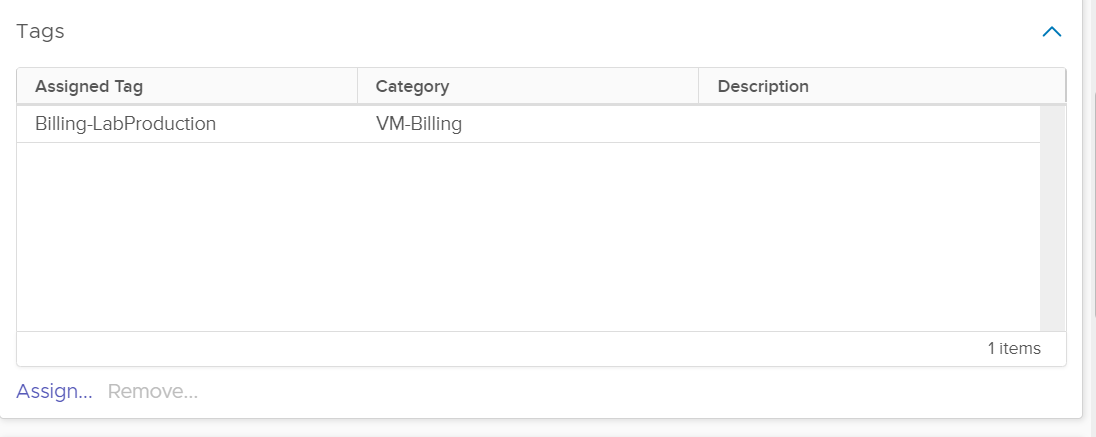
You can tag VMs in many different ways. You can use the vCenter UI as shown below. You can also use a scripting language like PowerCLI or directly calling the vCenter APIs. I tagged Prod Lab VMs and HCX VMs individually.
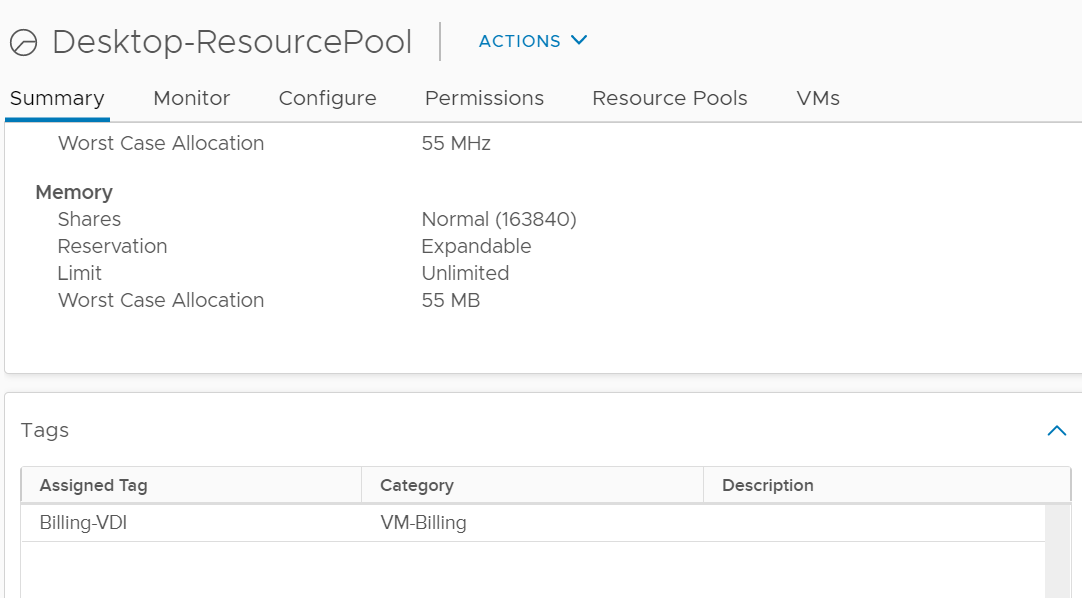
Because we allowed the tag category VM-Billing to be assigned to Resource Pools, we can tag a resource pool. Now we don’t have to worry about tagging every VM in the pool. I tagged the Desktop pool.
Create Custom Groups
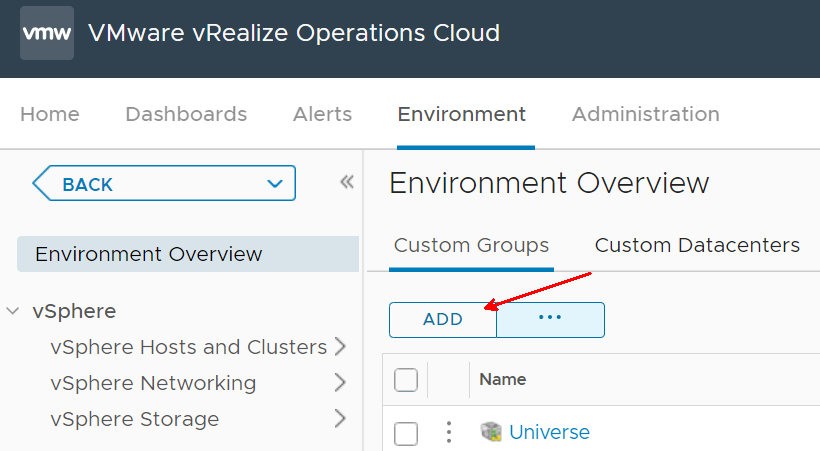
In vROps, under Environment, you will find Custom Groups. Click Add
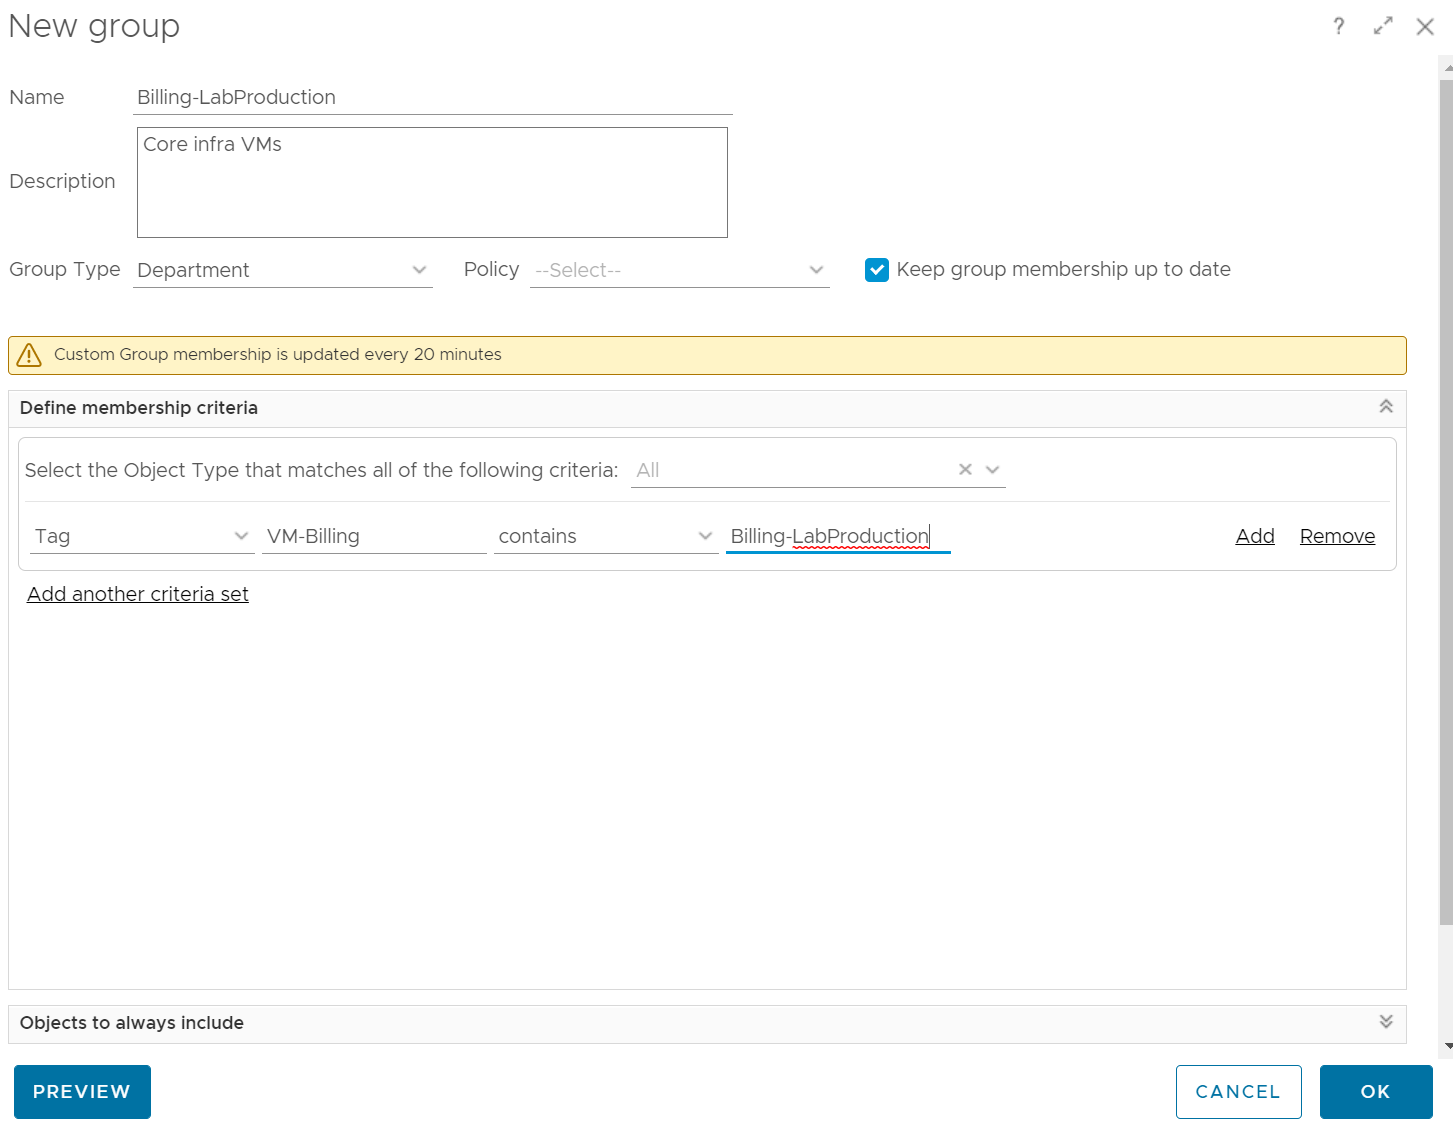
This is an example of one of the groups I created. I create one of these for each of the 3 billing tags. When you check the ‘Keep group membership up to date’ box, vROps will dynamically populate the group members every 20 minutes.
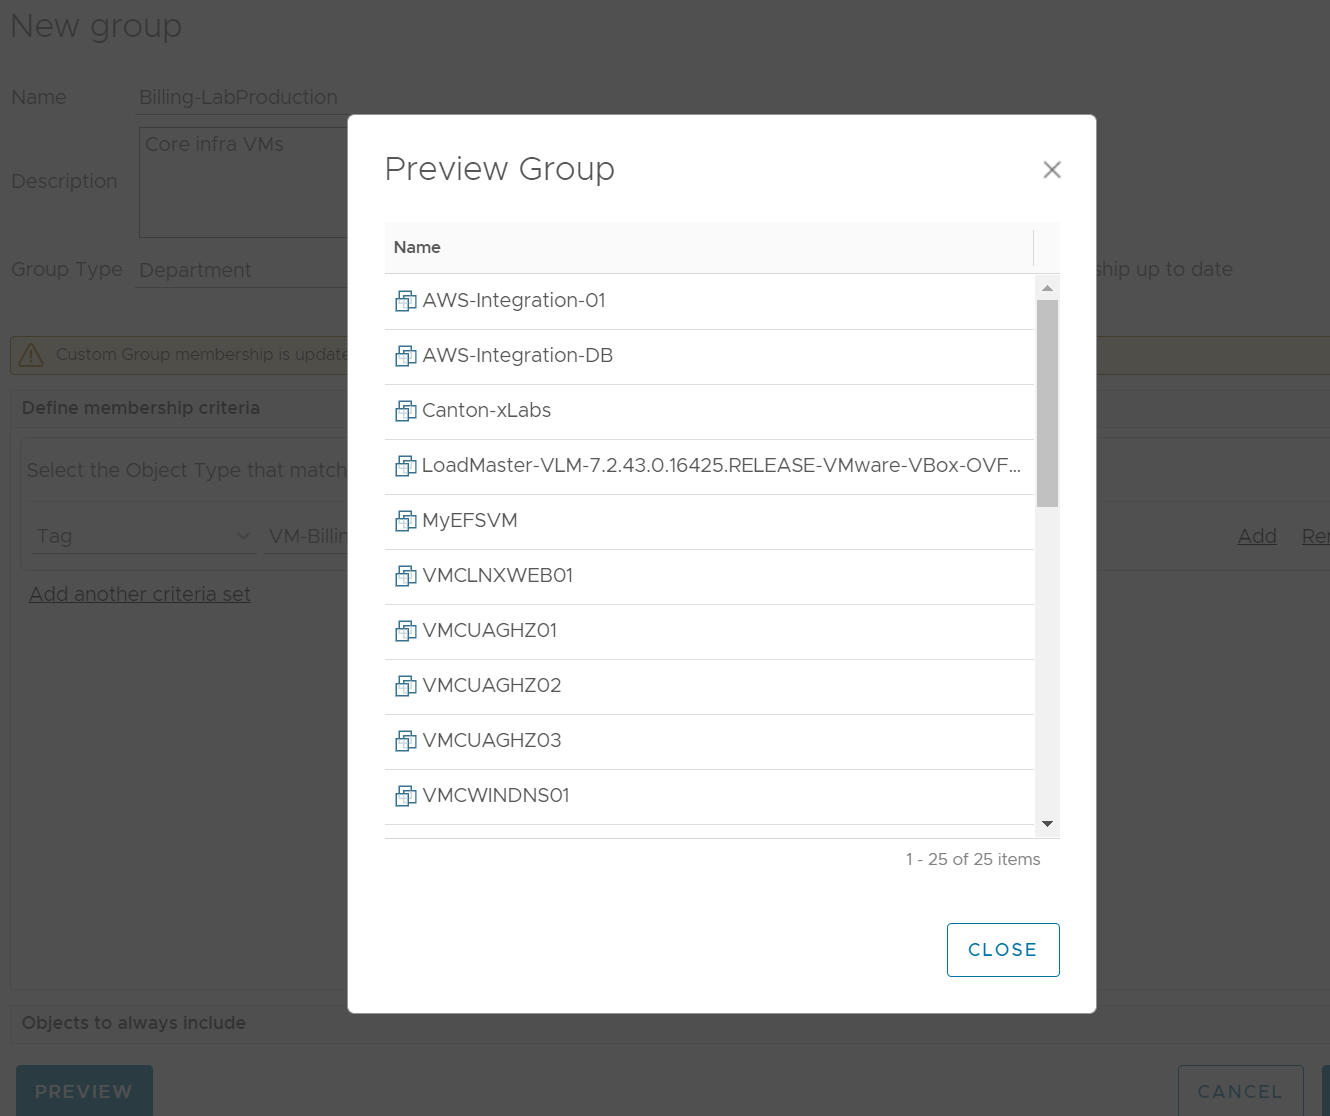
Before clicking OK, you can click the Preview button. This searches for all VMs that match your search criteria. You can fix the search if you don’t get the results you expected.
View the Showback Dashboard
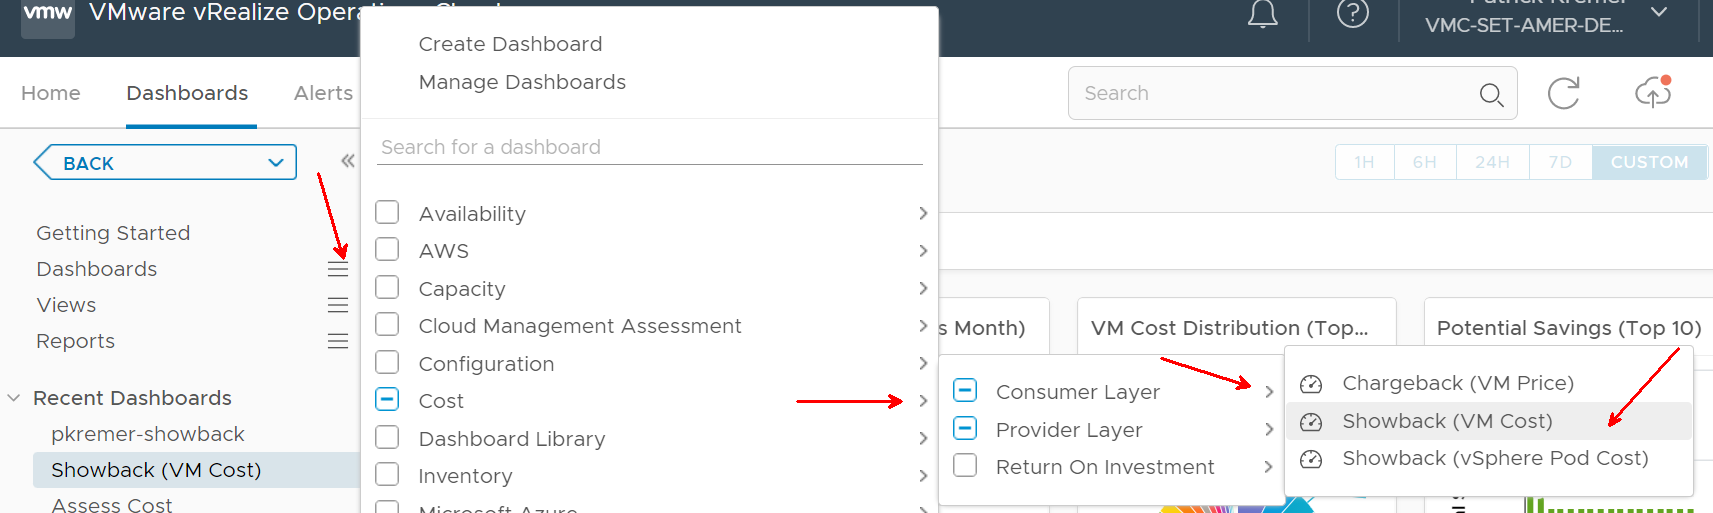
Under Dashboards, click the menu icon, then Cost>Consume Layer>Showback (VM Cost)
The dashboard shows you all VMs. You can filter the dashboard on the left.
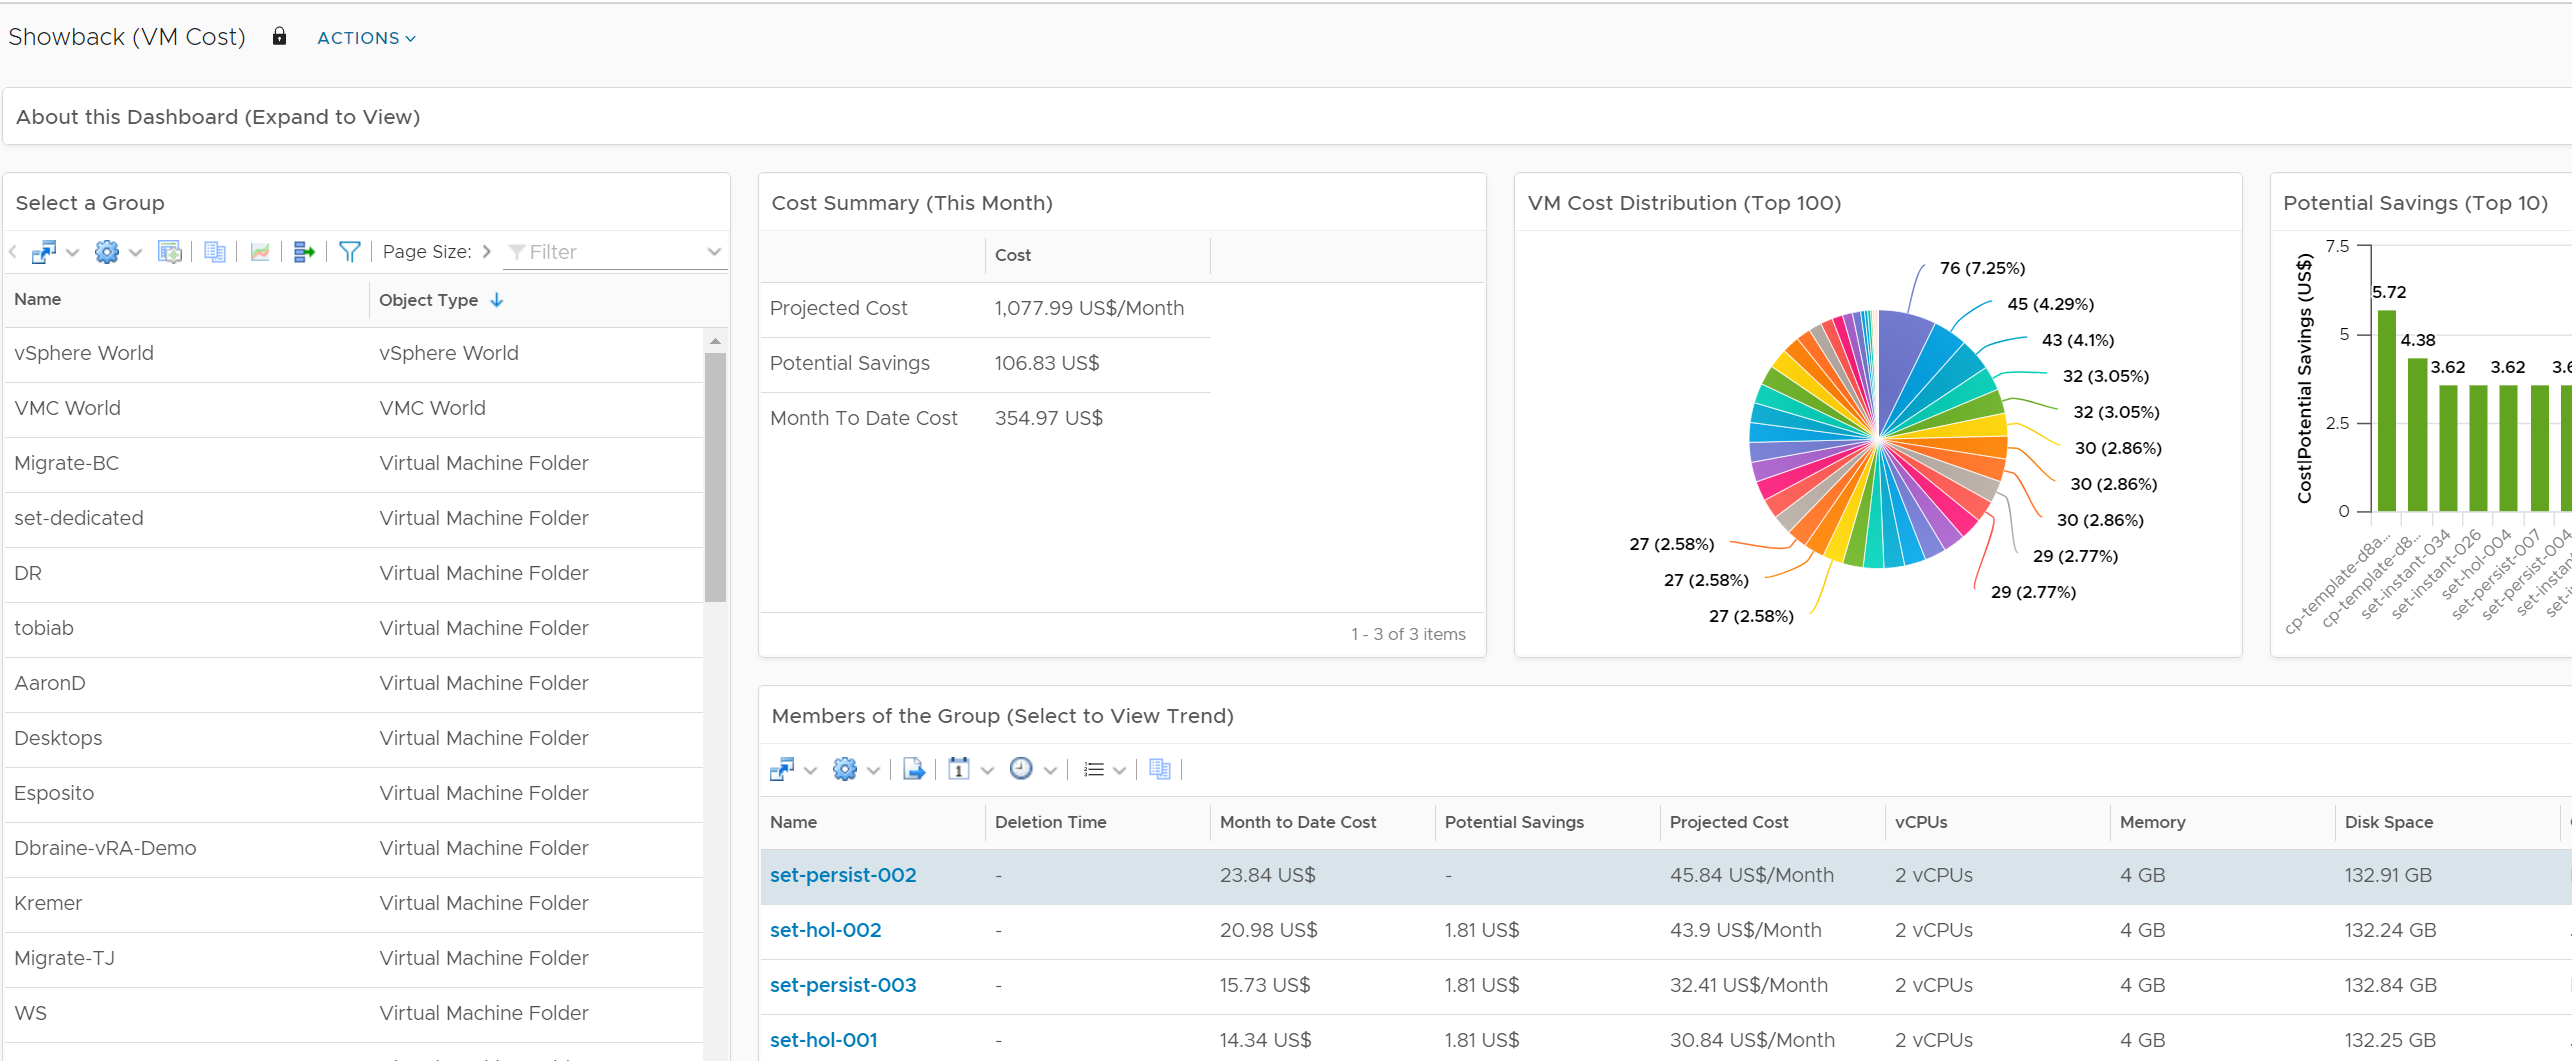
Typing in Billing in the filter shows the 3 custom groups that were created earlier. Here we see the cost for all VMs with the VDI tag. Remember that we only tagged the VDI resource pool, but all of the VMs are showing up as child objects of the resource pool.

Run Reports
The dashboard is nice, but a recurring report delivered to your inbox is better.
You can download cost reports here.
Then import the reports by going to Reports > Report Templates

Next, click the 3 dots, then Import
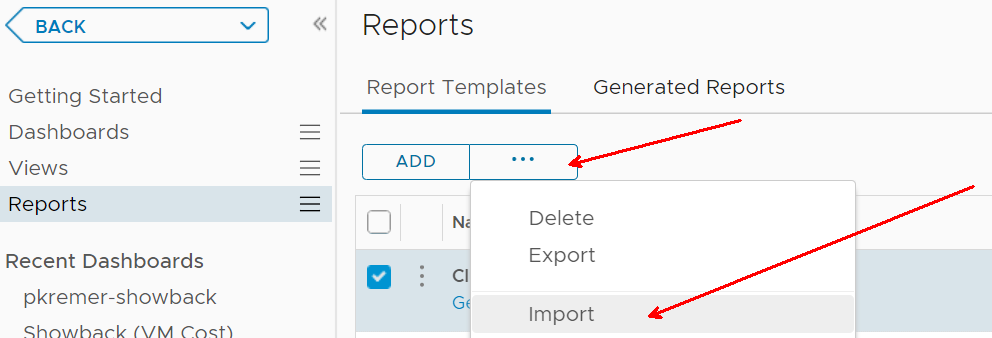
You can then import the report zipfile.
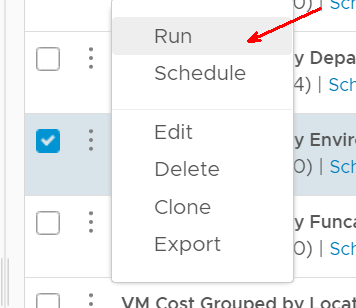
After import, filter for the word ‘cost’ in the Reports view,

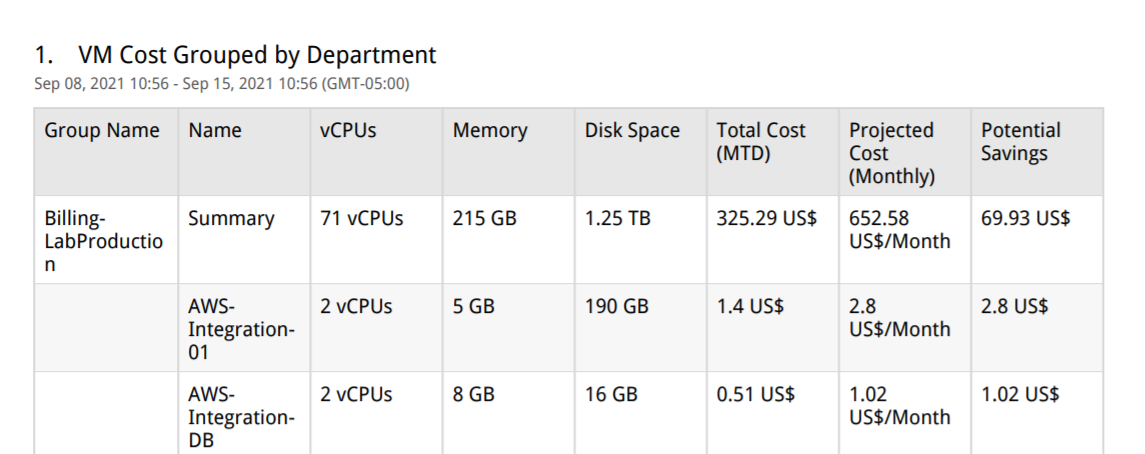
Find and run the ‘VM Cost Grouped by Department’ report

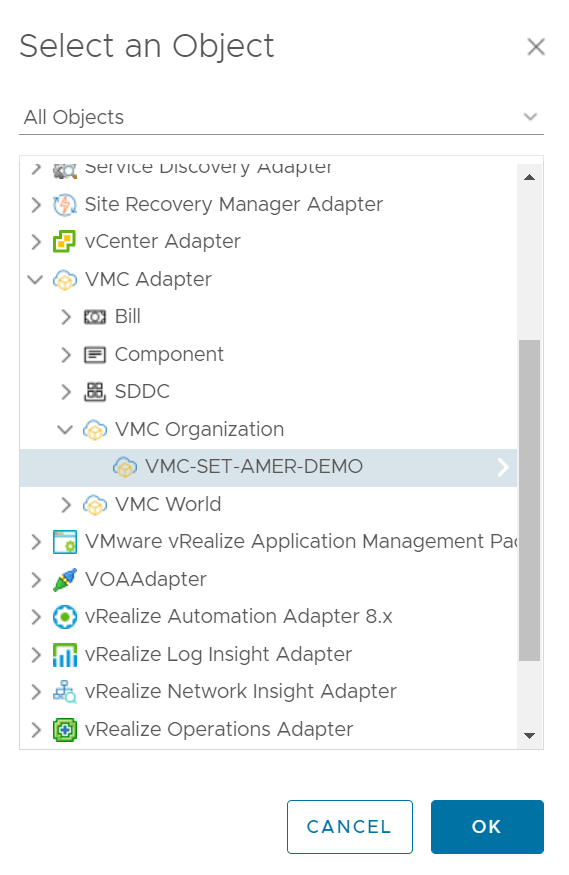
You will be prompted to pick an object to run the report against.
The report will generate, click Generated Reports to see it

Click to view the PDF – you can also download an Excel spreadsheet.

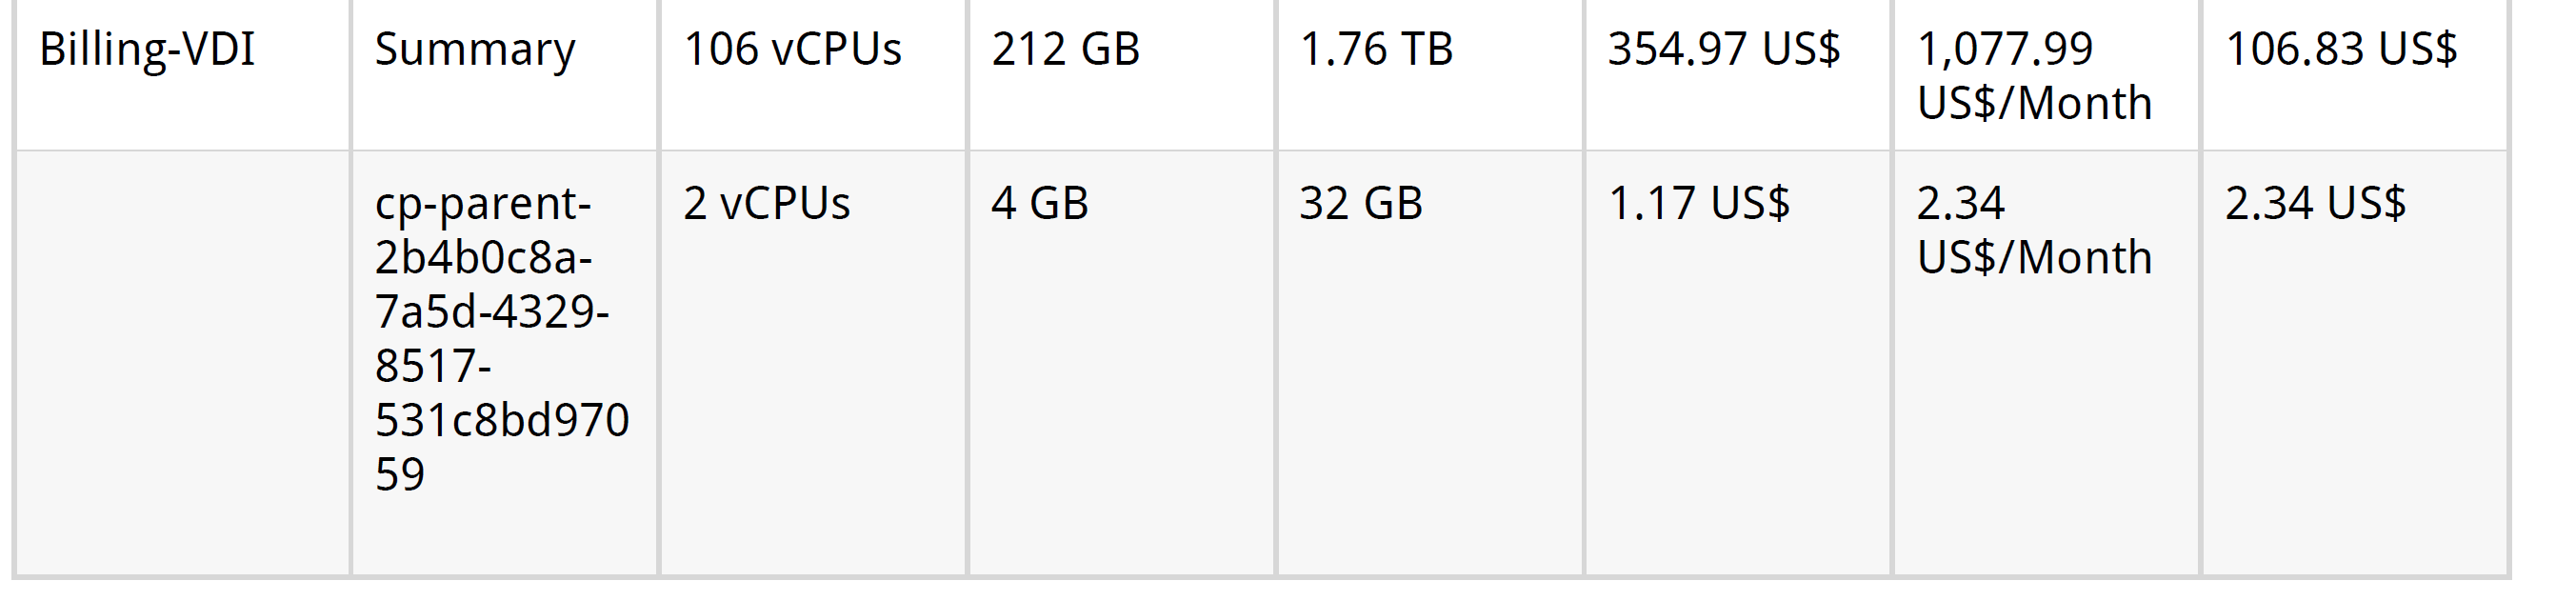
The report for our environment is 30 pages, it includes each of the 3 groups as a summary, plus each individual VM under the summary. I only screenshot the summary rows and the nearby VMs.

Schedule Reports
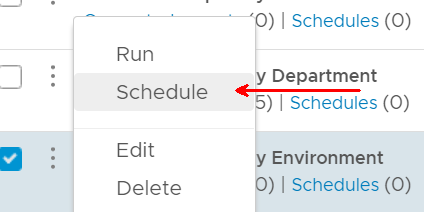
Instead of running manually, you can schedule the report to run periodically. Instead of Run, choose Schedule
Select the object to run the scheduled report against.

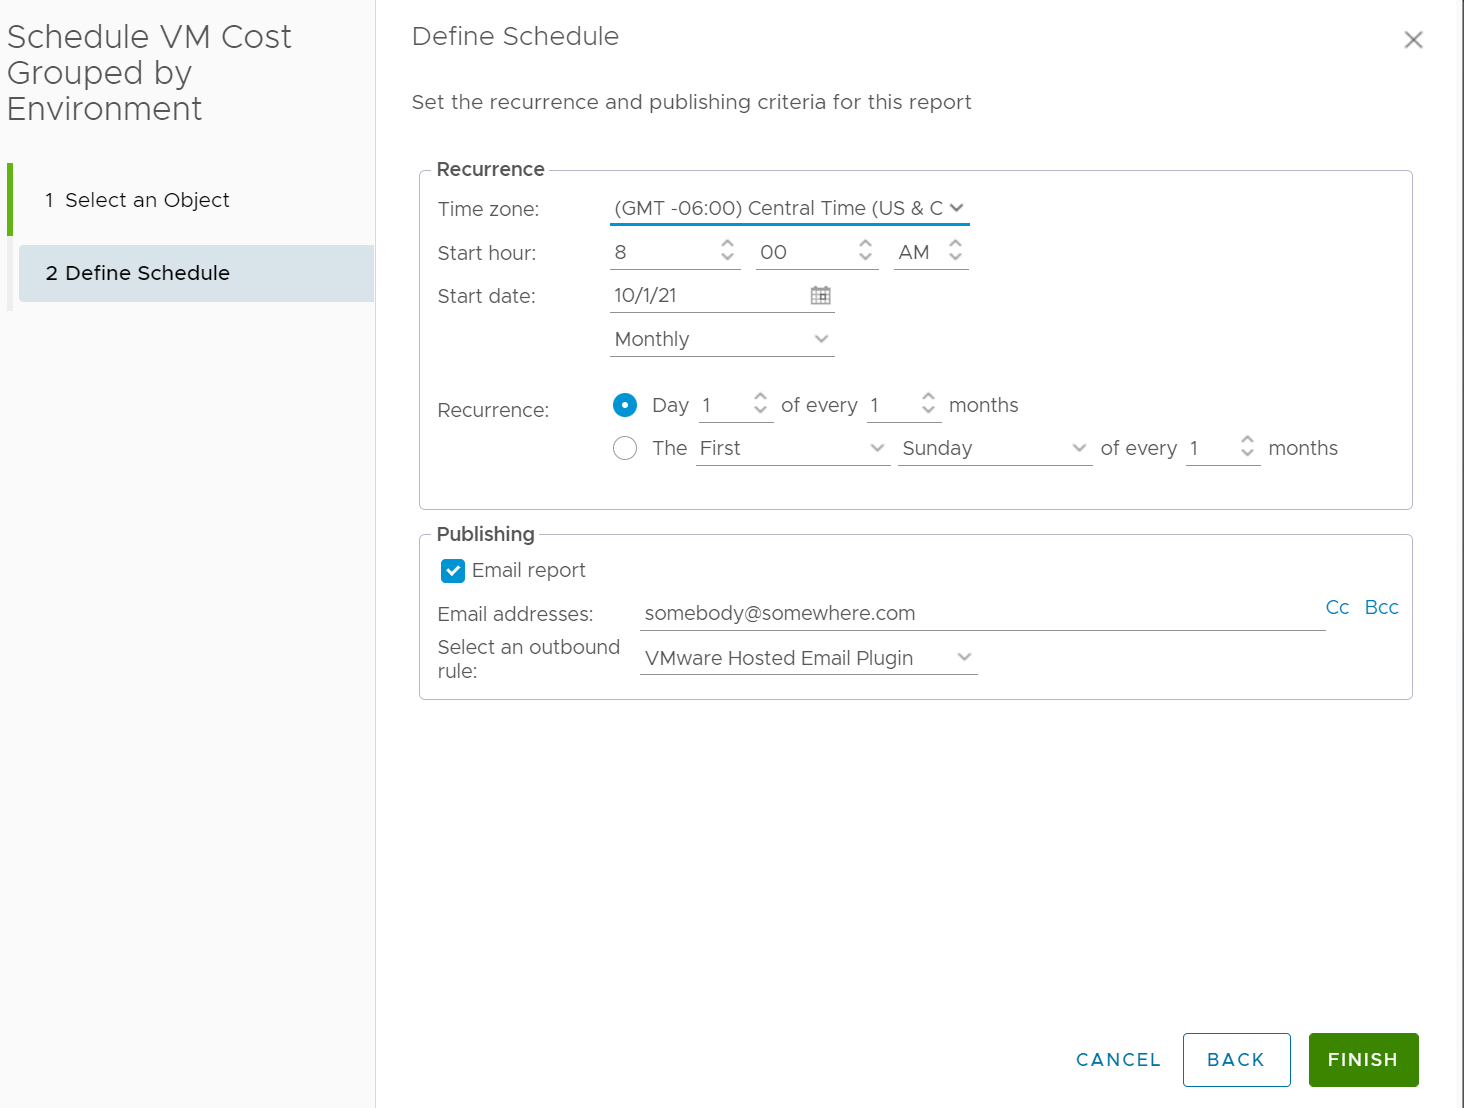
Set your schedule and configure an e-mail destination.
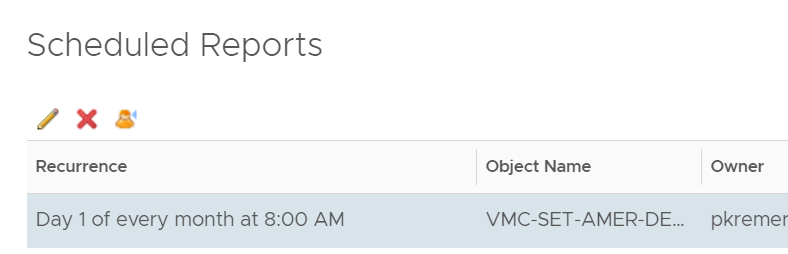
Once a schedule is configured, click on Schedules to see the schedules

You can modify or delete the schedule from here.
Summary
This post shows a tiny subset of ways to generate showback reports. vROps grouping is extraordinarily customizable, giving you the ability to group showback reporting exactly they way you need it. For more details on costing available in vROps, check out the official documentation.