In Part VI of this series, we showed how to sync a fork of our VEBA repository to the upstream repository maintained by VMware. Back in Part IV, we deployed our first sample function. In this post, we will deploy another sample function – the host maintenance function. This post was updated on 2020-03-07 to include screenshots for the VEBA 0.3 release.
Our first sample function was written in Python. As of the date of this post, the other available samples are all in PowerShell. We will be working with the hostmaint-alarms function. This function will disable alarm actions when you pop a host into maintenance mode. No more alerts for a host that you’re doing maintenance on!
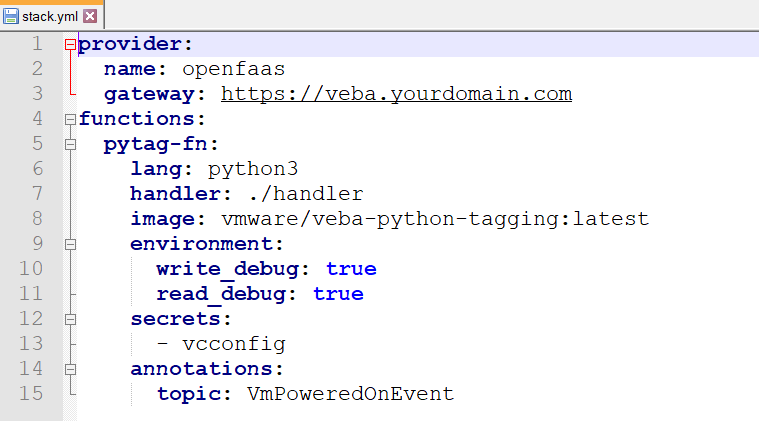
We had a problem in the 0.2 release with secret names colliding. Here is the stack.yml file for our python tagging function
Here is the sample file we used to generate the secrets named ‘vcconfig’.

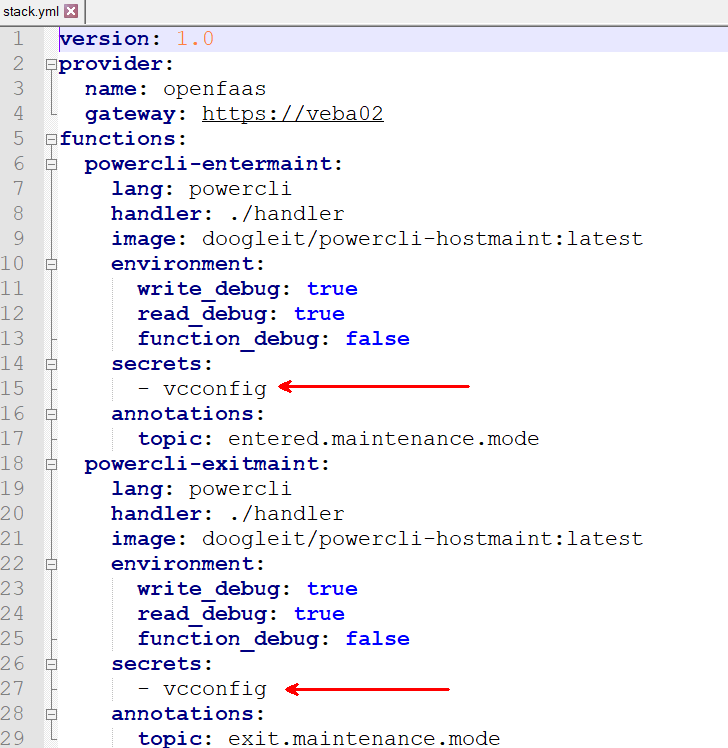
Here is the stack.yml for our host maintenance alarms function in the 0.2 release
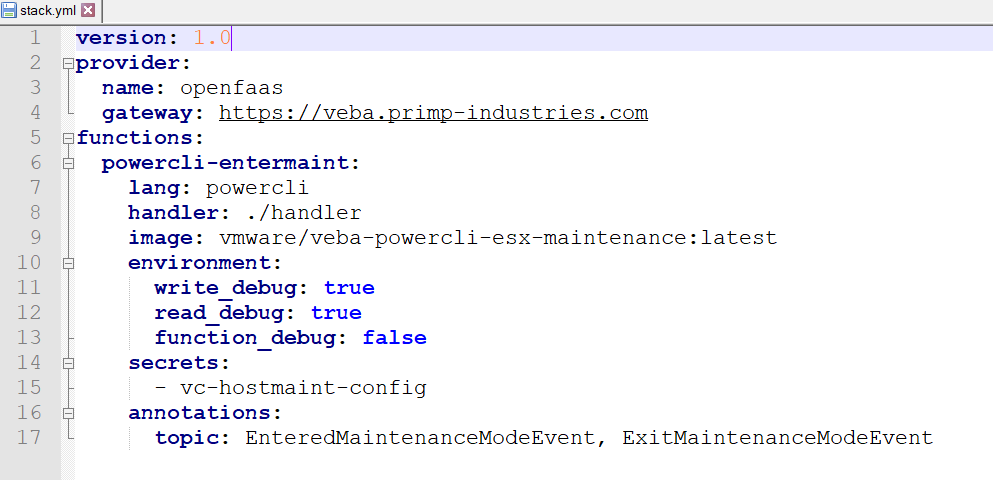
We no longer have this issue in the 0.3 release as we named our secret vc-hostmaint-config.
Here is the vcconfig.json file we use to configure the secret named ‘vcconfig’ for our PowerShell function.

A problem happens when you use secrets of the same name for scripts that aren’t expecting the same secrets format. In 0.2, we had a secret named vcconfig used for both functions, but the secret files have a completely different configuration. Neither script can read the other’s secret because they weren’t programmed to do so. The TOML secret file is a configuration file format popular with Python. The PowerShell secret file is simple JSON. This means that we will need to change the secrets file to a different name, one for the Python script and one for PowerShell. Note that it doesn’t have to be this way – there’s nothing stopping a script writer from using TOML format for PowerShell and JSON for Python – all that matters is how how the script is written. You could write your scripts to use a single secret format and they could all share a single secret.
We now need to change the sample script to point to a different secrets file. In order to do that, we need create a new secret using our vcconfig.json file.
After editing the file to point to our environment, we push it into the VEBA appliance. I name it ‘vcconfig-hostmaint’ but you can name it whatever you want. To match the current 0.3 script, you should name it ‘vc-hostmaint-config’. If you match what’s in the script, you don’t have to rebuild any container images – the default container image will work. But there are many reasons why you would need to rebuild the container image. Any time you want to improve the existing functions, or write your own, you will need to build your own container image. This post will continue on showing how to finish deploying by rebuilding the container image.
To create the secret file, remember you need to log in with faas-cli first, for a refresher look at Part IV of this series.

Now that we have our secrets file, we need to change our code to use it.
First we edit the first line of script.ps1 in the handler folder. We need to change the secret name to whatever we named it in the cli – here, I change it to: vcconfig-hostmaint

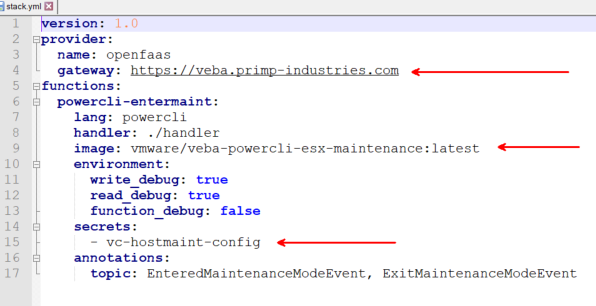
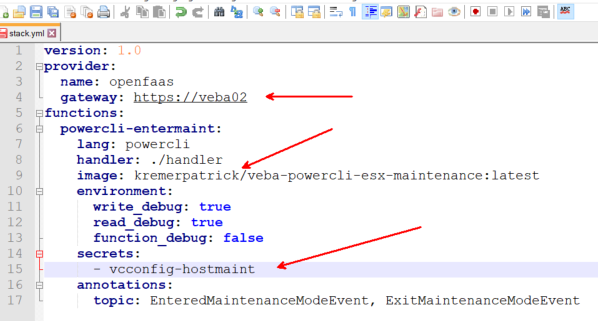
Looking again at the stack.yml file, we have additional problems. We built a new secret, so we can change the secrets: section to point to vcconfig-hostmaint. Our gateway needs to point to our VEBA appliance. Then we need to worry about our image. Because we changed PowerShell code, we have to rebuild the container image that runs the code. Otherwise, the container that launches is the default container that ships with the VEBA appliance.
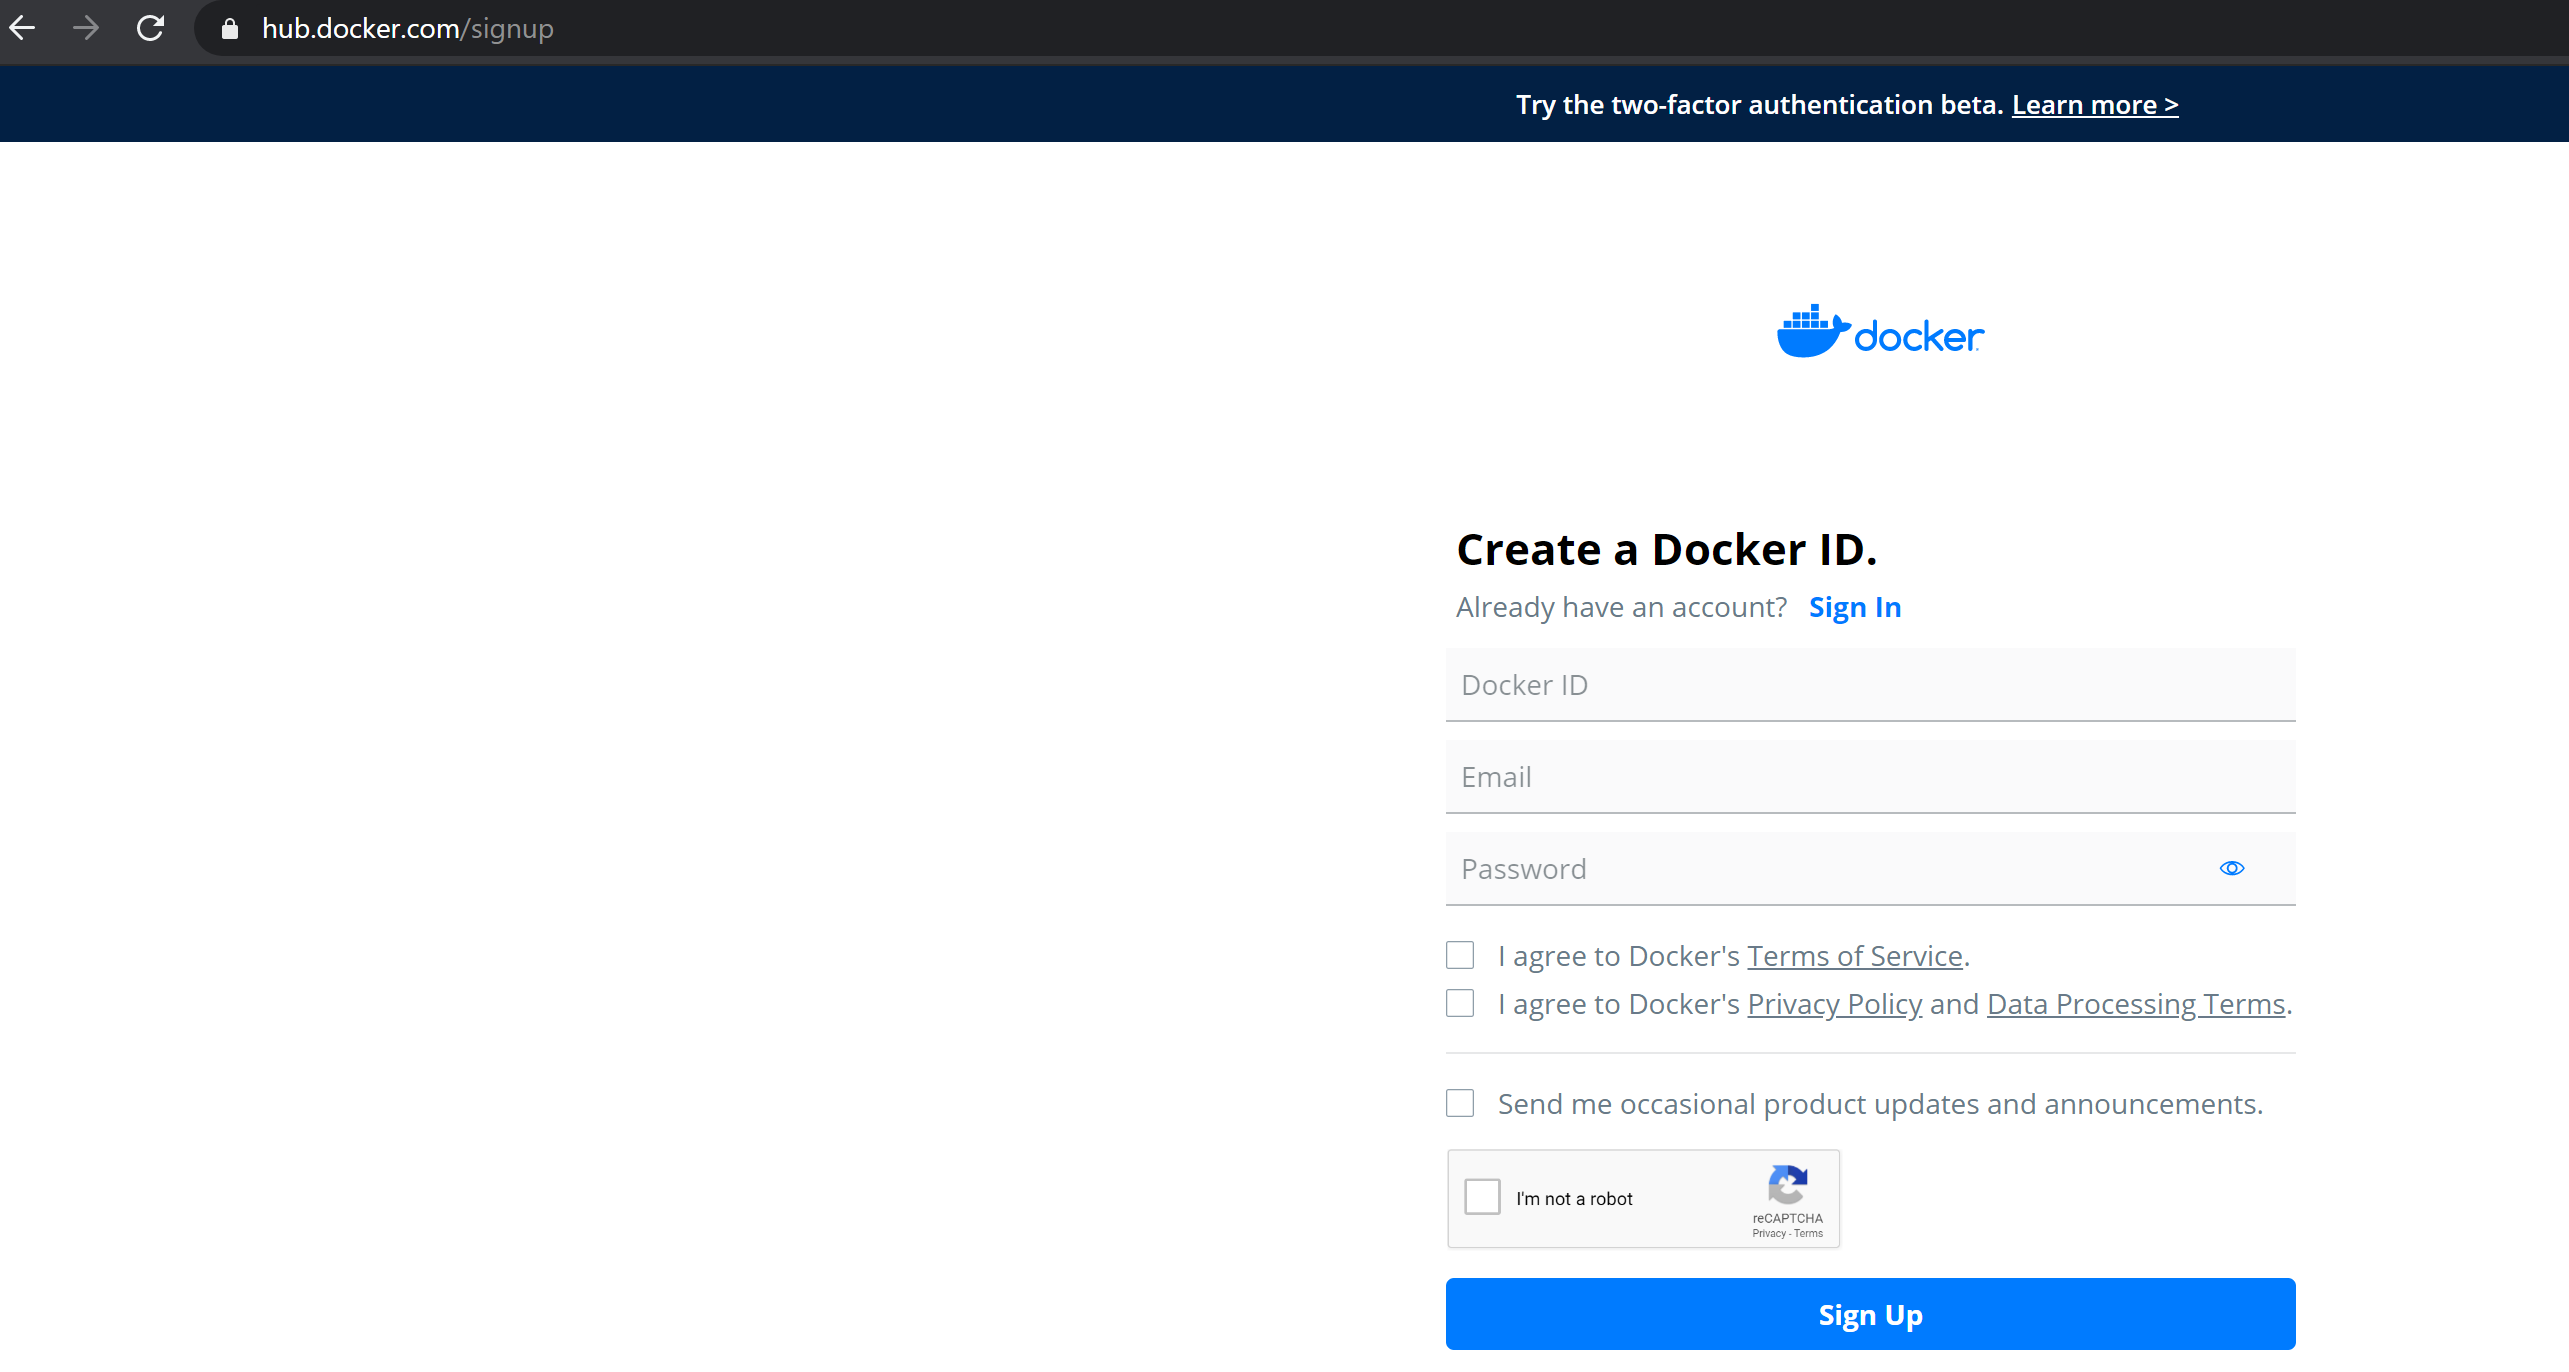
We sign up for a Docker account
Now we download and install Docker Desktop. The installation is simple, you can find the official installation documentation here.
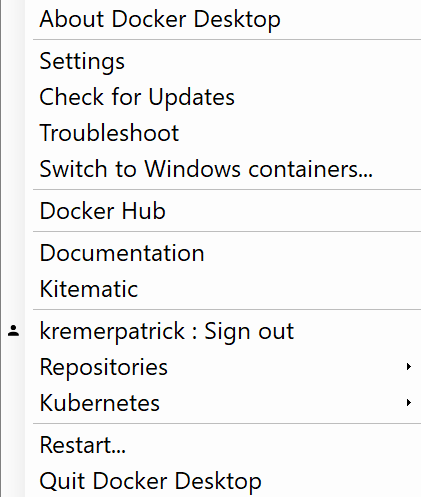
After installation there’s a little whale icon in my system tray

I right-click and log in with the account I just created
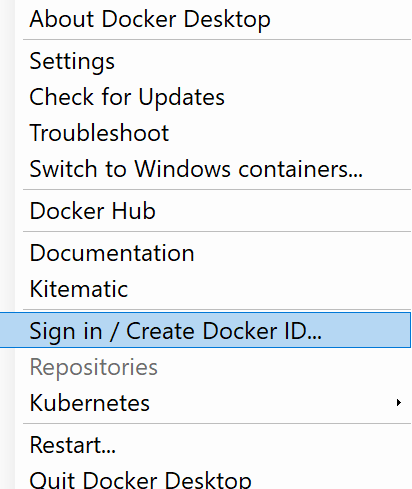
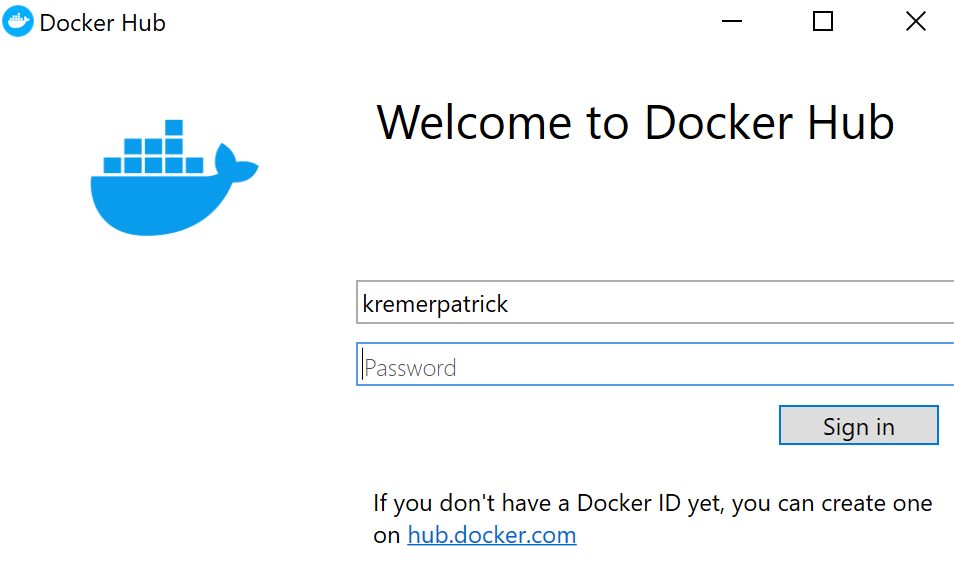
Now when I right-click the whale, it shows that I’m signed in.
Now we edit the stack.yml file. We make sure our gateway is pointing to our VEBA. We change the secrets to point to our new secret. And we change the image name – the account name gets changed to the Docker account that we just created.
Now we need to build, push, and deploy our new container image. The faas-cli function creation documentation shows us the commands we need to use.
First, we need to log in to Docker. Since I had no experience with Docker, it took me forever to figure out this seemingly simple task. I tried many different ways, but all failed with an Unauthorized error.
The simple answer is to make sure you’re logged into the Docker desktop

Then you issue a docker login command with no arguments. Just docker login.

We now issue the faas-cli build -f stack.yml command.

Multiple screens of information scroll past, but we end with a successful build.

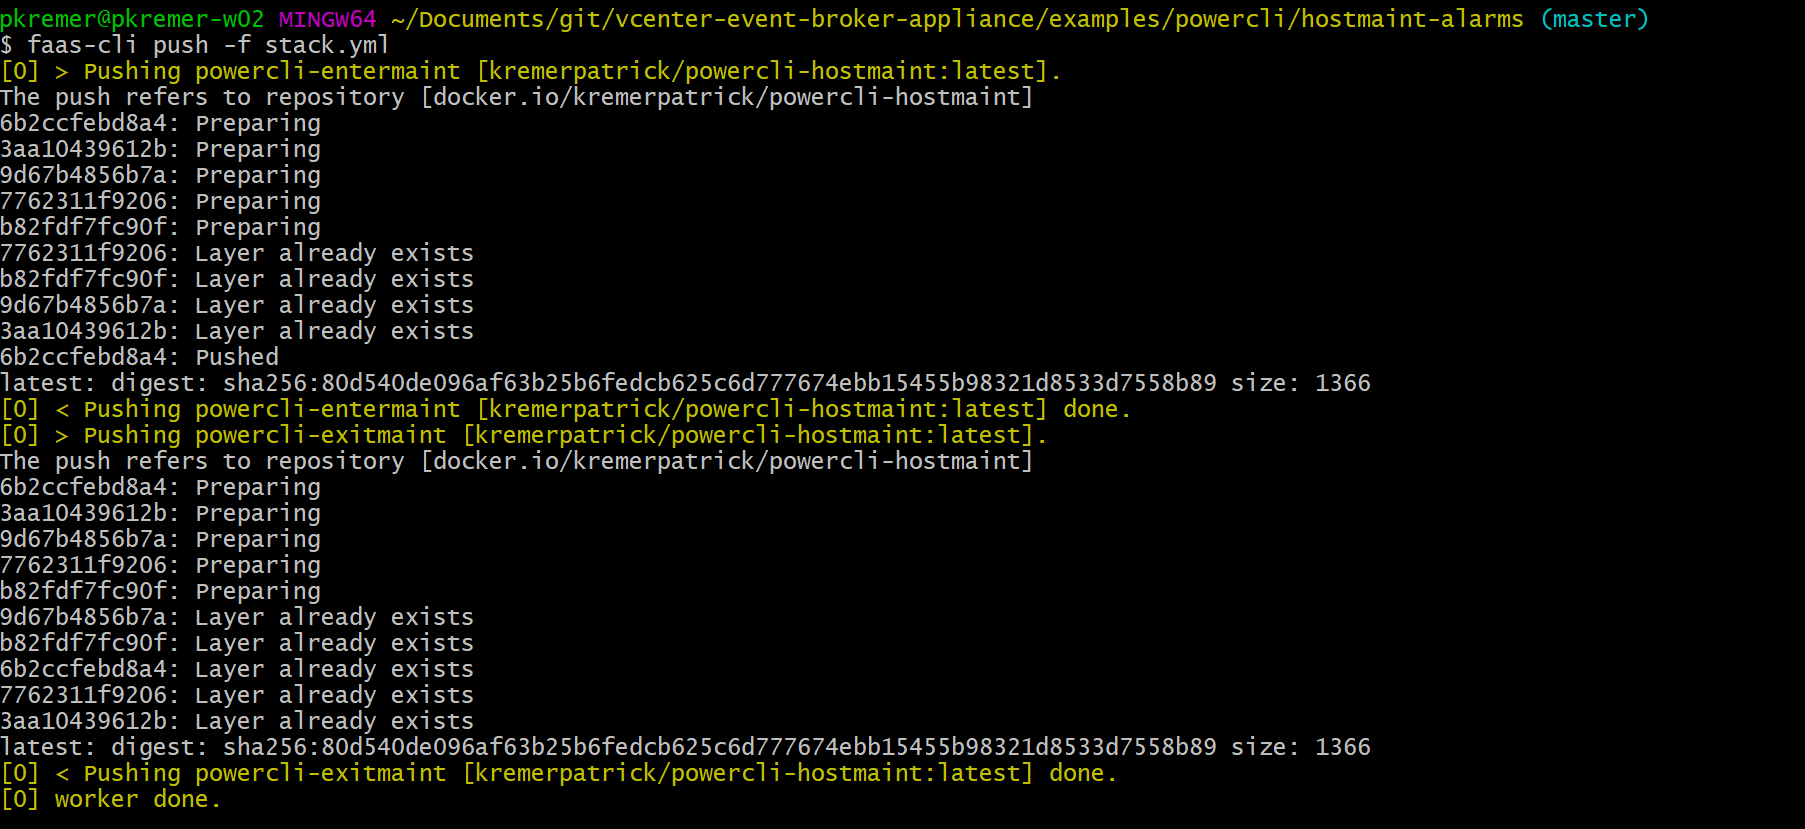
Now we push the containers into the Docker registry with faas-cli push -f stack.yml
Now we deploy the container to our VEBA with faas-cli deploy -f stack.yml –tls-no-verify

PROTIP: Once you understand what the 3 commands do – build, push, deploy – you can use a nifty OpenFaaS shortcut command: faas-cli up –tls-no-verify
This command runs build, push, and deploy in sequence, automatically.
Now we log into vCenter and look at the Alarm actions on a host. They are currently enabled.

After entering maintenance mode, the alarm actions have been disabled by our function

Now we exit maintenance mode and our function enables alarm actions. Success!

Finally, we want to verify that we did not break our other Python function, the one that tags a VM when it powers on. We check our test VM and see it has no tags.

After power on, a tag has been applied. Now we have both functions working!

We have now successfully deployed our PowerShell host maintenance function! In Part VIII, we will look at some troubleshooting techniques.

VMware Event Broker Appliance – Part XIII – Deploying Go functions | Patrick Kremer
[…] Install VEBA and the OpenFaas CLI. I covered VEBA in Part I and OpenFaaS CLI in Part II. You also need Docker, which I cover in Part VII. […]
VMware Event Broker Appliance – Part XII – Advanced Function Troubleshooting | Patrick Kremer
[…] Once you have your JSON, you can tail the logfile for the hostmaint function. This obviously assumes you already have the hostmaint function installed. If not, check out Part VII. […]
vCenter Event Broker Appliance – Part IX – Deploying the Datastore Usage Email sample script in VMC | Patrick Kremer
[…] ← Previous Next → […]
vCenter Event Broker Appliance – Part VIII – Basic Troubleshooting Techniques | Patrick Kremer
[…] ← Previous […]
vCenter Event Broker Appliance – Part VI – Syncing Your Fork | Patrick Kremer
[…] ← Previous Next → […]