
This post made possible by with extensive contributions from SABU storage guru John Nicholson.
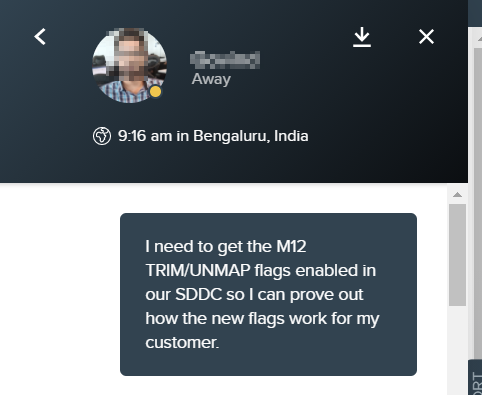
VMC on AWS introduced the TRIM/UNMAP feature flag with the M12 release. This is the same functionality that was introduced in vSAN 6.7U1. You can have it enabled in your M12 and newer SDDC by requesting enablement of the TRIM/UNMAP feature flag in chat support.
Because the clusters in VMC are hyperconverged, storage becomes a critical factor that drives cost. You cannot scale storage without increasing node count.
Let’s talk about how thin provisioned disks work. You create a VM and attach a 100GB thin provisioned disk. That VMDK takes up 0GB… well, very nearly 0GB. If you add 50GB of files in the guest OS, the VMDK grows to 50GB. If you delete 50GB of files – in most cases, that VMDK is going to stay at 50GB.
The reason for this is how the guest OS deletes files – older OSes just mark the file as deleted in the file allocation table. The unused blocks don’t get zeroed out, and the hypervisor has no clue that the blocks were released by the guest OS.
Modern guest OSes support using the TRIM/UNMAP commands to free space, but the hypervisor has to be able to handle the commands. No VMFS version prior to VMFS6 supports automatic free space reclamation. In VMFS5, you have to run the command manually.
We have customers running many versions of guest OSes and tons of VMFS5 filesystems out there. The end result is that we often find many TB of wasted space. While this can be no big deal on-prem with an array that is also doing thin provisioning, this thin provisioned growth can cause some major sticker shock when the node count is unexpectedly large due to wasted space.
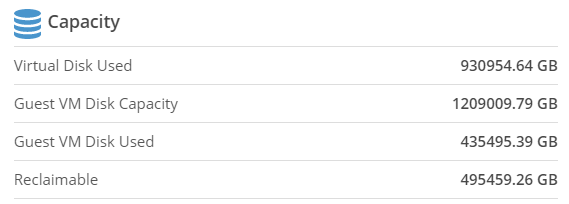
Take this real-world customer output from a Live Optics analysis. Virtual disk used is how large the thin-provisioned VMDKs have grown. Guest VM disk used is how much space the guest OSes are actually using. The reclaimable figure is how much wasted space could be reclaimed – just shy of 500TB!
How do we get this space reclaimed? There is a great vSAN post on the topic – it starts with how to enable TRIM/UNMAP on on-prem vSAN, which doesn’t apply to VMC, but the rest of the post applies to both on-prem and VMC.
To get UNMAP support enabled in VMC, open up chat support and ask for it. Chat support will open a ticket with VMware’s SREs and they will enable the feature flag.
After the flag is enabled, you must reboot every VM that needs to use the TRIM/UNMAP function. You can wait for a monthly patch window to do this automatically, or schedule a maintenance window with a rolling reboot across your fleet of VMs.
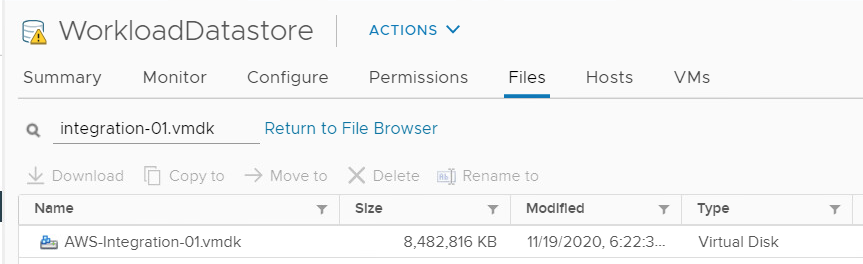
Here’s how it looks. TRIM/UNMAP is enabled in my VMC cluster, I have rebooted this Windows VM, and I attached a 100GB thin D: drive to it. I have a single 8.2GB file on the D drive


I look at the VMDK’s size and discover it has grown to about 8.4GB

I make 2 copies of the file.
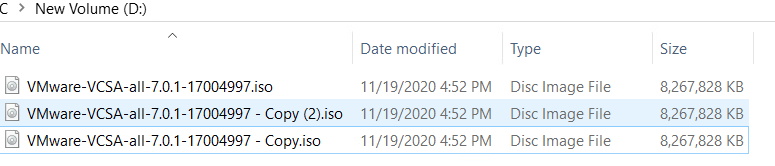
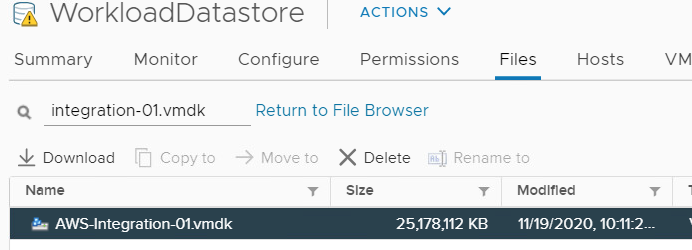
The D drive now shows about 24GB in use

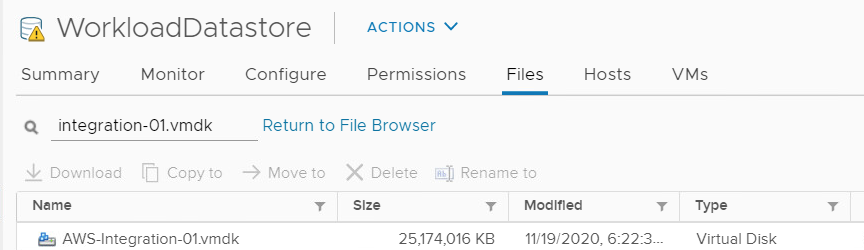
I refresh my WorkloadDatastore and find the VMDK size has grown to about 25GB.
I delete 2 of the .iso files from the Windows VM and my VMDK size shrinks back down to 8.4GB.
After TRIM/UNMAP is enabled, it will work on any new deletes in modern Windows. This is great for future space reclamation, but it doesn’t help you on current VMs. What if your VMs are already in VMC and you need to shrink them?
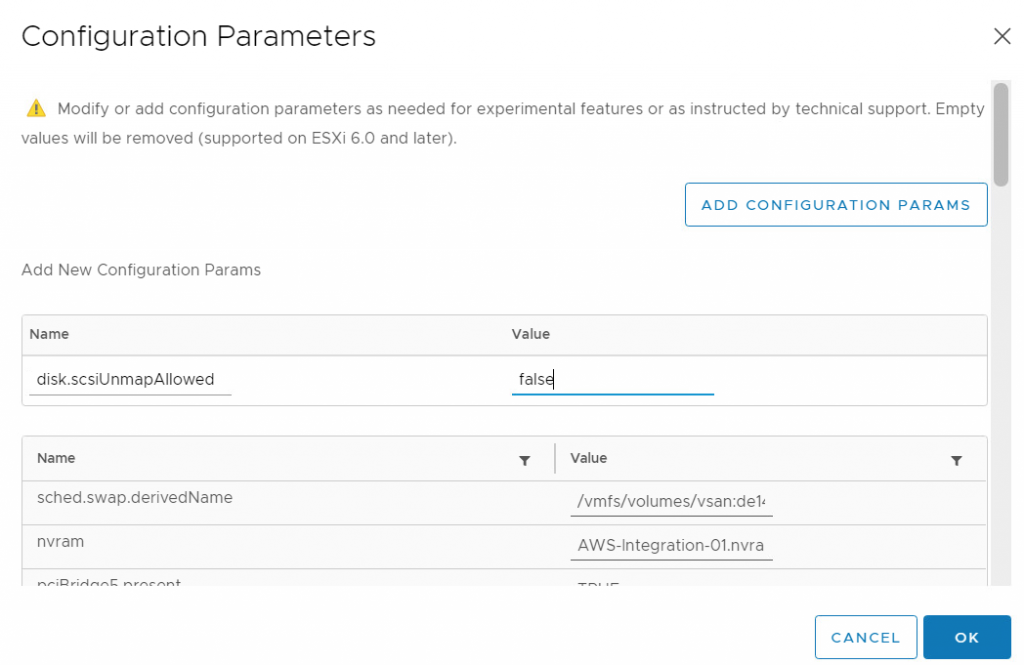
To illustrate this, I’m going to take advantage of the advanced configuration flag disk.scsiUnmapAllowed = false. This flag is used to stop a VM from using the TRIM/UNMAP commands. This is useful if you have a workload that has extremely heavy delete activity and you don’t want to take the performance hit of constantly reclaiming free blocks.
I power down the VM and add the configuration parameter (Edit VM, VM Options, Advanced, Configuration Parameters, Edit Configuration).
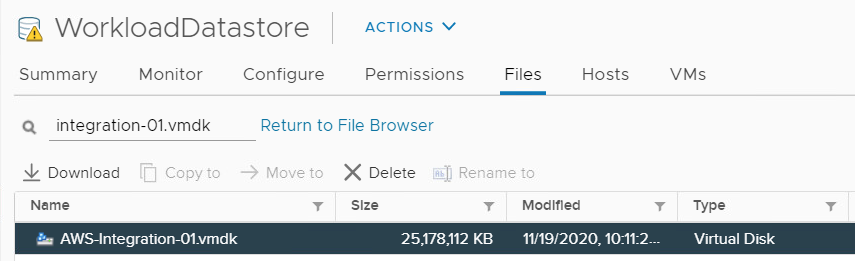
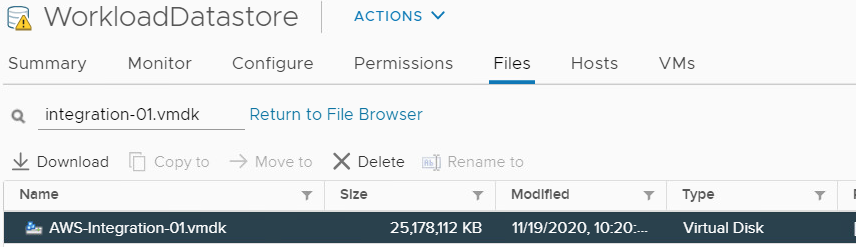
I power the VM back up and make the same 2 .iso file copies as before, and see my VMDK grew to 25GB.
Now I delete the 2 ISO files. When TRIM/UNMAP was enabled, the VMDK shrank back down to 8.4GB. But now it doesn’t shrink – it remains at 25GB.
I power off the VM, remove the disk.scsiUnmapAllowed = false configuration parameter, and power the VM back on. The VMDK size is unchanged.
Now I use one of the reclamation techniques from the vSAN post I mentioned earlier.
Optimize-Volume -Retrim will free up empty blocks. I run the command Optimize-Volume D -Retrim -Verbose
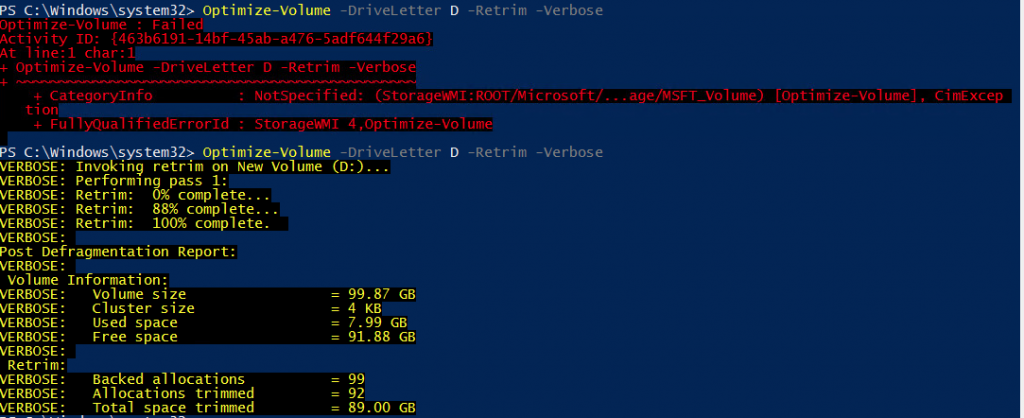
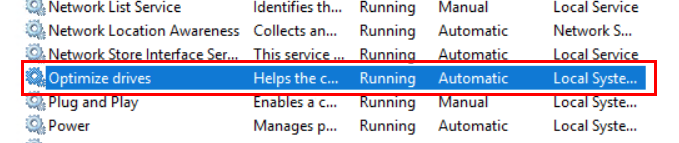
You can see my first attempt failed with a relatively useless error message. The problem ended up being that the Optimize-Volume cmdlet is dependent on the Optimize drives service – in my case, the service was set to disabled, so I set it to Automatic and enabled it.
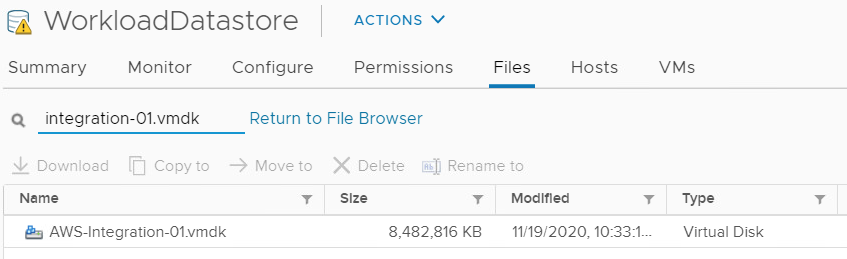
I check the size of the VMDK, and it has shrunk.
Update 2020-11-30 – Added Linux by request
There’s an excellent community post here about scheduling TRIM operations on various flavors of Linux. It is generally not recommended to enable continuous trim operations (add the ‘discard’ flag during mounting) due to performance concerns.
My first test case is an old CentOS 6 VM we have in the lab I set it up the same as Windows, an extra 100GB disk attached to the VM, formatted as ext4.

Here is the VMDK size as shown in vCenter.
If I delete the files while TRIM/UNMAP is enabled, the VMDK shrinks down to 8.8GB

I configure the same flag as Windows to prevent the UNMAP operations and repeat the test, my VMDK remains at 27 GB after the delete. I switch the UNMAP flag back.

The guest OS shows only 8GB in use on the filesystem.
I run the fstrim command.

The VMDK has now shrunk. However, it’s not great – almost 3GB of wasted space.

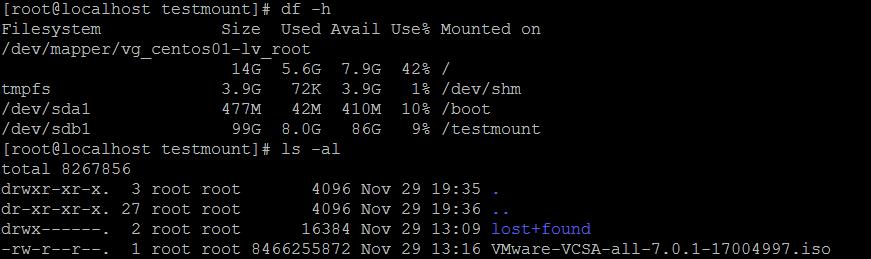
Even though it’s not recommended, I tried it with the discard flag – mount /dev/sdb1 /testmount -o discard. After adding and deleting a file, the space is automatically trimmed and only wasted about 7KB.
Since CentOS6 goes EOL today, November 30, 2020, I decided to test this out on a more modern version – CentOS 7. Same test, 100GB empty volume, same 3 ISO files. I formatted this volume with xfs.
The VMDK started off at 8,421,376KB.
Here is the VMDK size after copying the ISO file twice

After the fstrim operation, the disk shrinks back down to the original value.

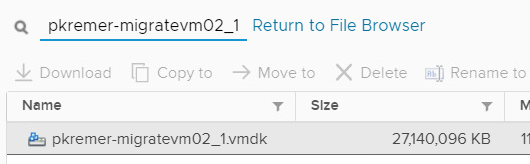
I also tried xfs vs ext4 on CentOS7 to see the differences. _1.vmdk is the xfs filesystem, _2.vmdk is the ext4. This is what they look like as empty 100GB formatted filesystems – ext4 takes up almost 1GB
Here they are with a single 8.4GB iso on them.

Here with 3 copies of the 8.4GB iso on each.

Finally, after the trim operation. The shrunk ext4 disk takes up 2GB more than the shrunk xfs disk, but 1GB less than the shrunk ext4 disk on CentOS 6.

The new TRIM/UNMAP feature can help keep your thin provisioned disks as small as possible, keeping your VMC node count and corresponding costs down.
Faissal
Great article, it helped me a lot in understanding how to apply this Trim/Unmap feature in Linux Guest OS.
Joseph M
Very helpful article indeed.
Could you comment on the performance ramifications for when this feature is turned on? Can it impact high compute and/or high disk I/O operations from a performance or run-time perspective?
pkremer
vSAN does a pretty good job of doing the reclamation in the background, preventing performance problems caused by block reclamation. Still, if I had VMs that are in a constant heavy write/delete cycle, I’d probably disable it for them. Even though it’s a background process, all I’m doing is causing unnecessary backlog. Is it worth the churn of reclaiming blocks that I’m just going to write over again in a few minutes?
Tom Twman
Great article Patrick!