In Part IV of this series, we successfully deployed our sample function, it fired when a VM powered up and correctly tagged the VM.
This post was originally written using a version of VEBA with OpenFaaS as the event processor. The way you use Git to make changes to code doesn’t change based on the event processor that you’re using. You can use the techniques in the post regardless of whether you use OpenFaaS or Knative. The examples below are making changes to files that document OpenFaaS functionality within VEBA – I wanted to call it out to avoid confusion. You could be making a change to Knative documentation, OpenFaaS documentation, or changing code within VEBA – the process is exactly the same.
In this post, we will explore contributing to the vCenter Event Broker Appliance Open Source project. Open Source is obviously reliant on contributions from the community. One way to contribute is using your skills as a developer. But if you’re not a developer, you can still contribute in the form of documentation. When I started working with VEBA, I knew nothing about Git. You can do some extremely complex things with Git – but the basics of making a change to a file and submitting it back for inclusion into this project are easy to learn.
Note: this post assumes you’ve already installed Git. Take a look at Part II if you don’t have Git installed.
For further learning outside of this blog post, I strongly recommend Commitmas, a great vBrownBag series on how to use git. Thank you to Kyle Ruddy for the suggestion. Here is another great post from Michael Gasch going deeper on Git.
The first thing you need is a Github account. Once you’ve signed up and verified your account, open up your Git Bash and use the git config –global command to set the user.name and user.email variables to match your name and verified e-mail address from Github. You will need this to match in order to sign your code when you commit it.

There are a few basic git operations that you need to understand:
- clone – Creates a copy of the specified repository and saves it on your local workstation
- commit – Git tracks your code changes. When you issue a commit, you’re telling git that you’re done making changes to files and want to save them into the local repository. Commit packages up all of your changes.
- diff – Show the differences between files you’ve updated vs files currently in the repository
- push – Takes code that you’ve committed locally and pushes it into a remote repository
- fork – A way to copy an existing repository into your own Github account. This is how you can work on Open Source projects when you don’t have direct push permissions.
- pull – You open up a pull request (PR) to ask the owner of a repository to merge the changes in your forked repository into their repository.
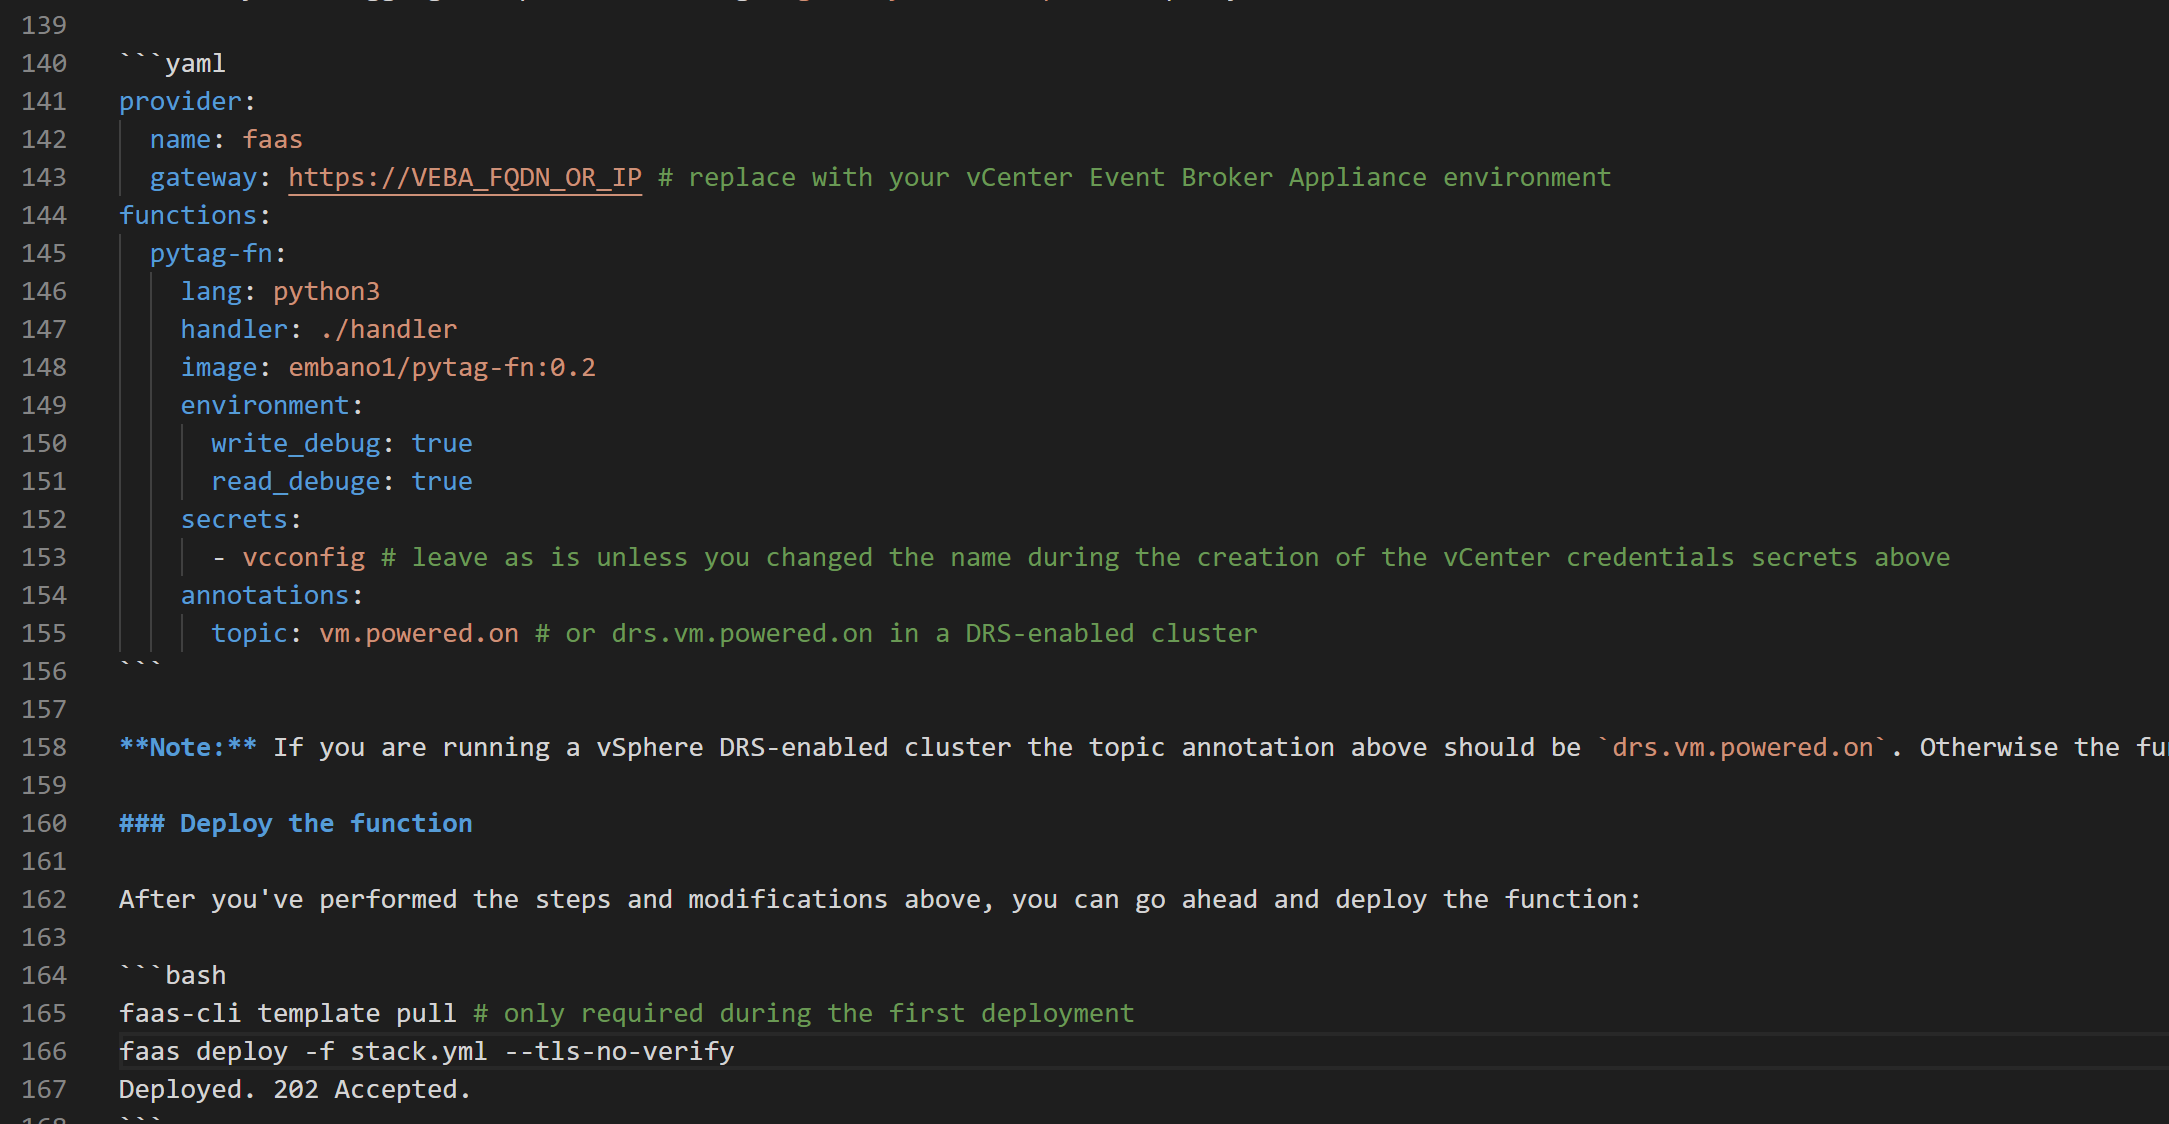
As I was going through the documentation, I read a file named getting-started.md. An .md file is a markdown file, you will find most documentation in Github written in this format.
A few of the parts of this getting started file were incorrect. When I tried to use the referenced stack.yml file, I received an error saying that the provider name was invalid, and instead should be ‘openfaas’. I changed “name: faas” to “name: openfaas” and it worked.
I then found a typo of “read_debuge” instead of “read_debug”.
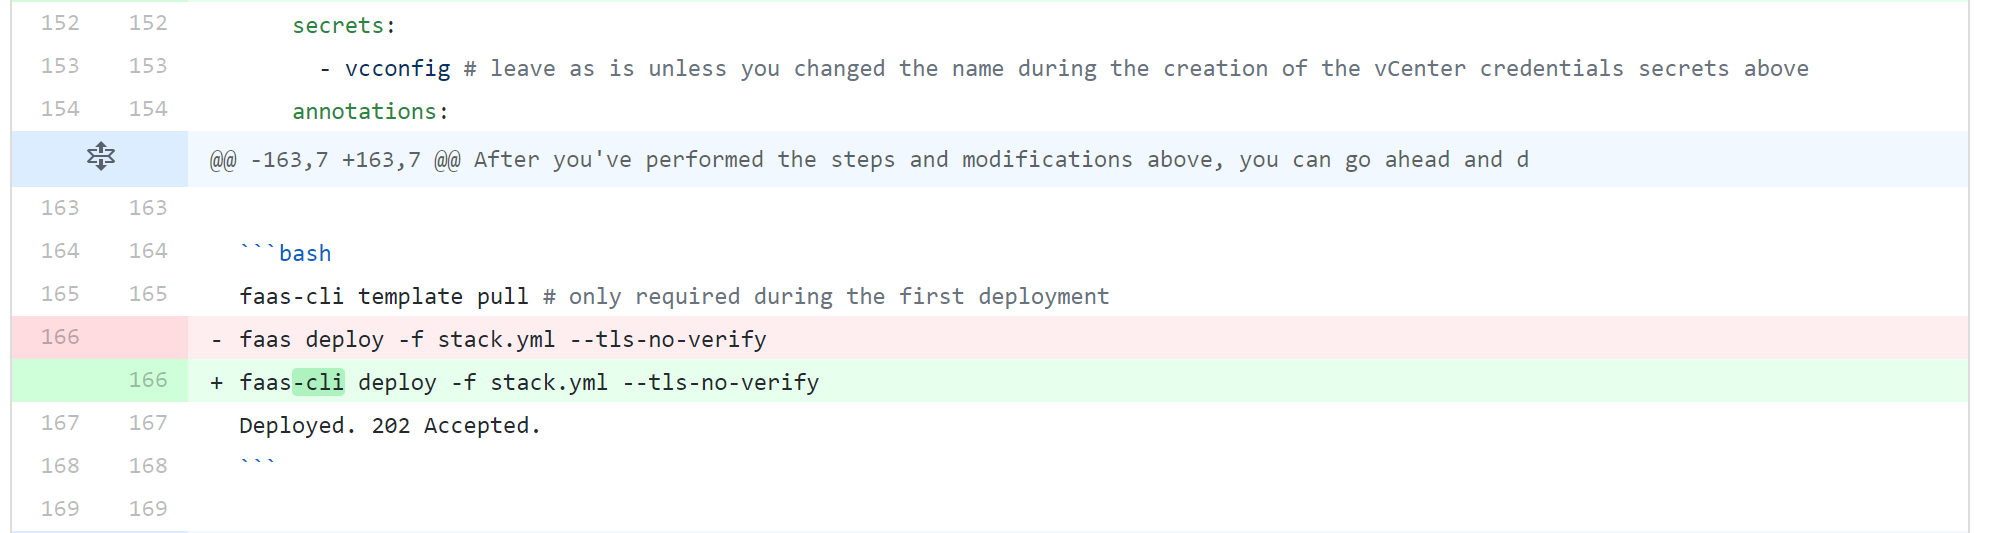
Finally, there was a mistake in the faas-cli commands at the bottom of this screenshot. The second command says to use “faas” when it should have read “faas-cli”.
I wanted to fix these and save them back to the main VEBA repository so others could benefit from my updates.
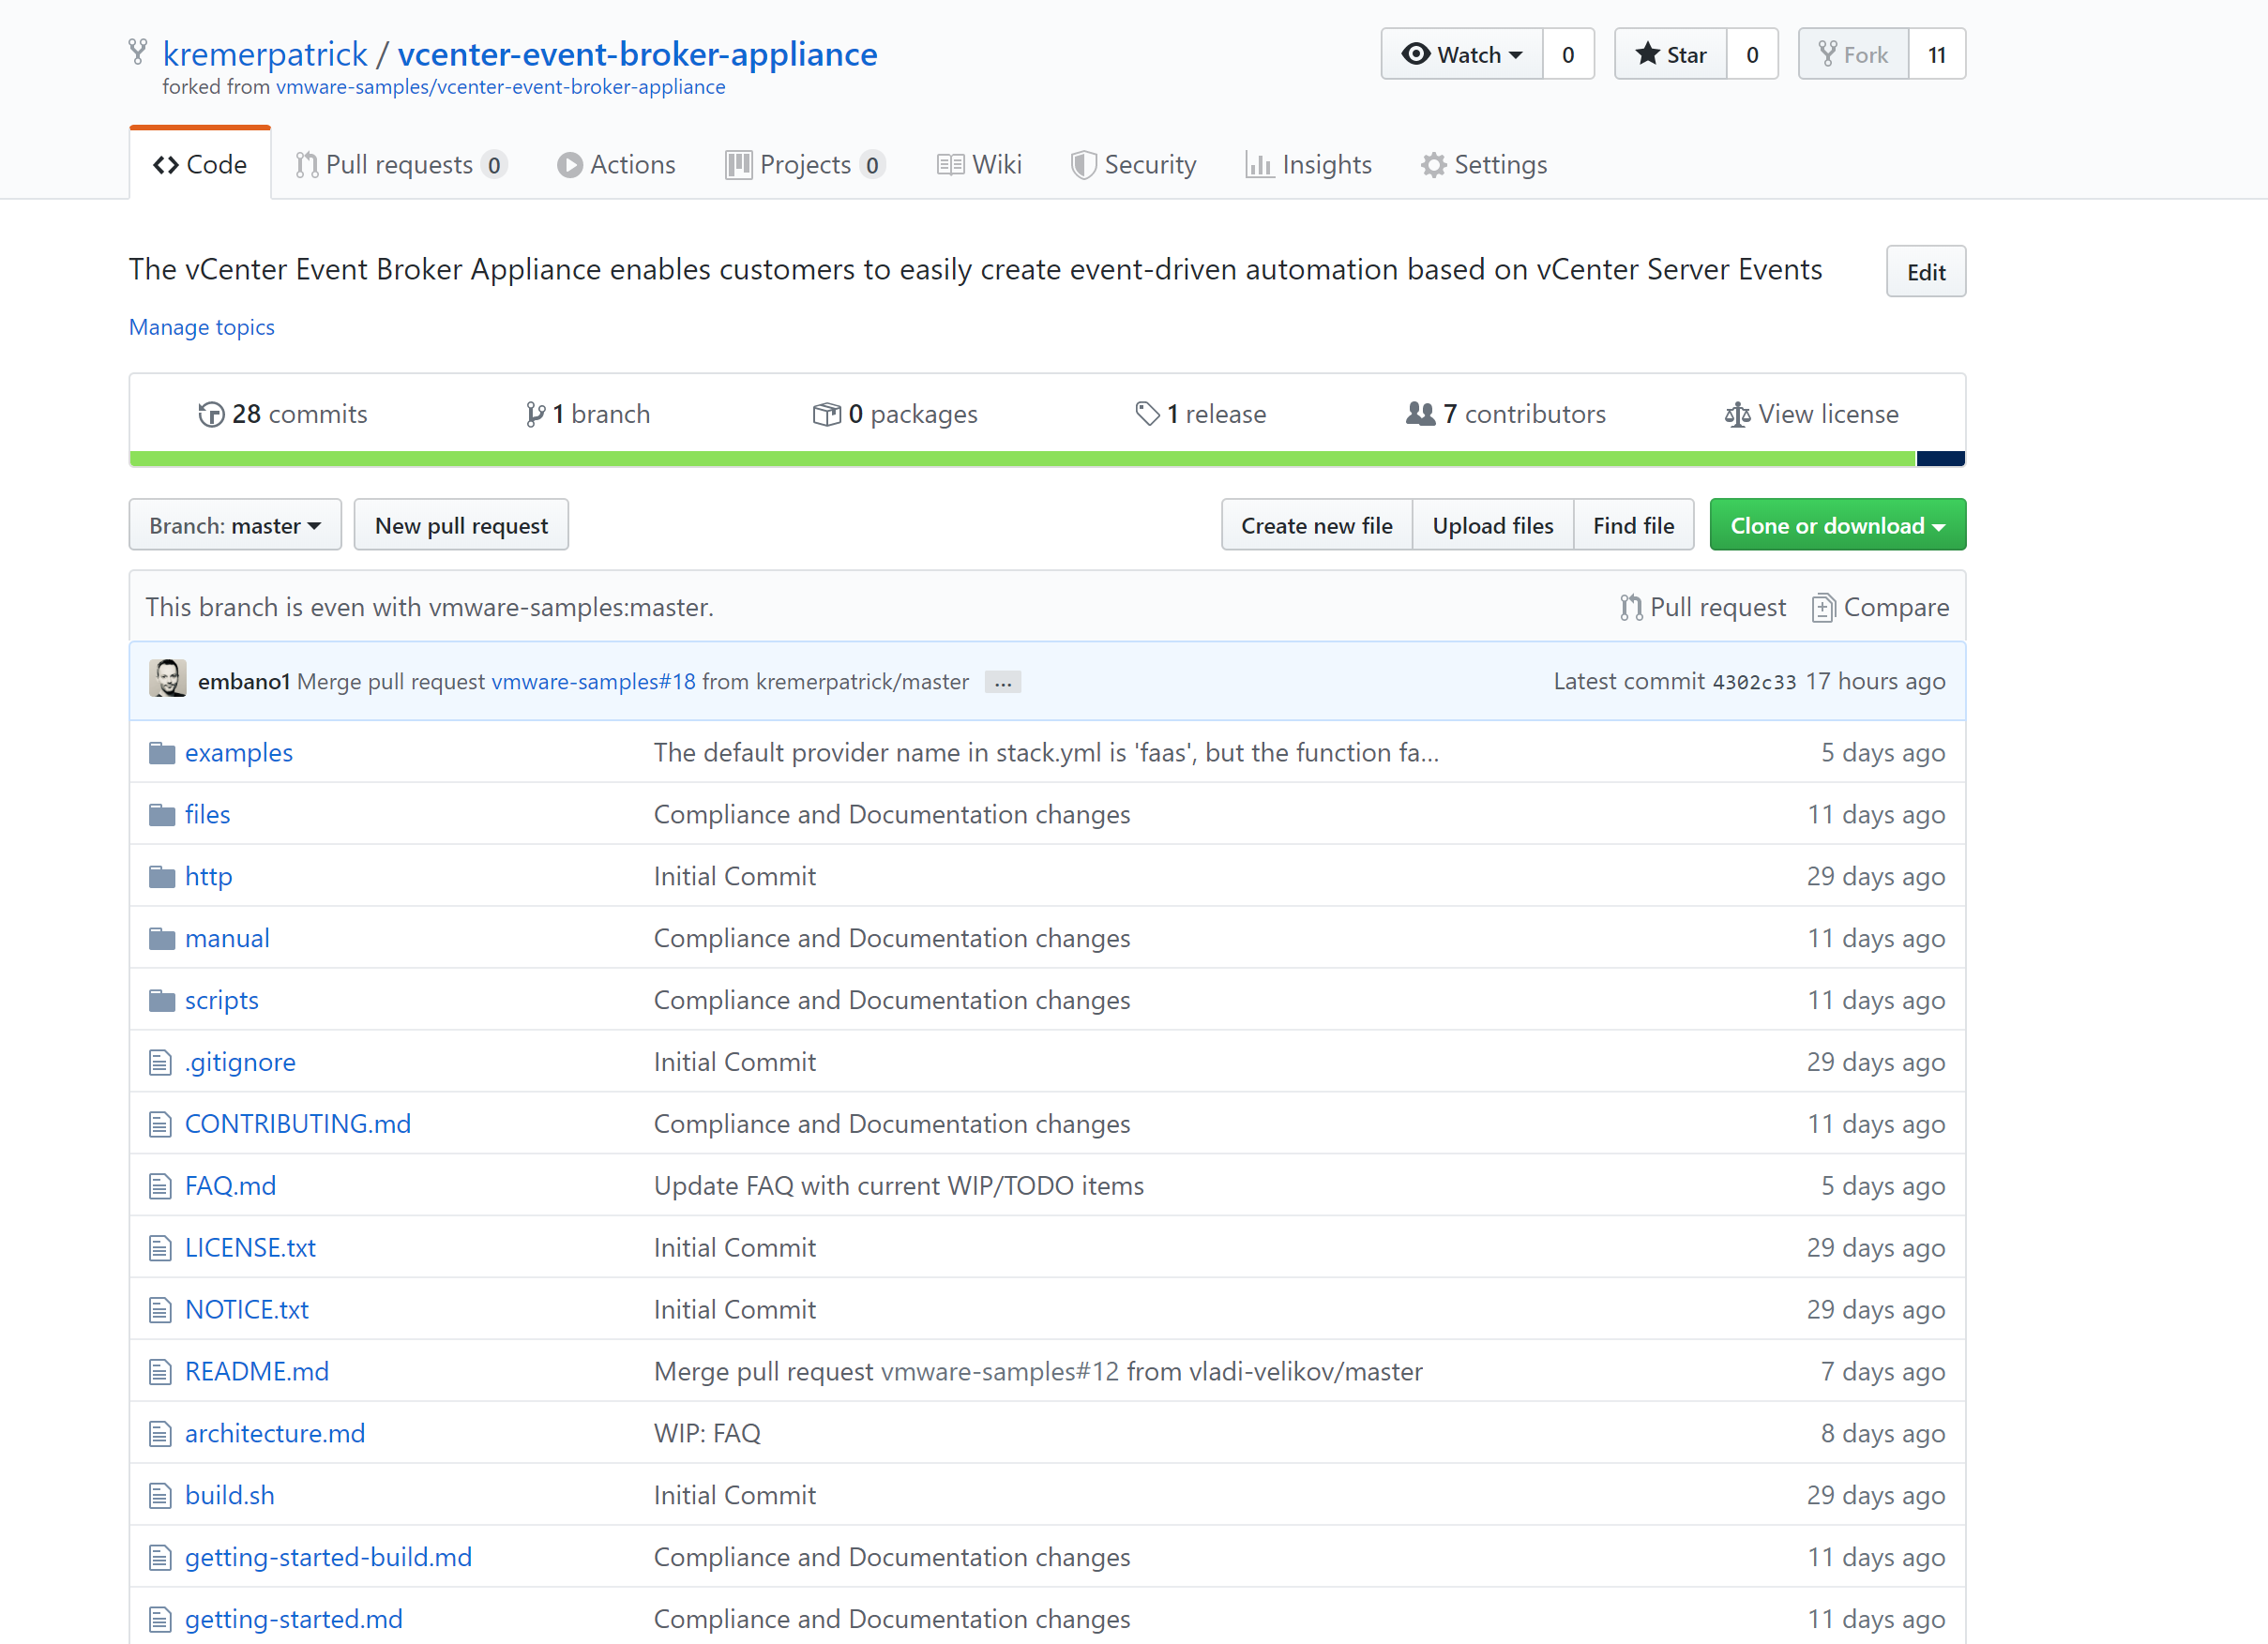
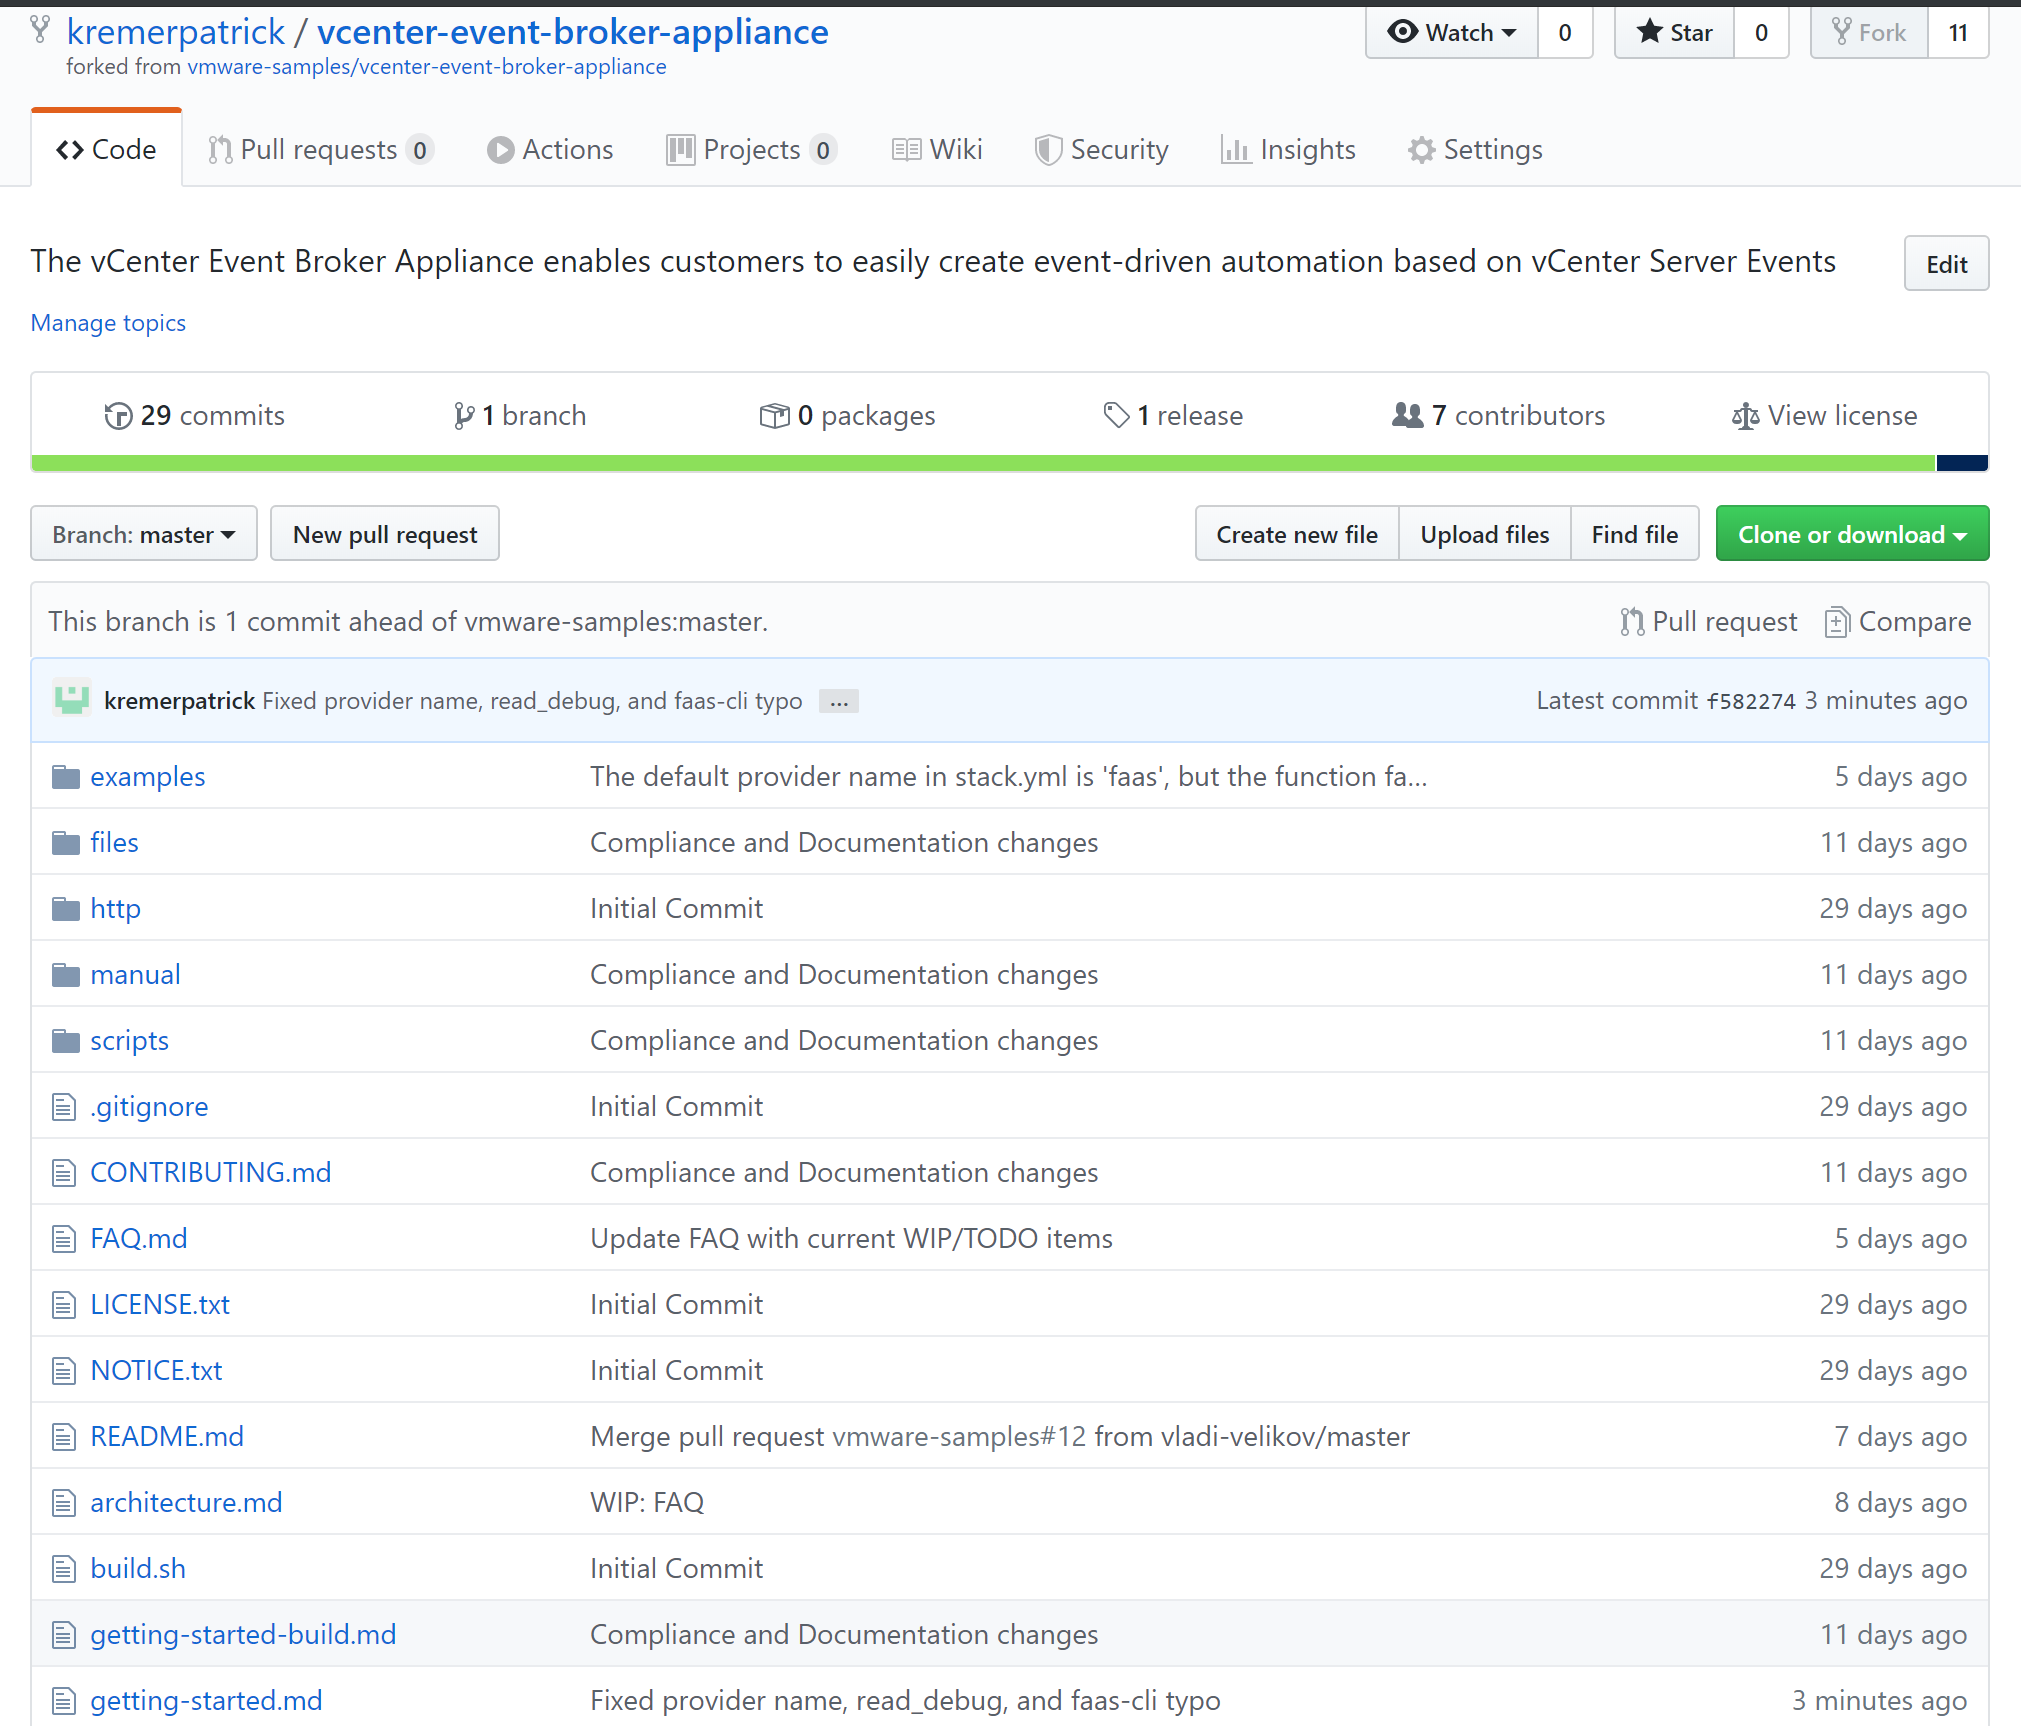
Because I don’t have rights to directly modify code in the VEBA repository, I need to fork the project. You can see the Fork button on the top righthand corner.

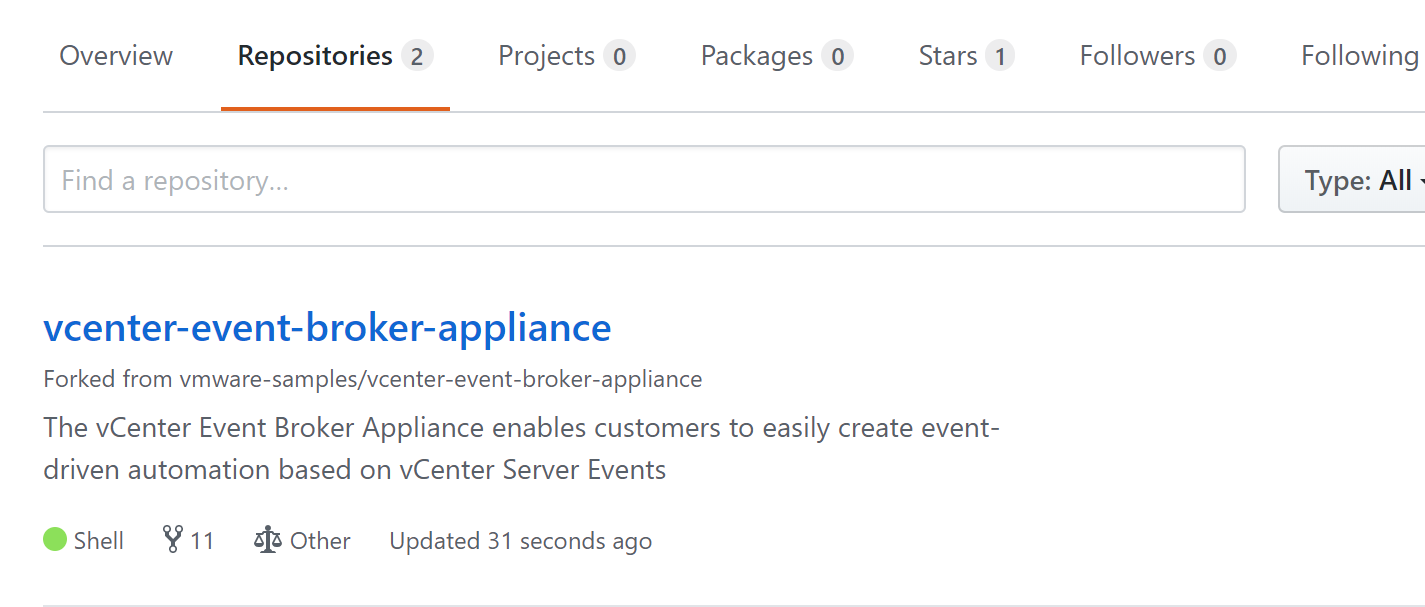
After clicking on the fork button, I end up with a copy of the code in my own personal account – Github tells you on the top lefthand corner that this is the vcenter-event-broker-appliance repository under my account, kremerpatrick, but it’s forked from the vmware-samples account
Now that I have a repository in my own personal account, I’m going to clone it to my local workstation

Note in this clone command I call my local folder “vcenter-event-broker-appliance4” because I have many different copies of the VEBA project as I played around with git.

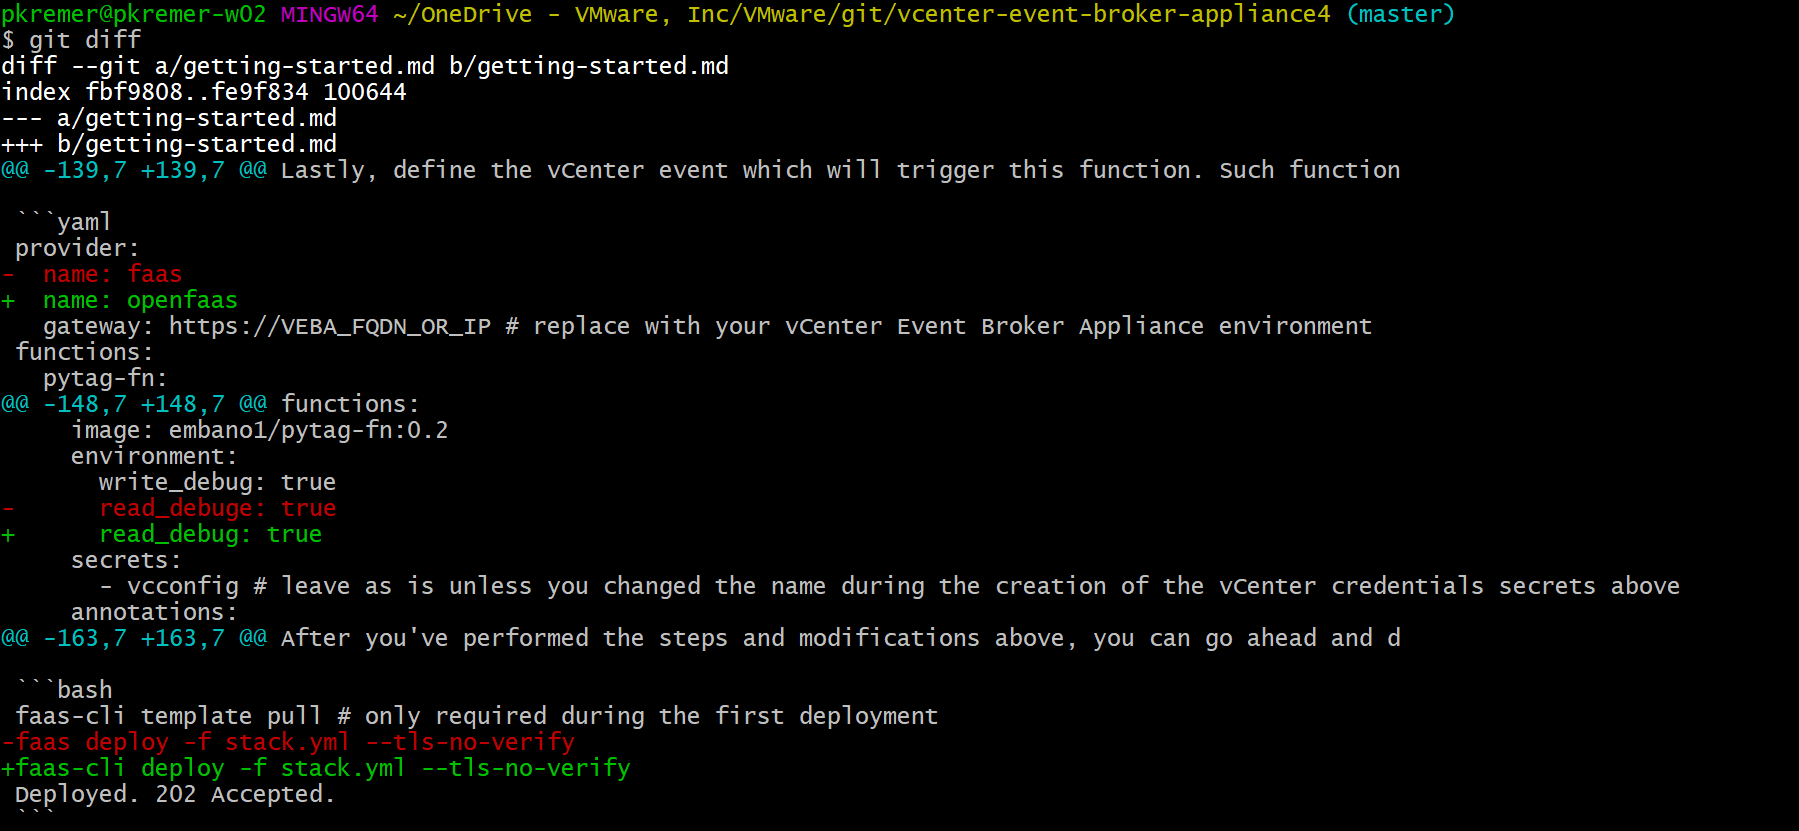
I edit the getting-started.md file and make the 3 fixes – provider name, read_debug, and faas-cli. I save the file

Now I issue a git diff command. This shows me the differences between the files I edited and the code in my local repository. You can see all 3 of my changes, removed code is in red, and added code is in green.
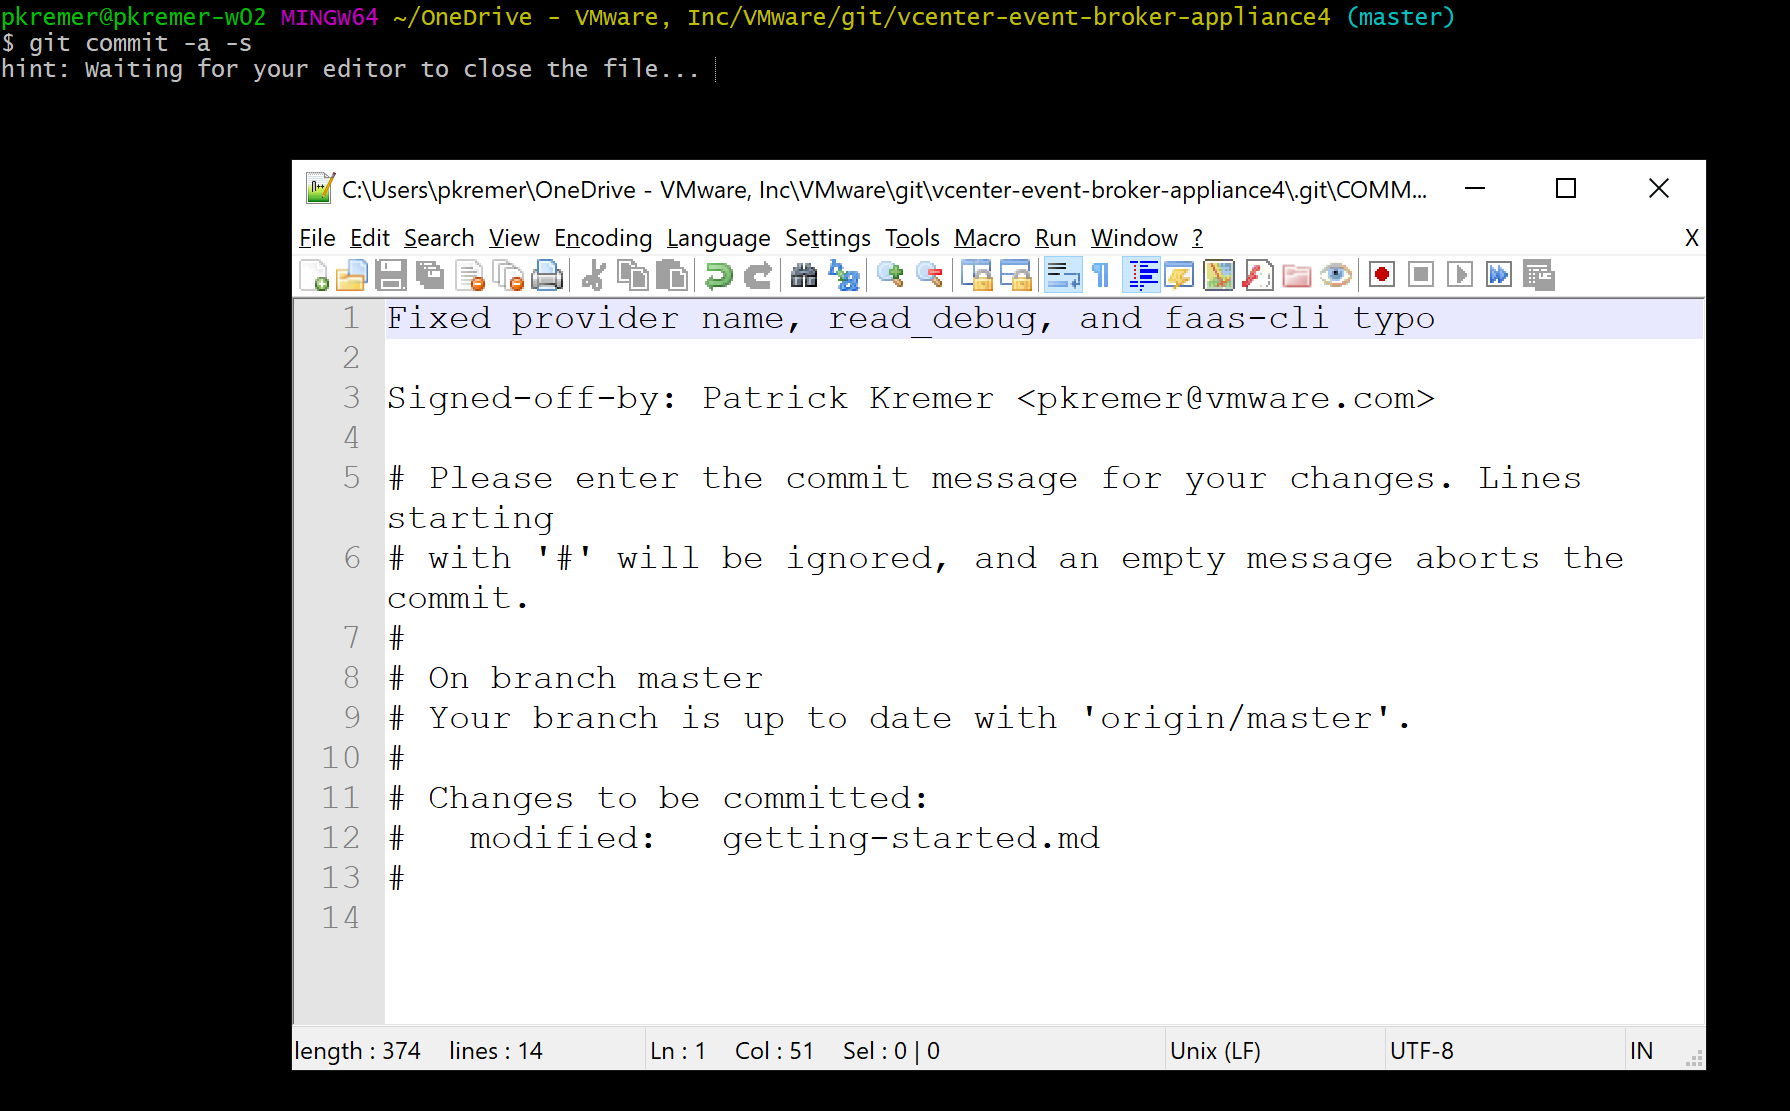
Everything looks good in the diff. Time to commit the code. I issue the command
git commit -a -s
-a stands for “all”, meaning we want to commit all changed files. I only changed one in this case, but if you changed multiple files, the -a switch is one way to commit all of them.
-s means that I’m signing the file with the user.name and user.email variables that we populated above.
When I issue the command, git pops open my text editor of choice. I need to write a comment documenting my changes. I write it, save it, then close the text editor.
The commit is now complete. As expected, 1 file changed, and 3 lines of code changed in that file.

Now the code is committed locally, and I need to push the code up to my personal Github repository

I go back to Github and find my repository
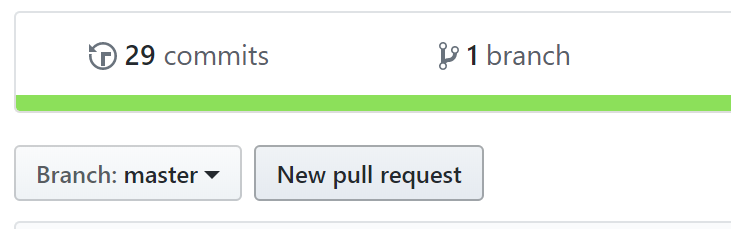
I click on my repository and Github reports that my branch is 1 commit ahead of the base repository. This is expected as I performed 1 commit.
Now I need to ask the maintainers of the VEBA repository to merge my change into their repository. This is called a pull request (PR). I click on the “New pull request” button in my repository.
Because my repository is forked from the base VMware repository, git knows what to compare my commit against. It shows me a diff, and that diff matches the diff that I ran myself in git – all 3 of my changes are there. Everything looks OK so I click “Create pull request”.
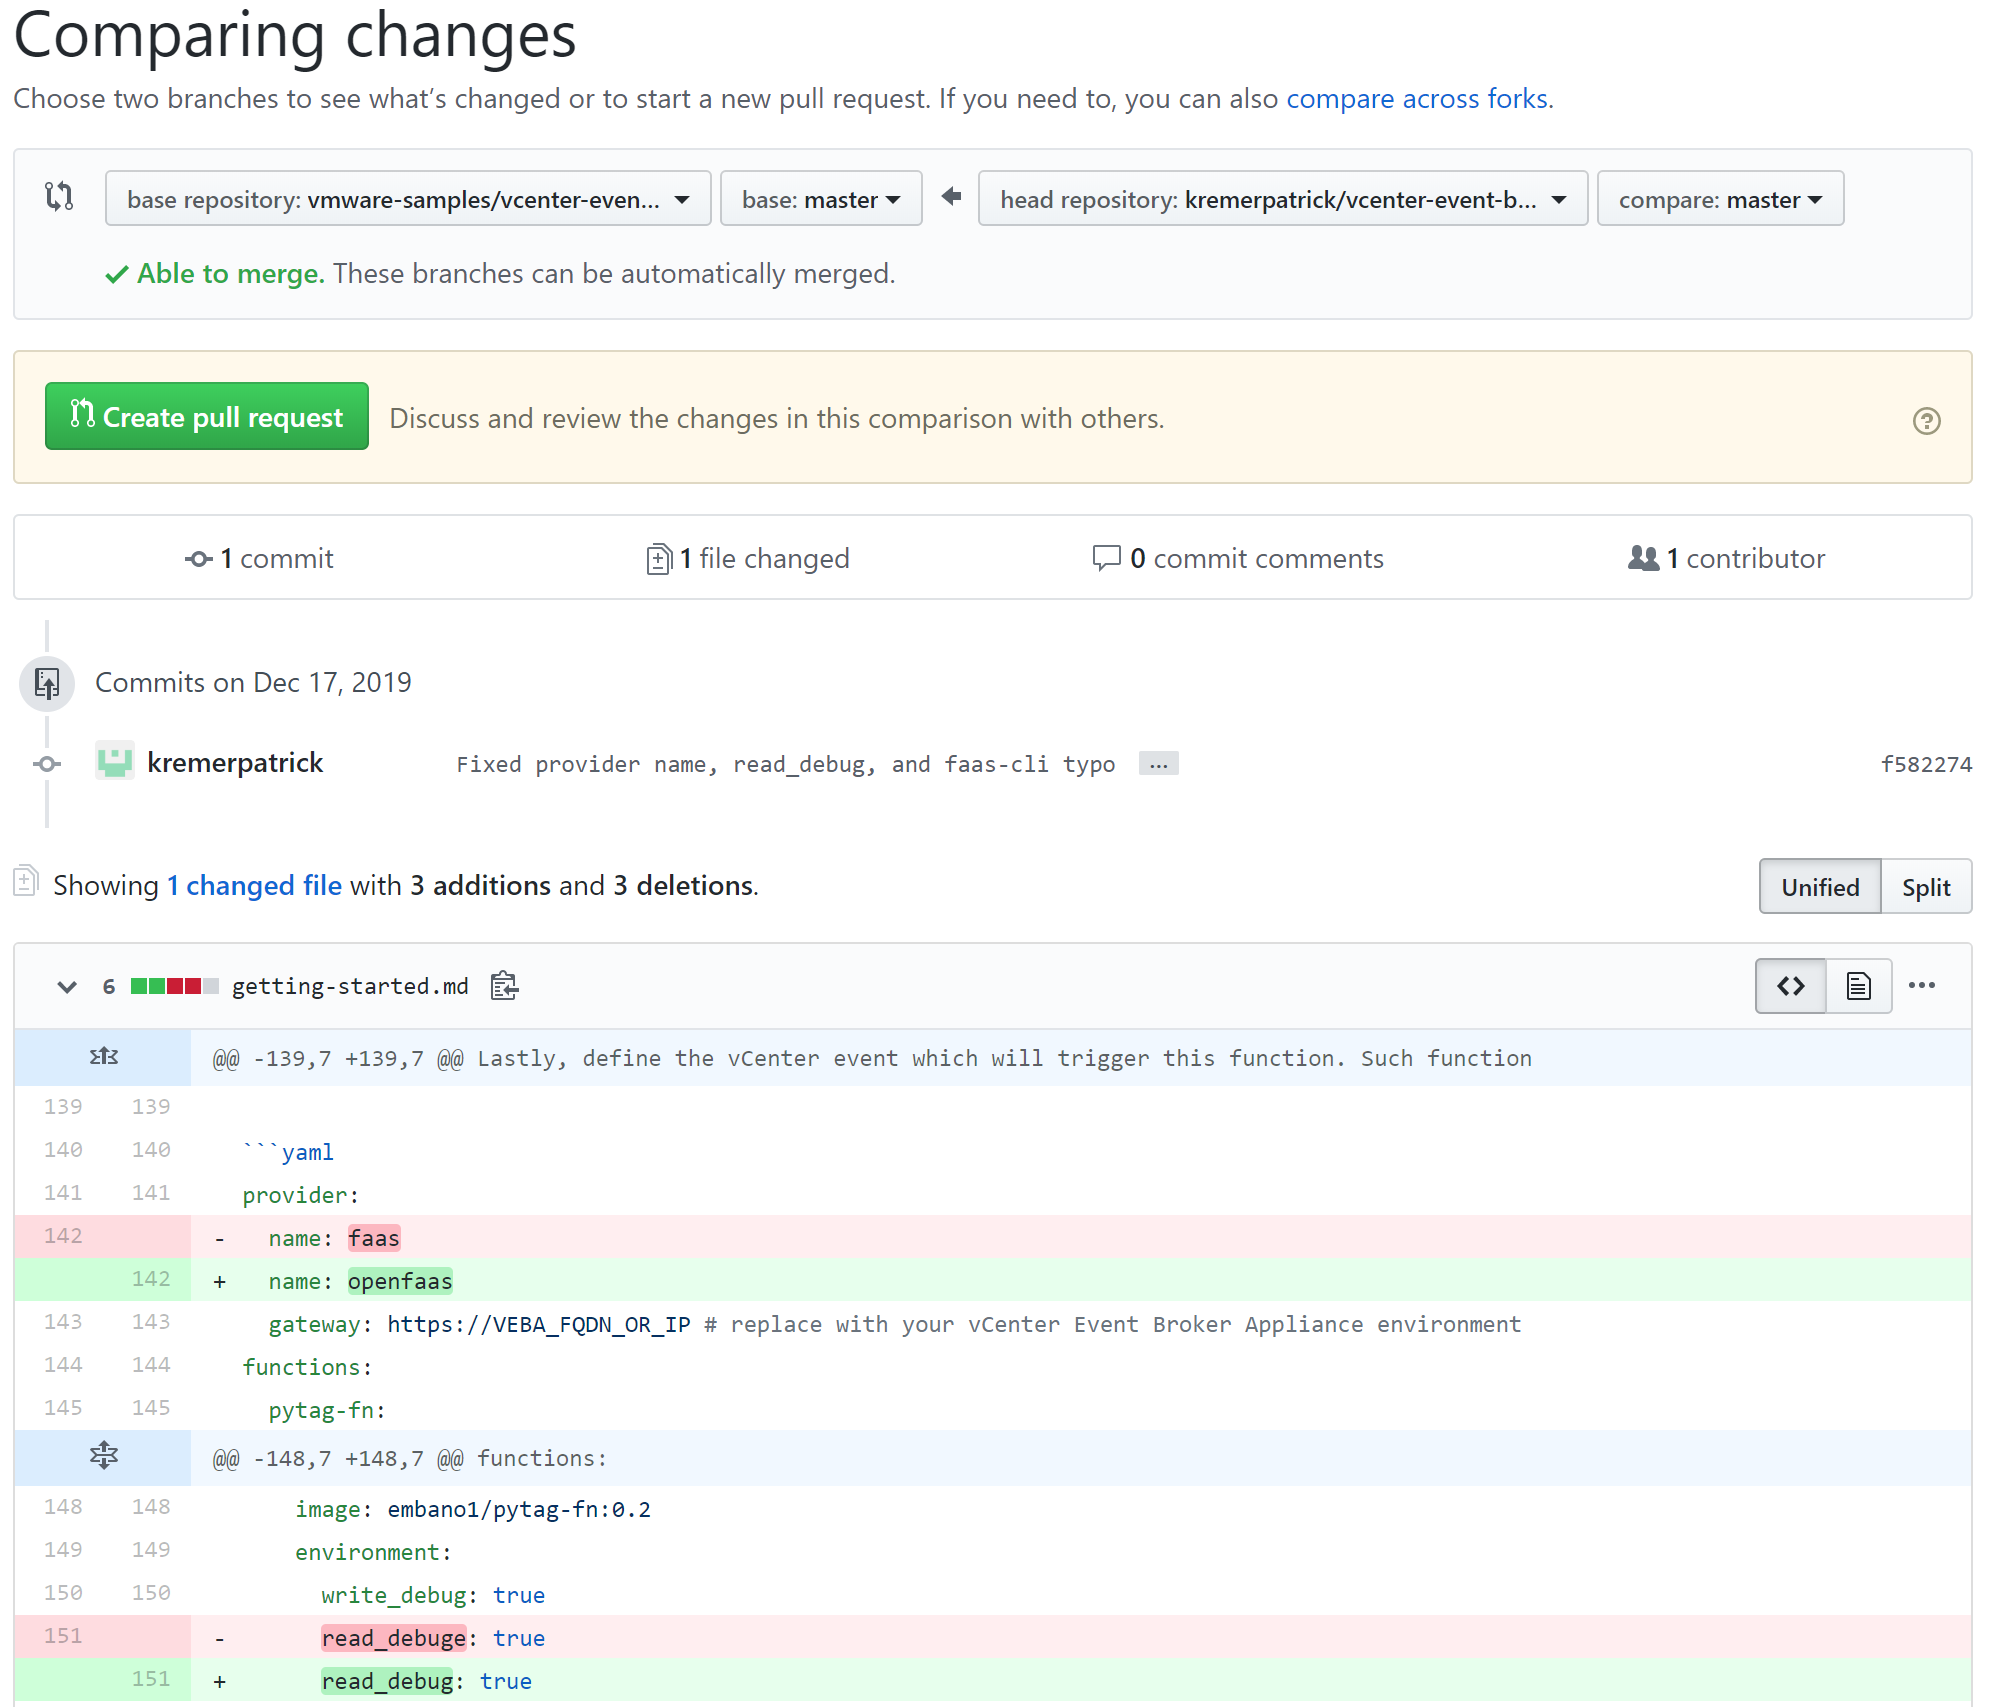
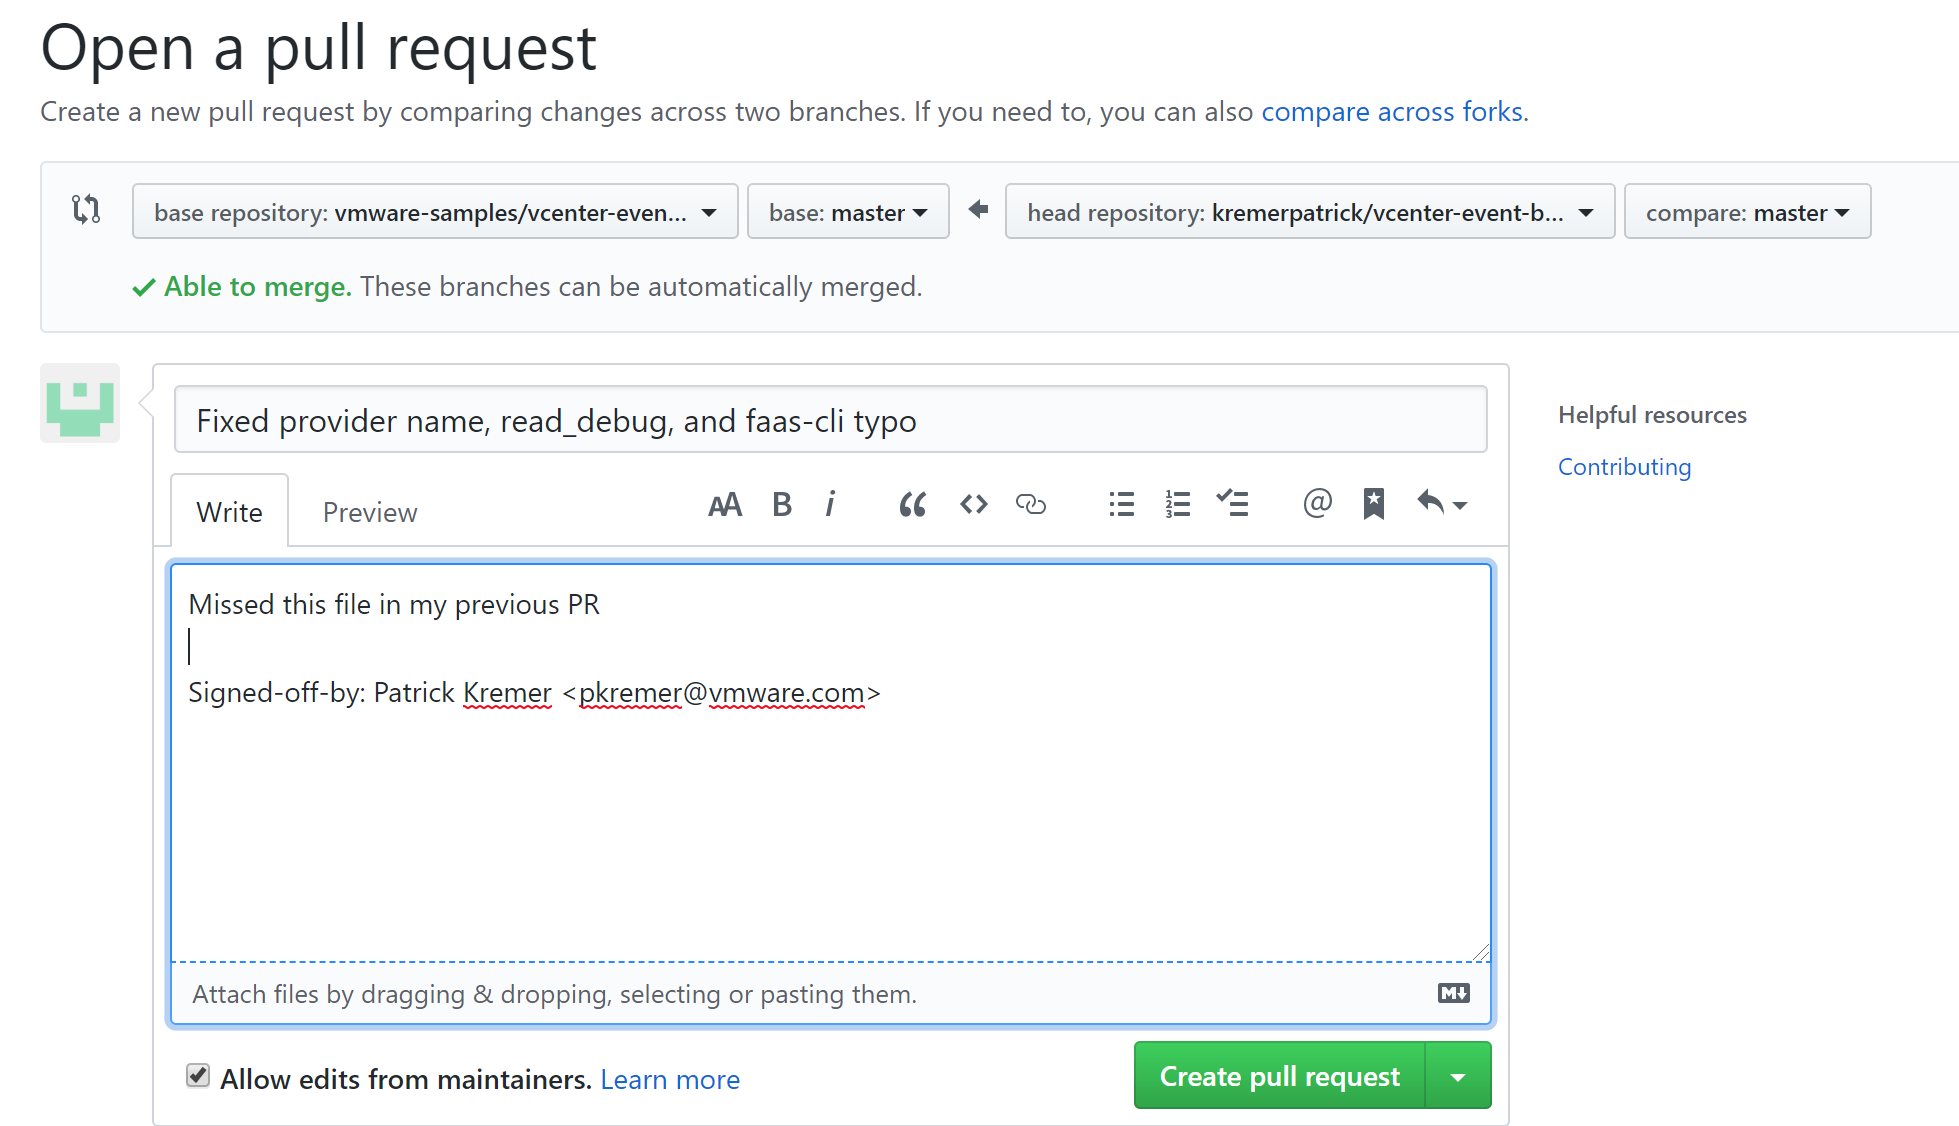
This is the last step to filing a PR – I write a summary and explanation of my fixes. In my case, I had already fixed these errors elsewhere in the code, but I missed getting-started.md. I fill out the fields and click Create pull request.
My changes are now ready to merge. The repository owners are now notified that there is a new PR to approve. They can respond to me with requests for changes, or they can commit my change.

All done! We have now made changes to an open source repository – everybody who clones this repository after the PR is merged will be able to take advantage of the changes I sent over.
In Part VI of this series, we will look at how to sync our fork back to the upstream repository.
VMware Event Broker Appliance – Part X – Building a new PowerCLI Function - Function Deployment -
[…] source thrives on community contributions. Please contribute your function back to the repo! Follow these steps to let others use your […]
VMware Event Broker Appliance – Part VIII – Building a new PowerCLI Function - Preparation -
[…] going to contribute your function back, make sure to fork your repo – this post covers everything you need to contribute. Open source needs contributions to survive – I strongly recommend that you […]
NSX Advanced Load Balancer – Part IV – Health Check Maintenance Mode -
[…] simultaneously on a single codebase. git is a utility used to manipulate code. I wrote a post on using Git to contribute to an open source project, you can check it out for further […]
PowerShell Bugfix - Contributing to the VMware.VMC.NSXT community module -
[…] I have written several posts on how get your machine ready for code contributions, check out my VEBA post for more […]
VMware Event Broker Appliance – Part XI – Changing options in the installer OVA | Patrick Kremer
[…] the code changes, I then built the appliance as shown in Part X to test. Once everything worked, I filed the PR to get my changes incorporated into the product. Special thanks to William Lam for teaching me how […]
vCenter Event Broker Appliance – Part X – Building the Appliance OVA from source code | Patrick Kremer
[…] need to clone the development repo. If you are not familiar with git, take a look at Part V. If you’ve been following the examples and have the code, but just need to make sure you have […]
vCenter Event Broker Appliance – Part VI – Syncing your fork | Patrick Kremer
[…] ← Previous […]
vCenter Event Broker Appliance – Part IV – Deploying the First Sample Function | Patrick Kremer
[…] ← Previous Next → […]